Elite System | Full Flake Broadcast | Domino 1/4"
Some floors don't just need a refresh they need a complete restart.
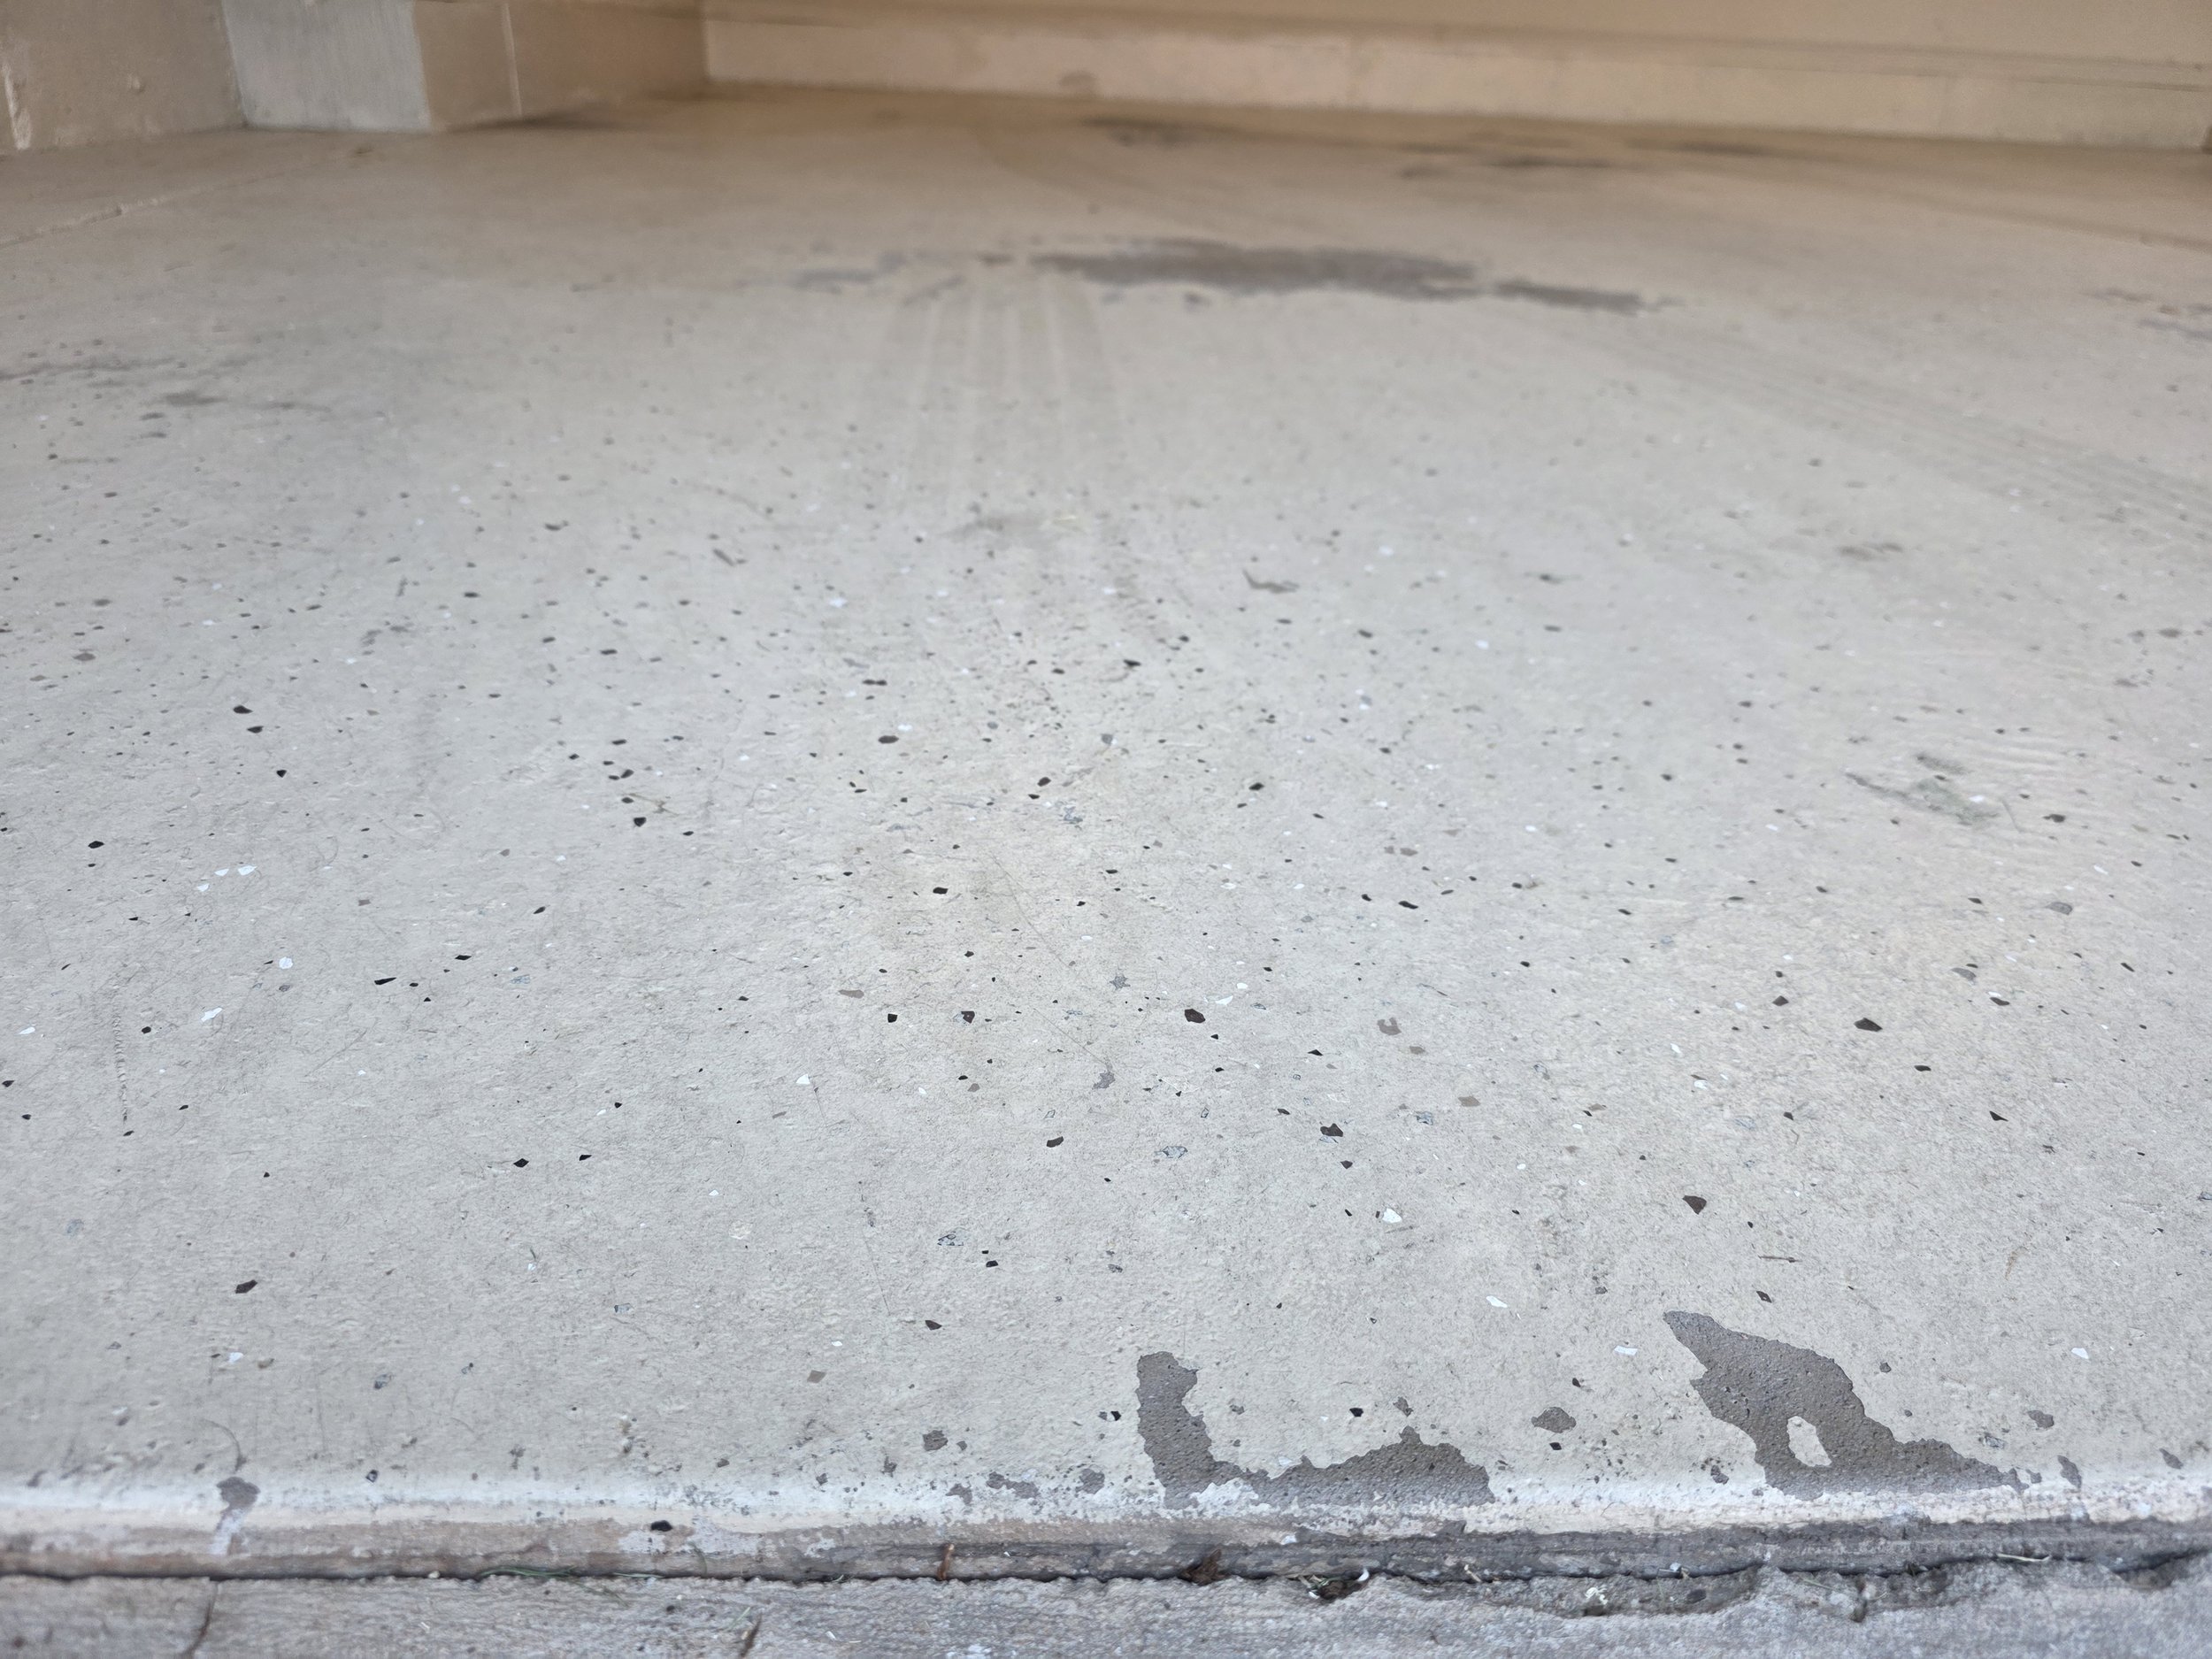
This project exhibits a failing DIY epoxy kit that had well outlived its usefulness. Peeling, discolored, and no longer bonded to the concrete beneath it, the existing coating was doing nothing but masking a problem.
The customer wanted the stem walls and utility closet coated to match the floor. This is always recommended so there is a protective layer over every inch of both the floor and wall that could get splashed, worn, and impacted.
I began with a full mechanical grind, removing the old coating entirely and profiling the concrete surface for maximum adhesion. This floor had minor crack repair and some spalling to fix. A moisture vapor barrier was then applied as the foundation of the system. During the cure, the MVB developed minor bubbling. I sanded the entire floor down before moving forward, ensuring a flat, properly bonded surface before a single coat of material was applied.
From there, a polyaspartic body coat was applied and fully broadcast with Domino 1/4" flake to rejection, followed by a polyaspartic topcoat to seal and protect the finished surface.
The result is 560 square feet of a floor that is extremely durable, chemical-resistant, UV-stable, and beautiful.
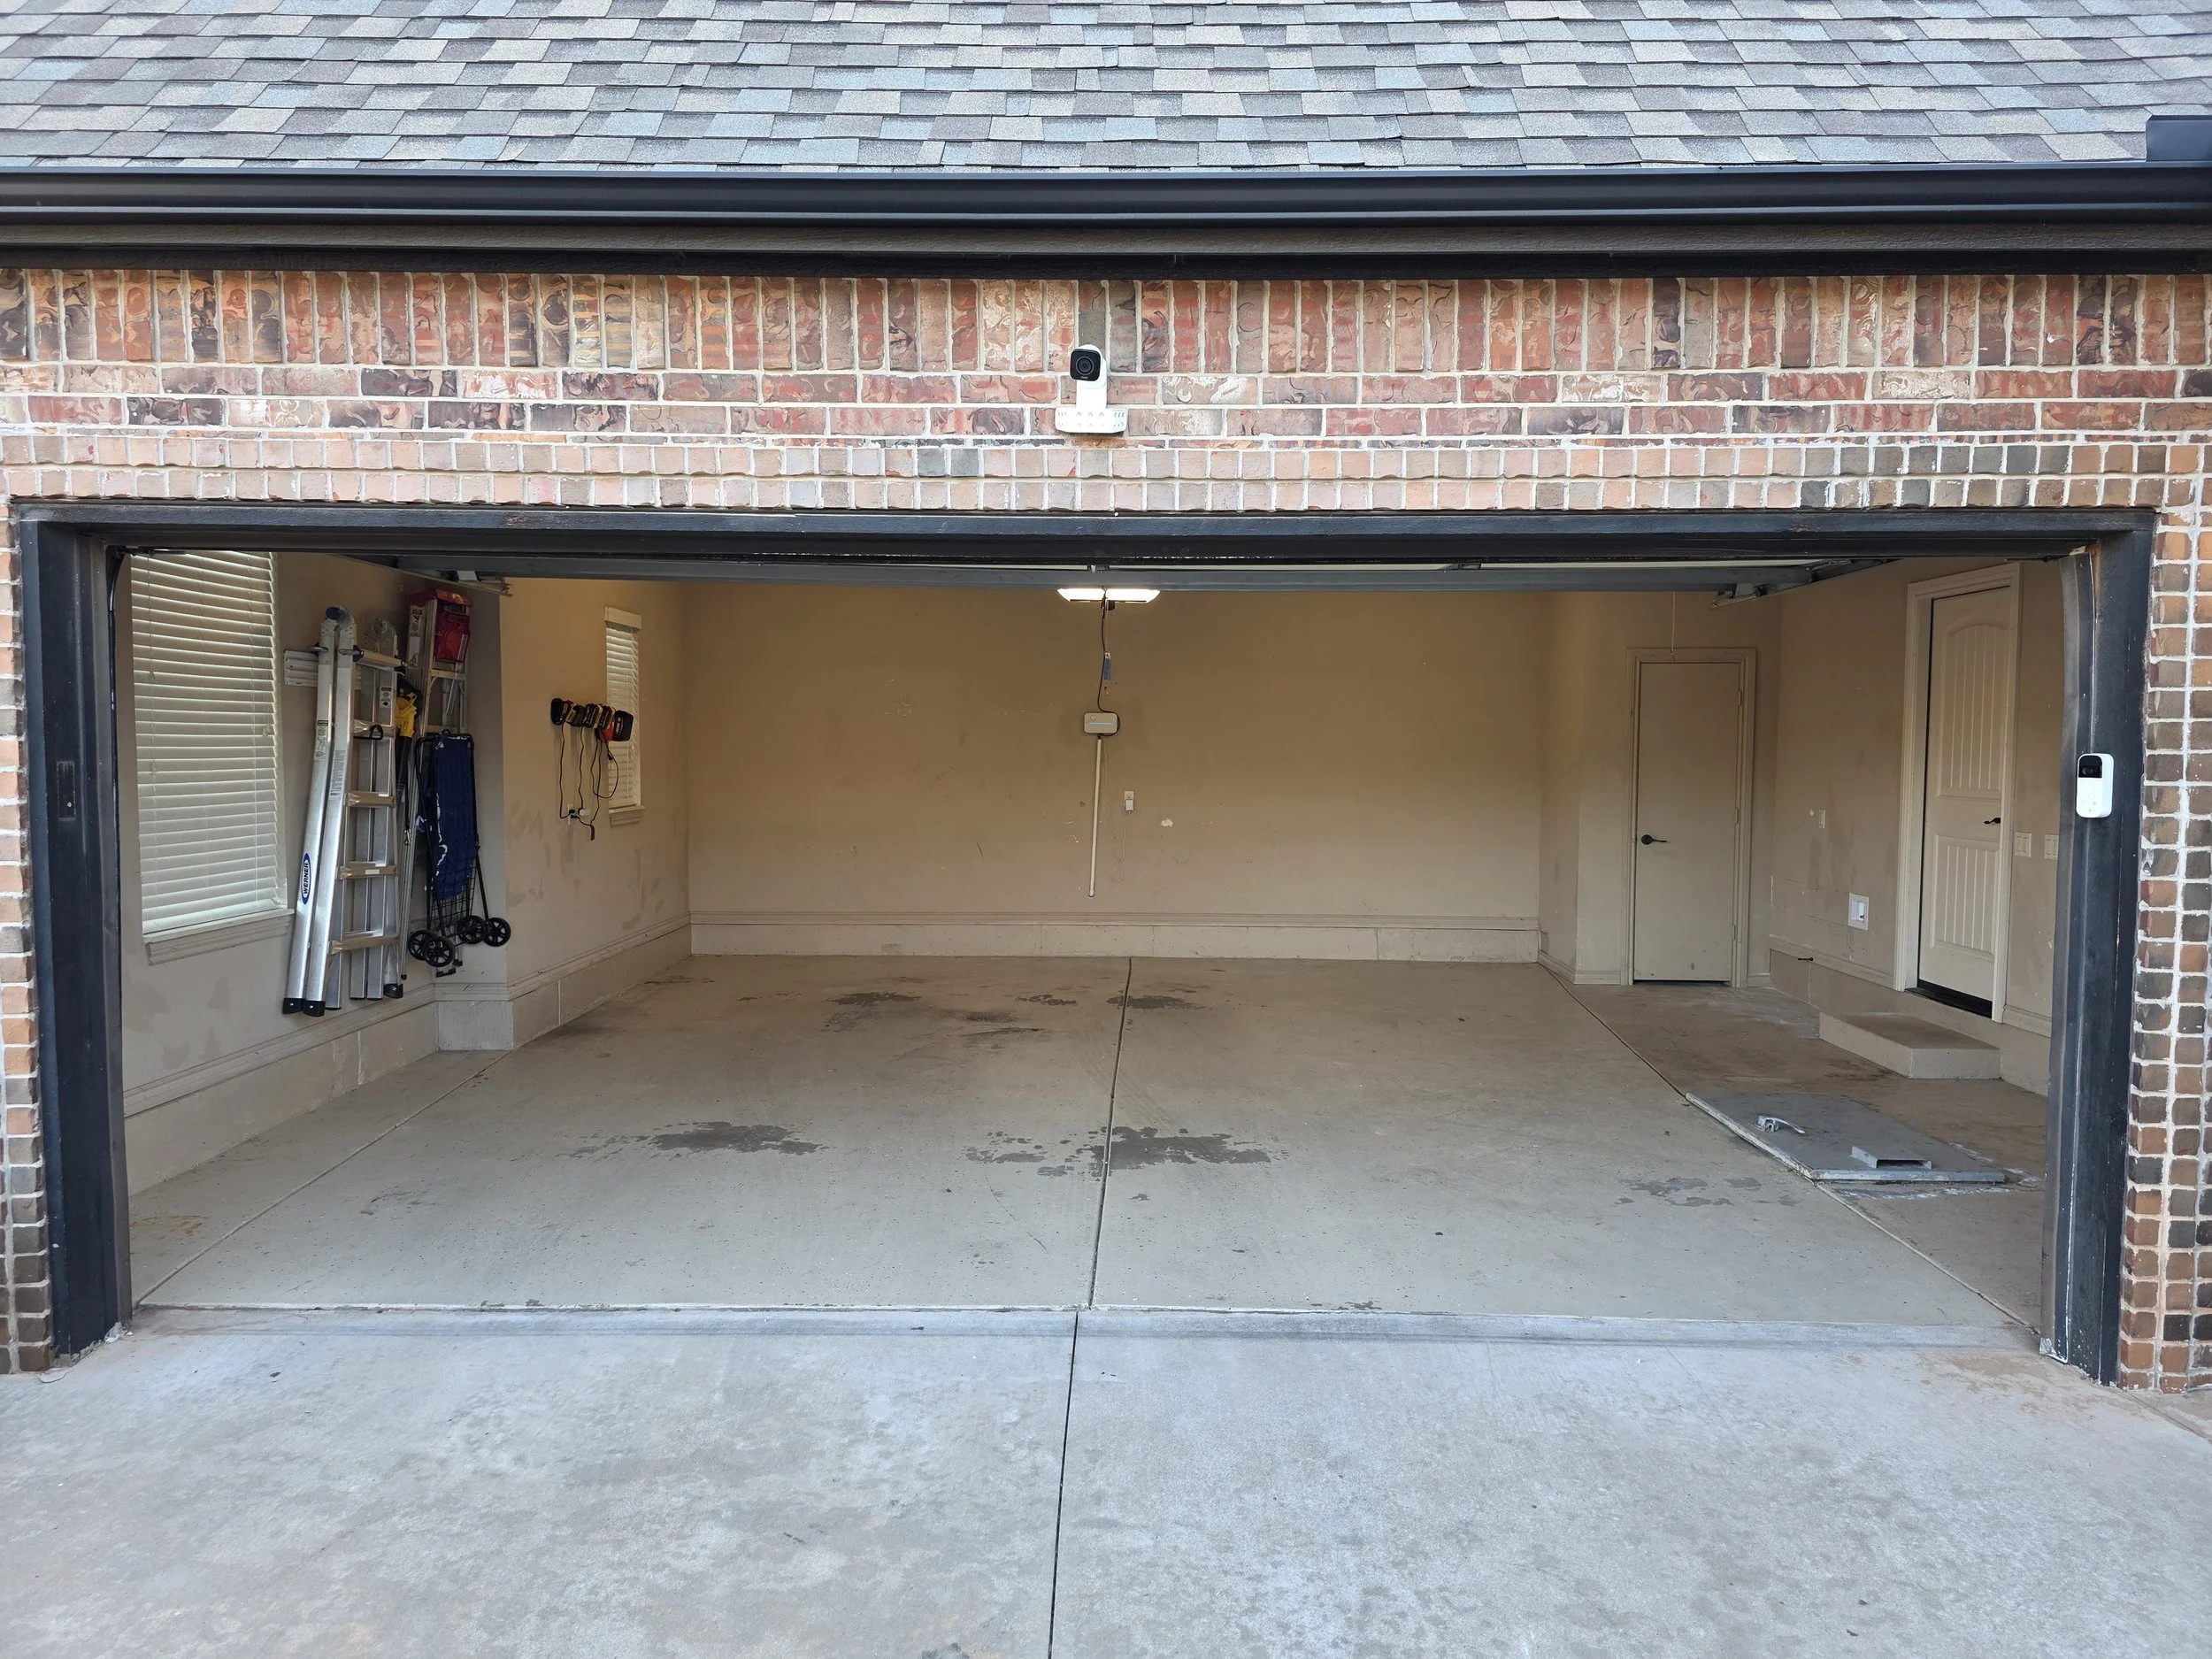
Full shot of original garage condition
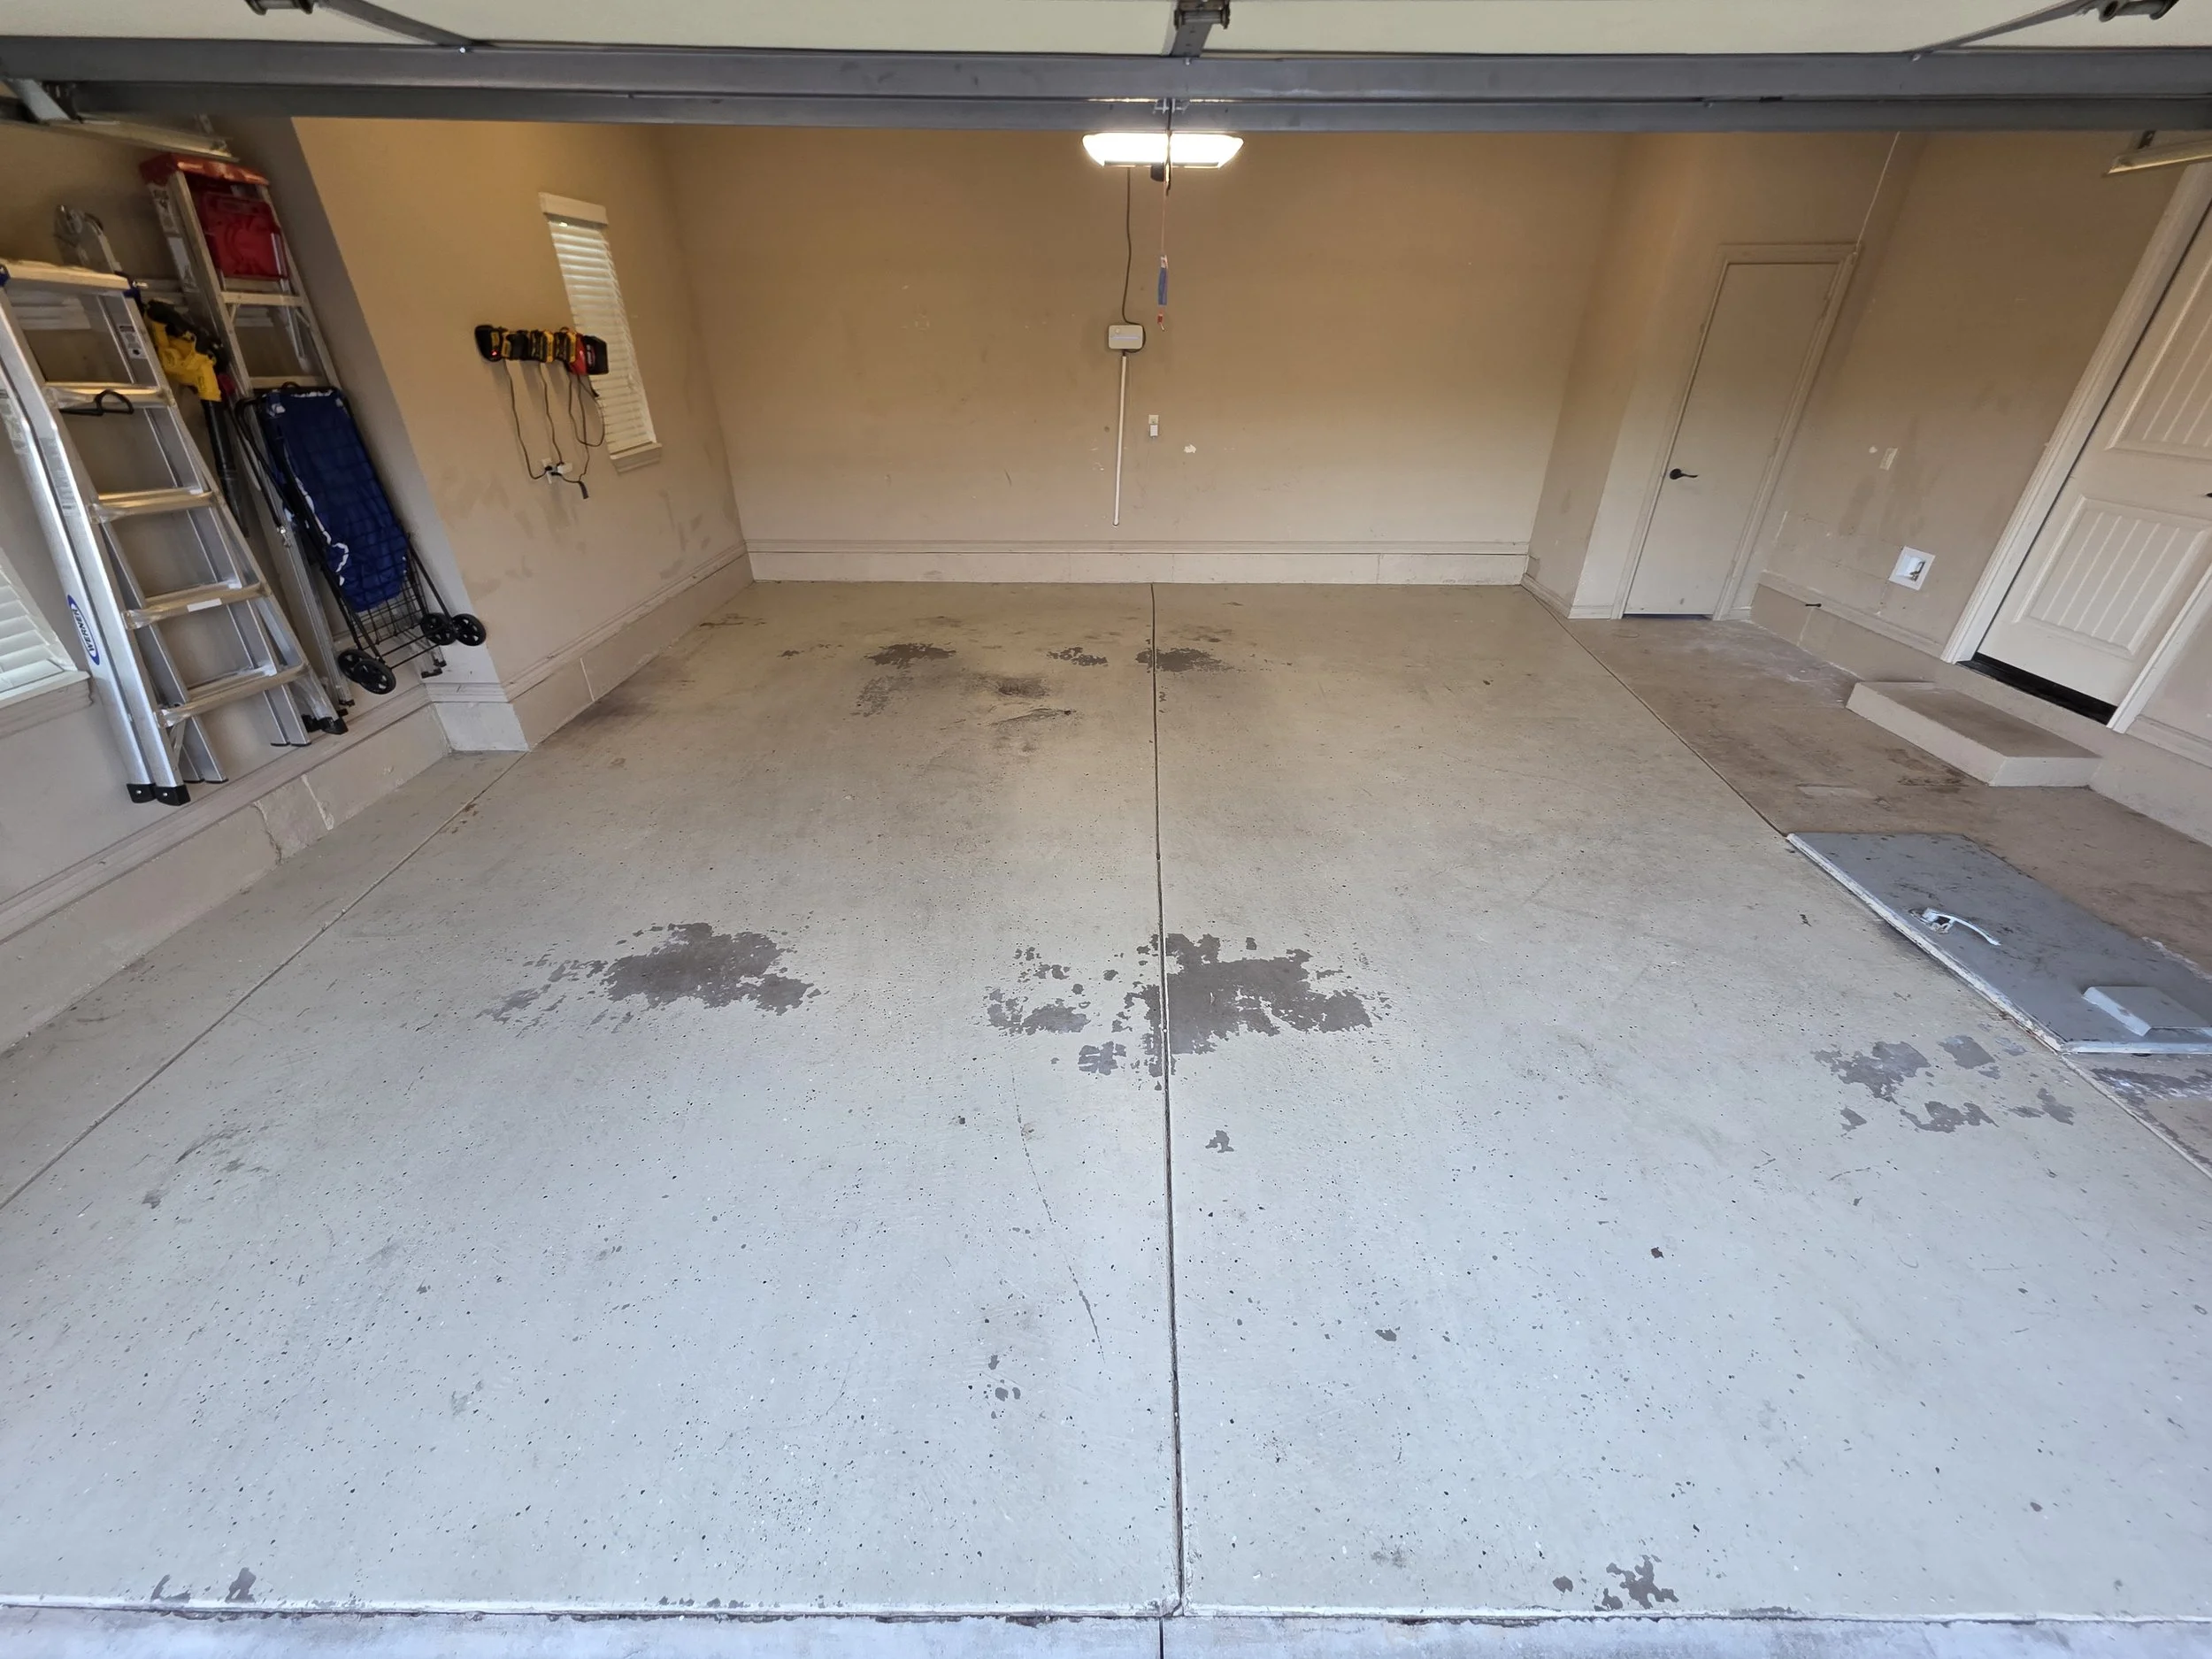
Before photos of Garage
Before photo of Stains and Flaking coating
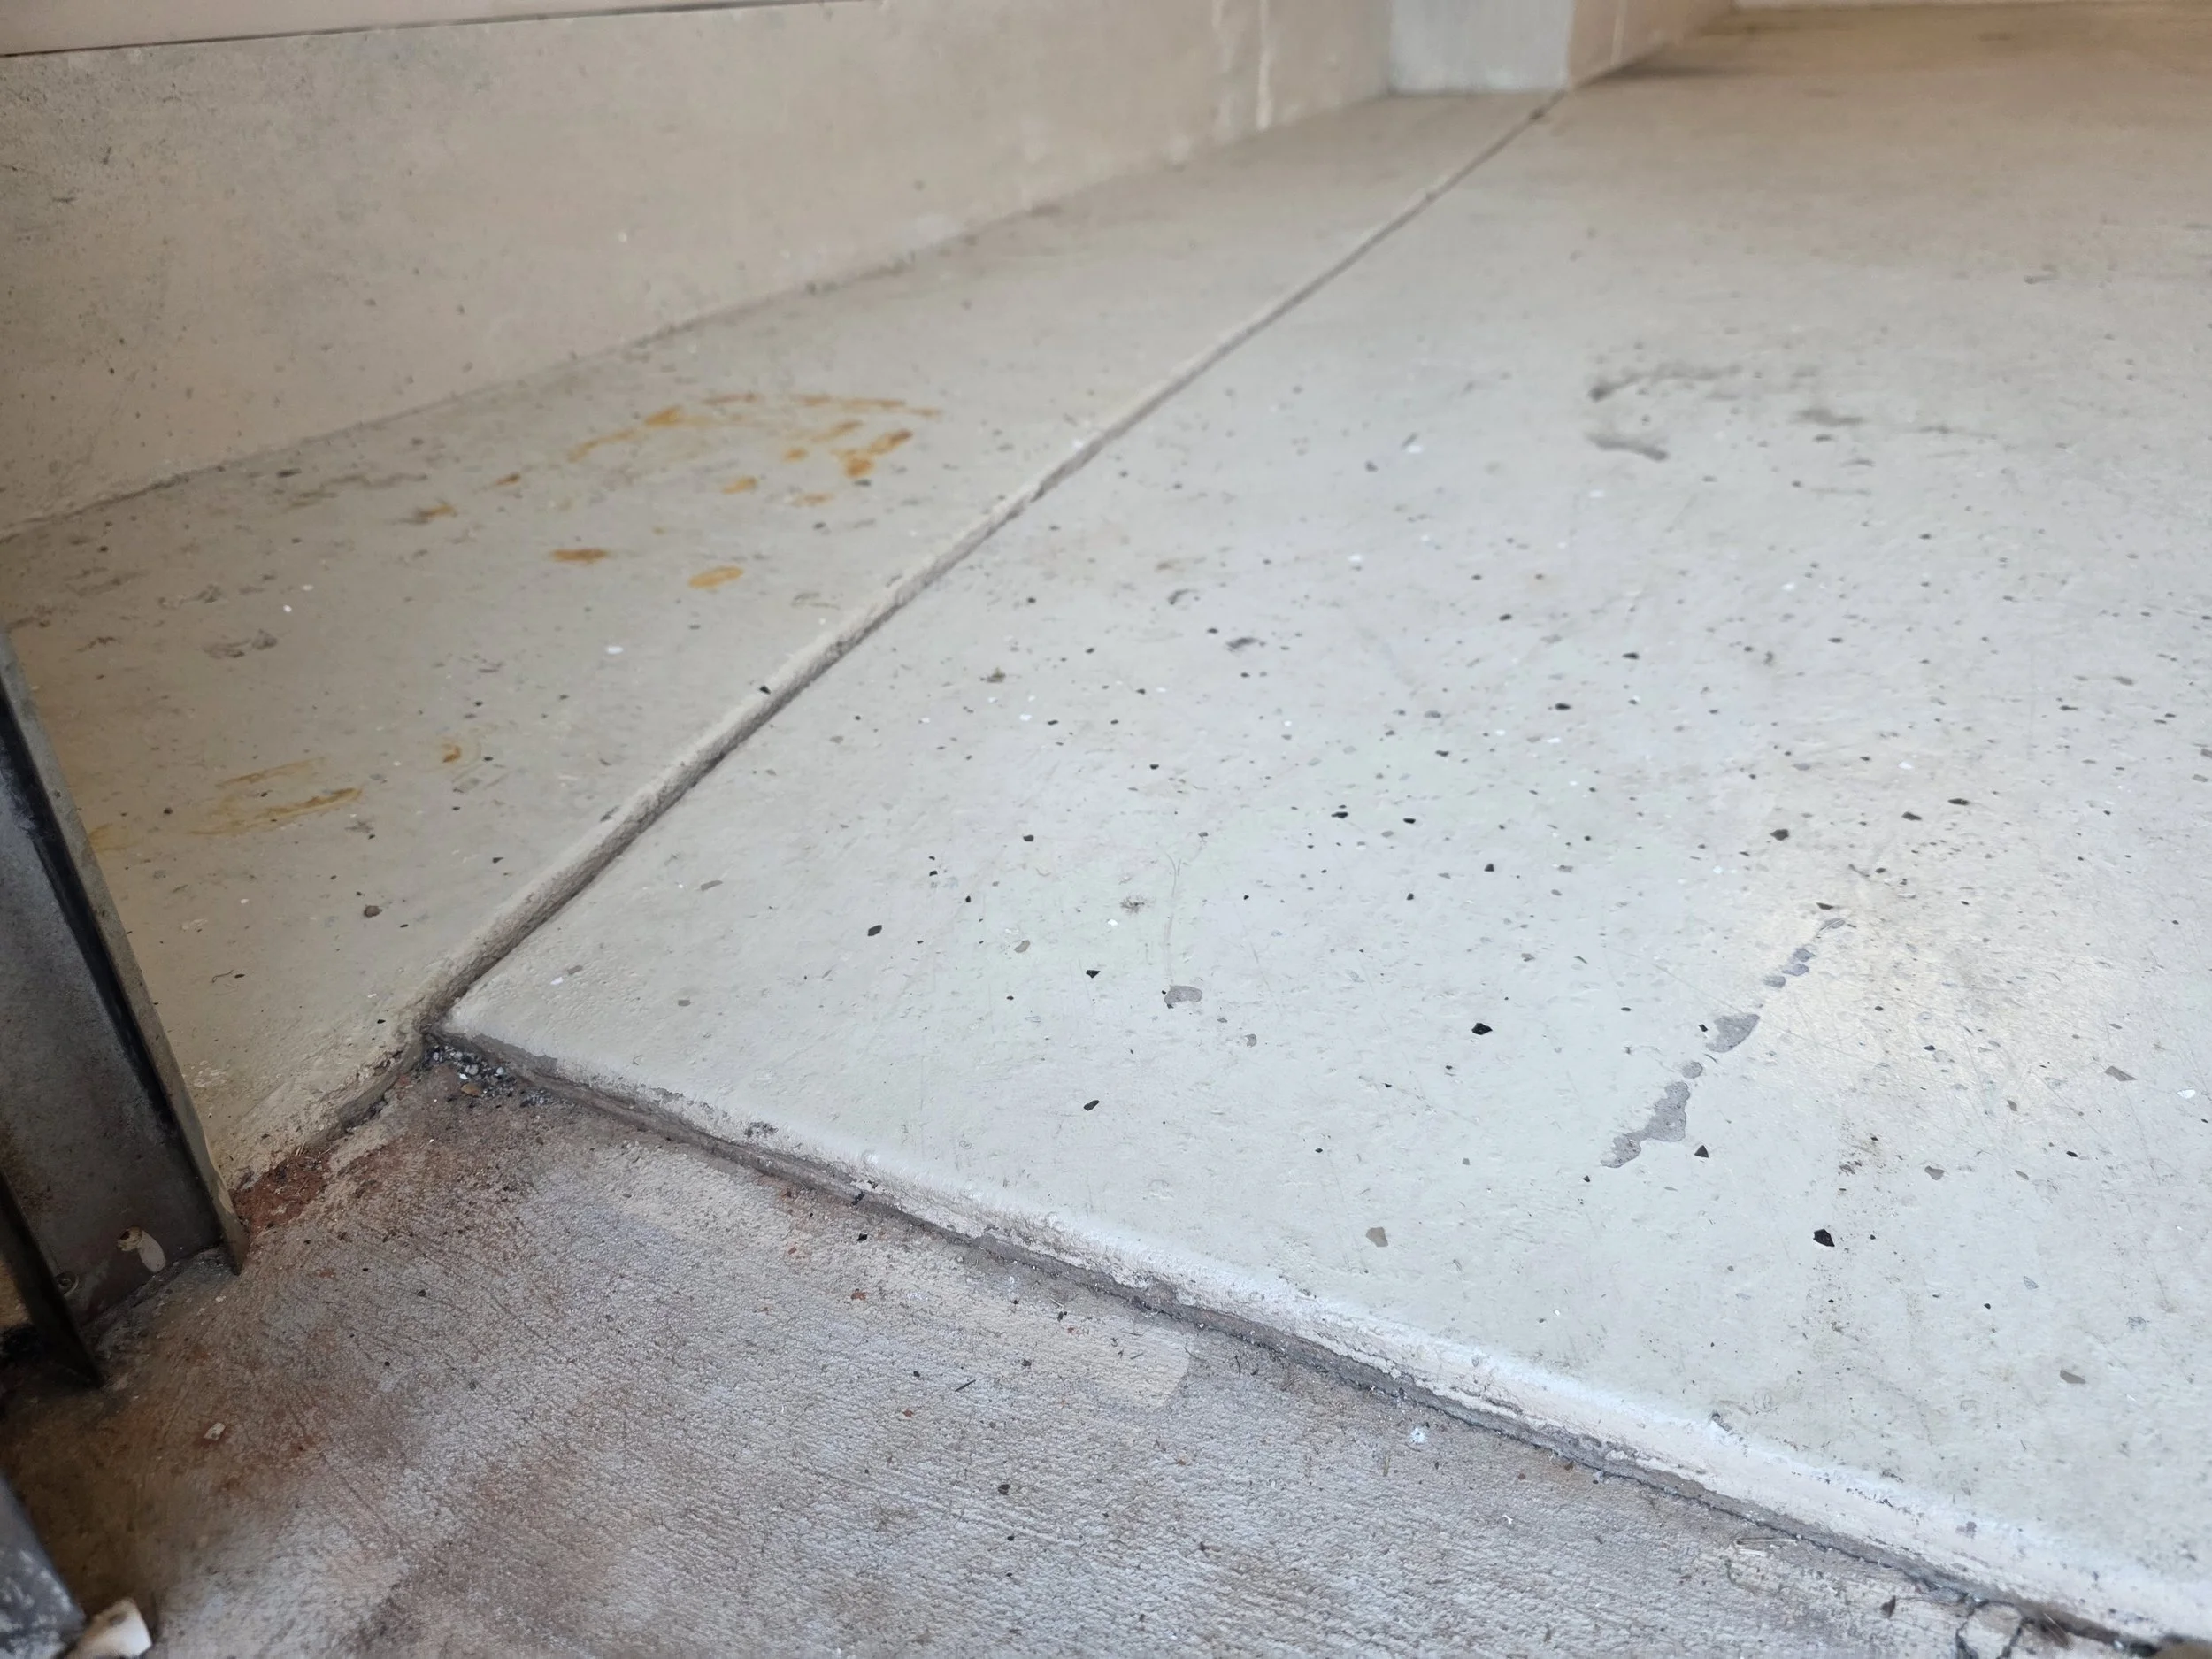
Close-up of original garage lip
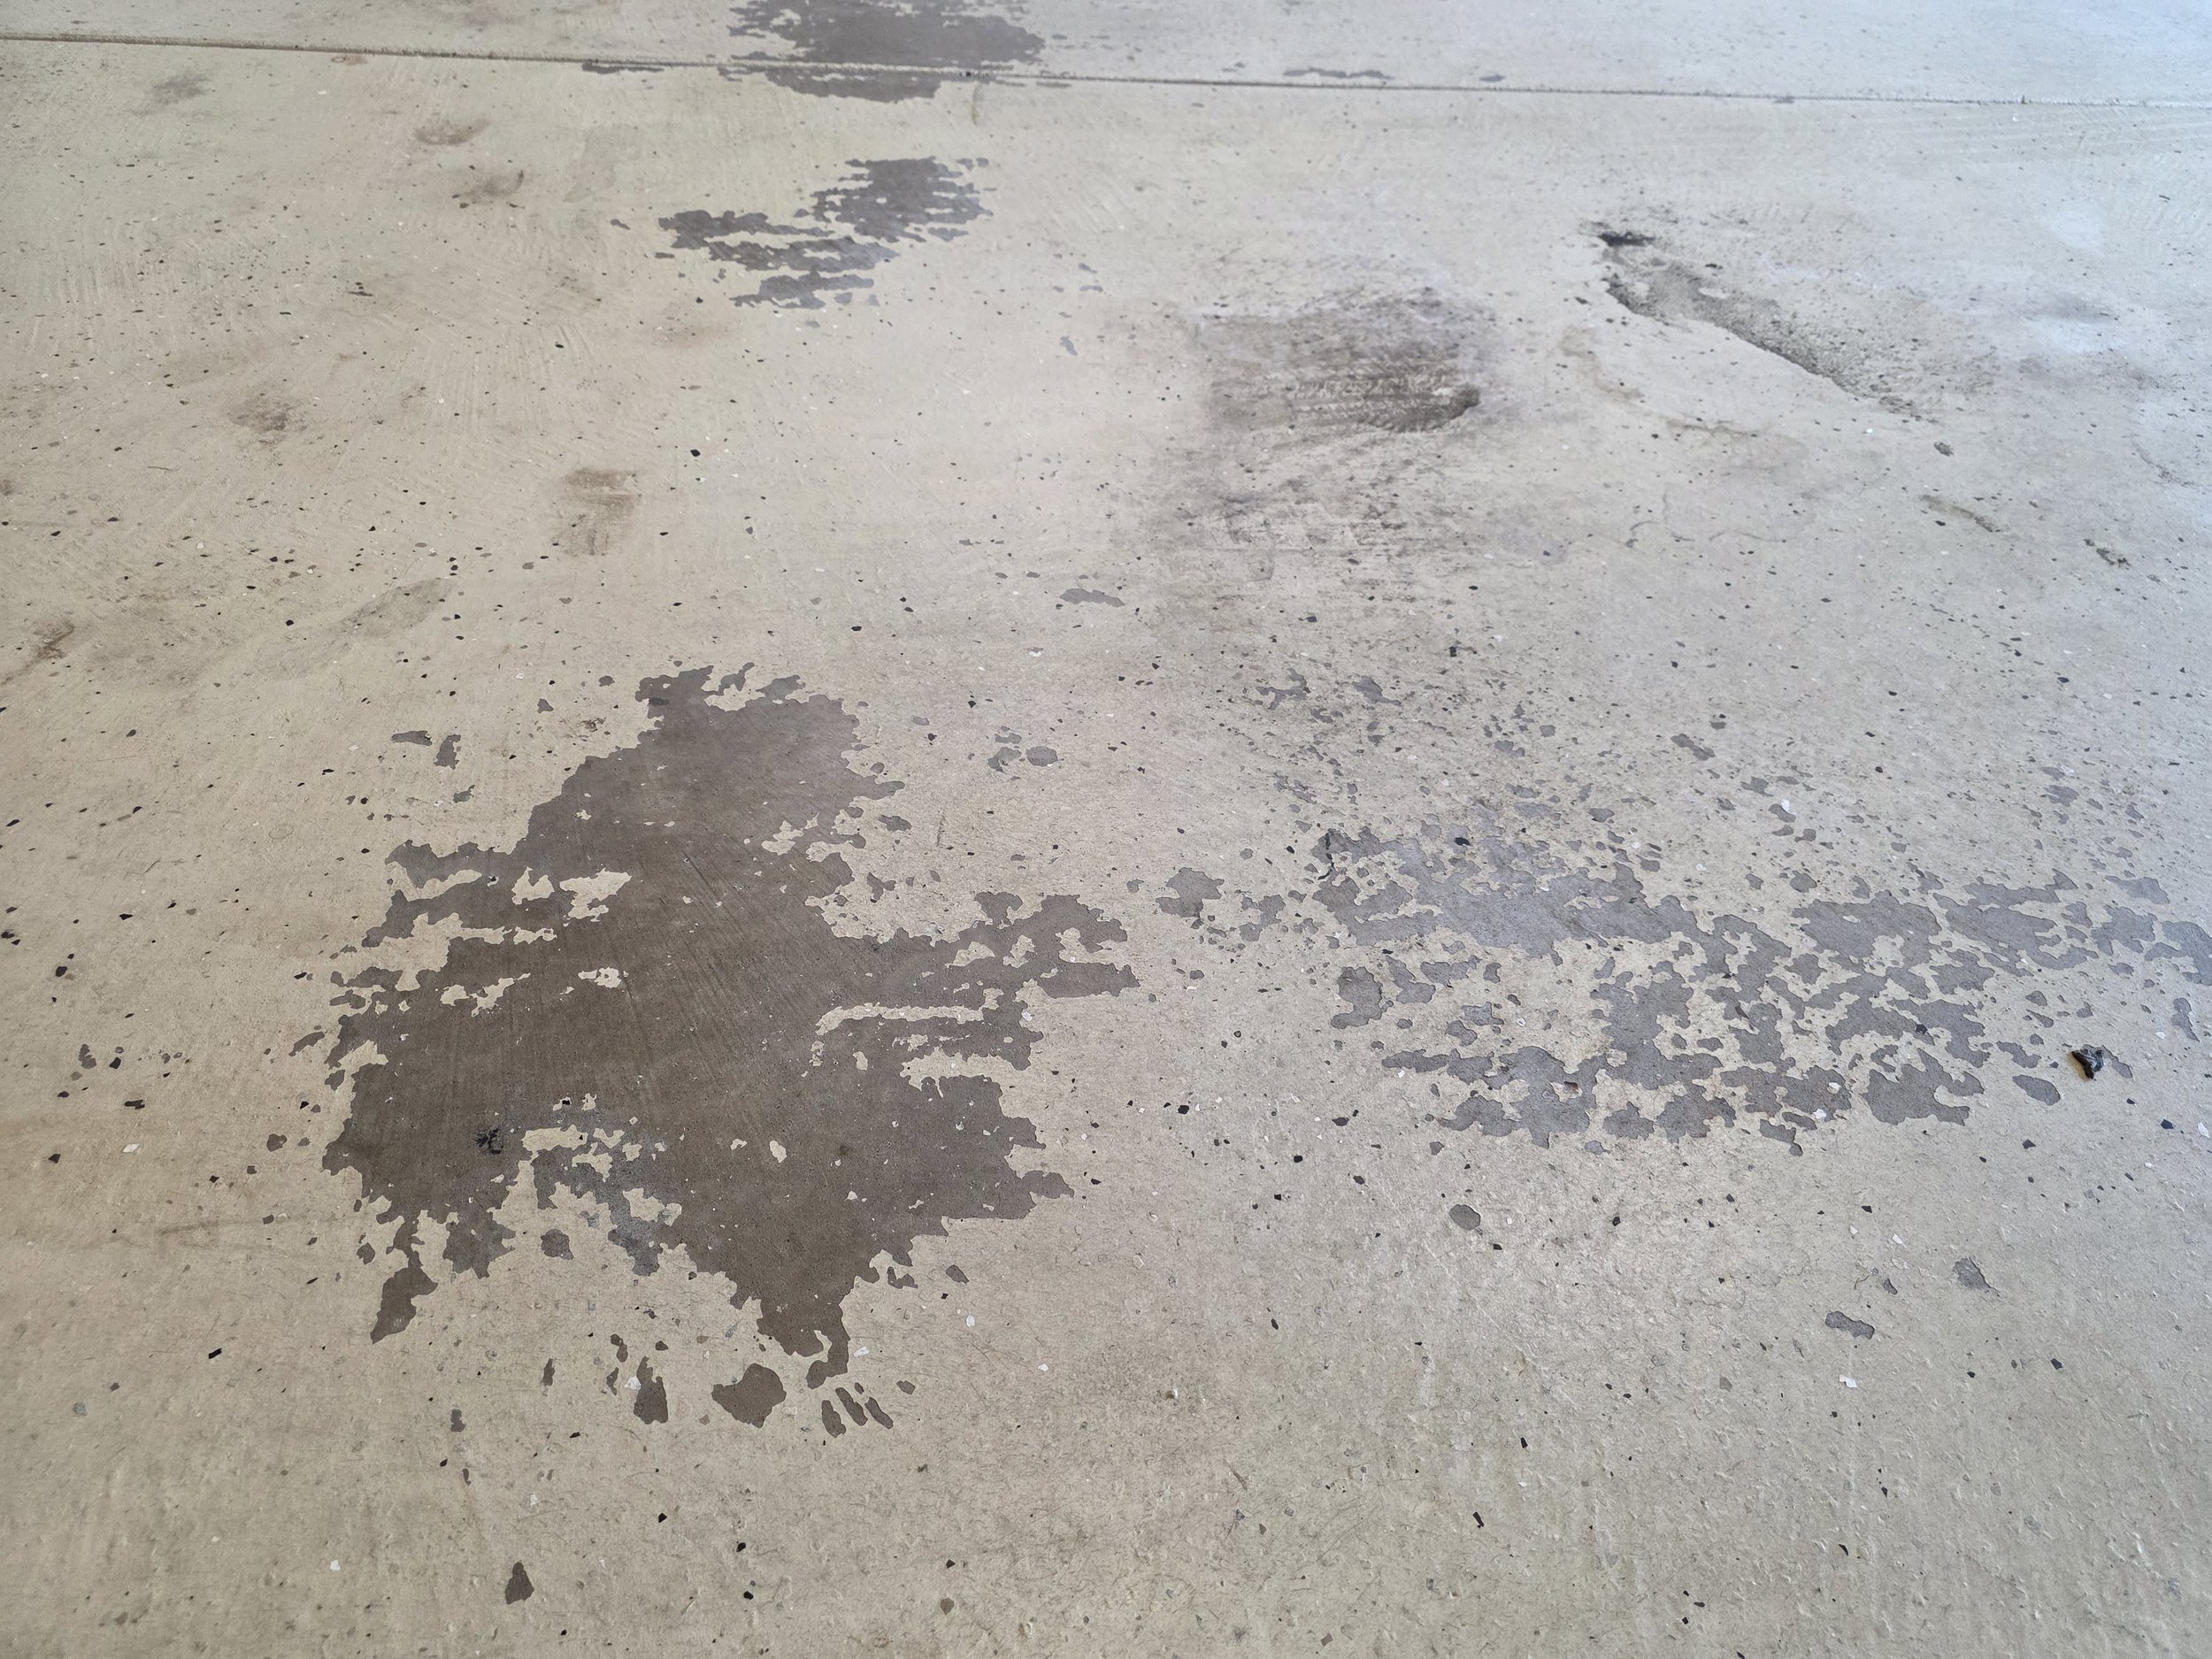
Hot tire pickup from original DIY Epoxy kit
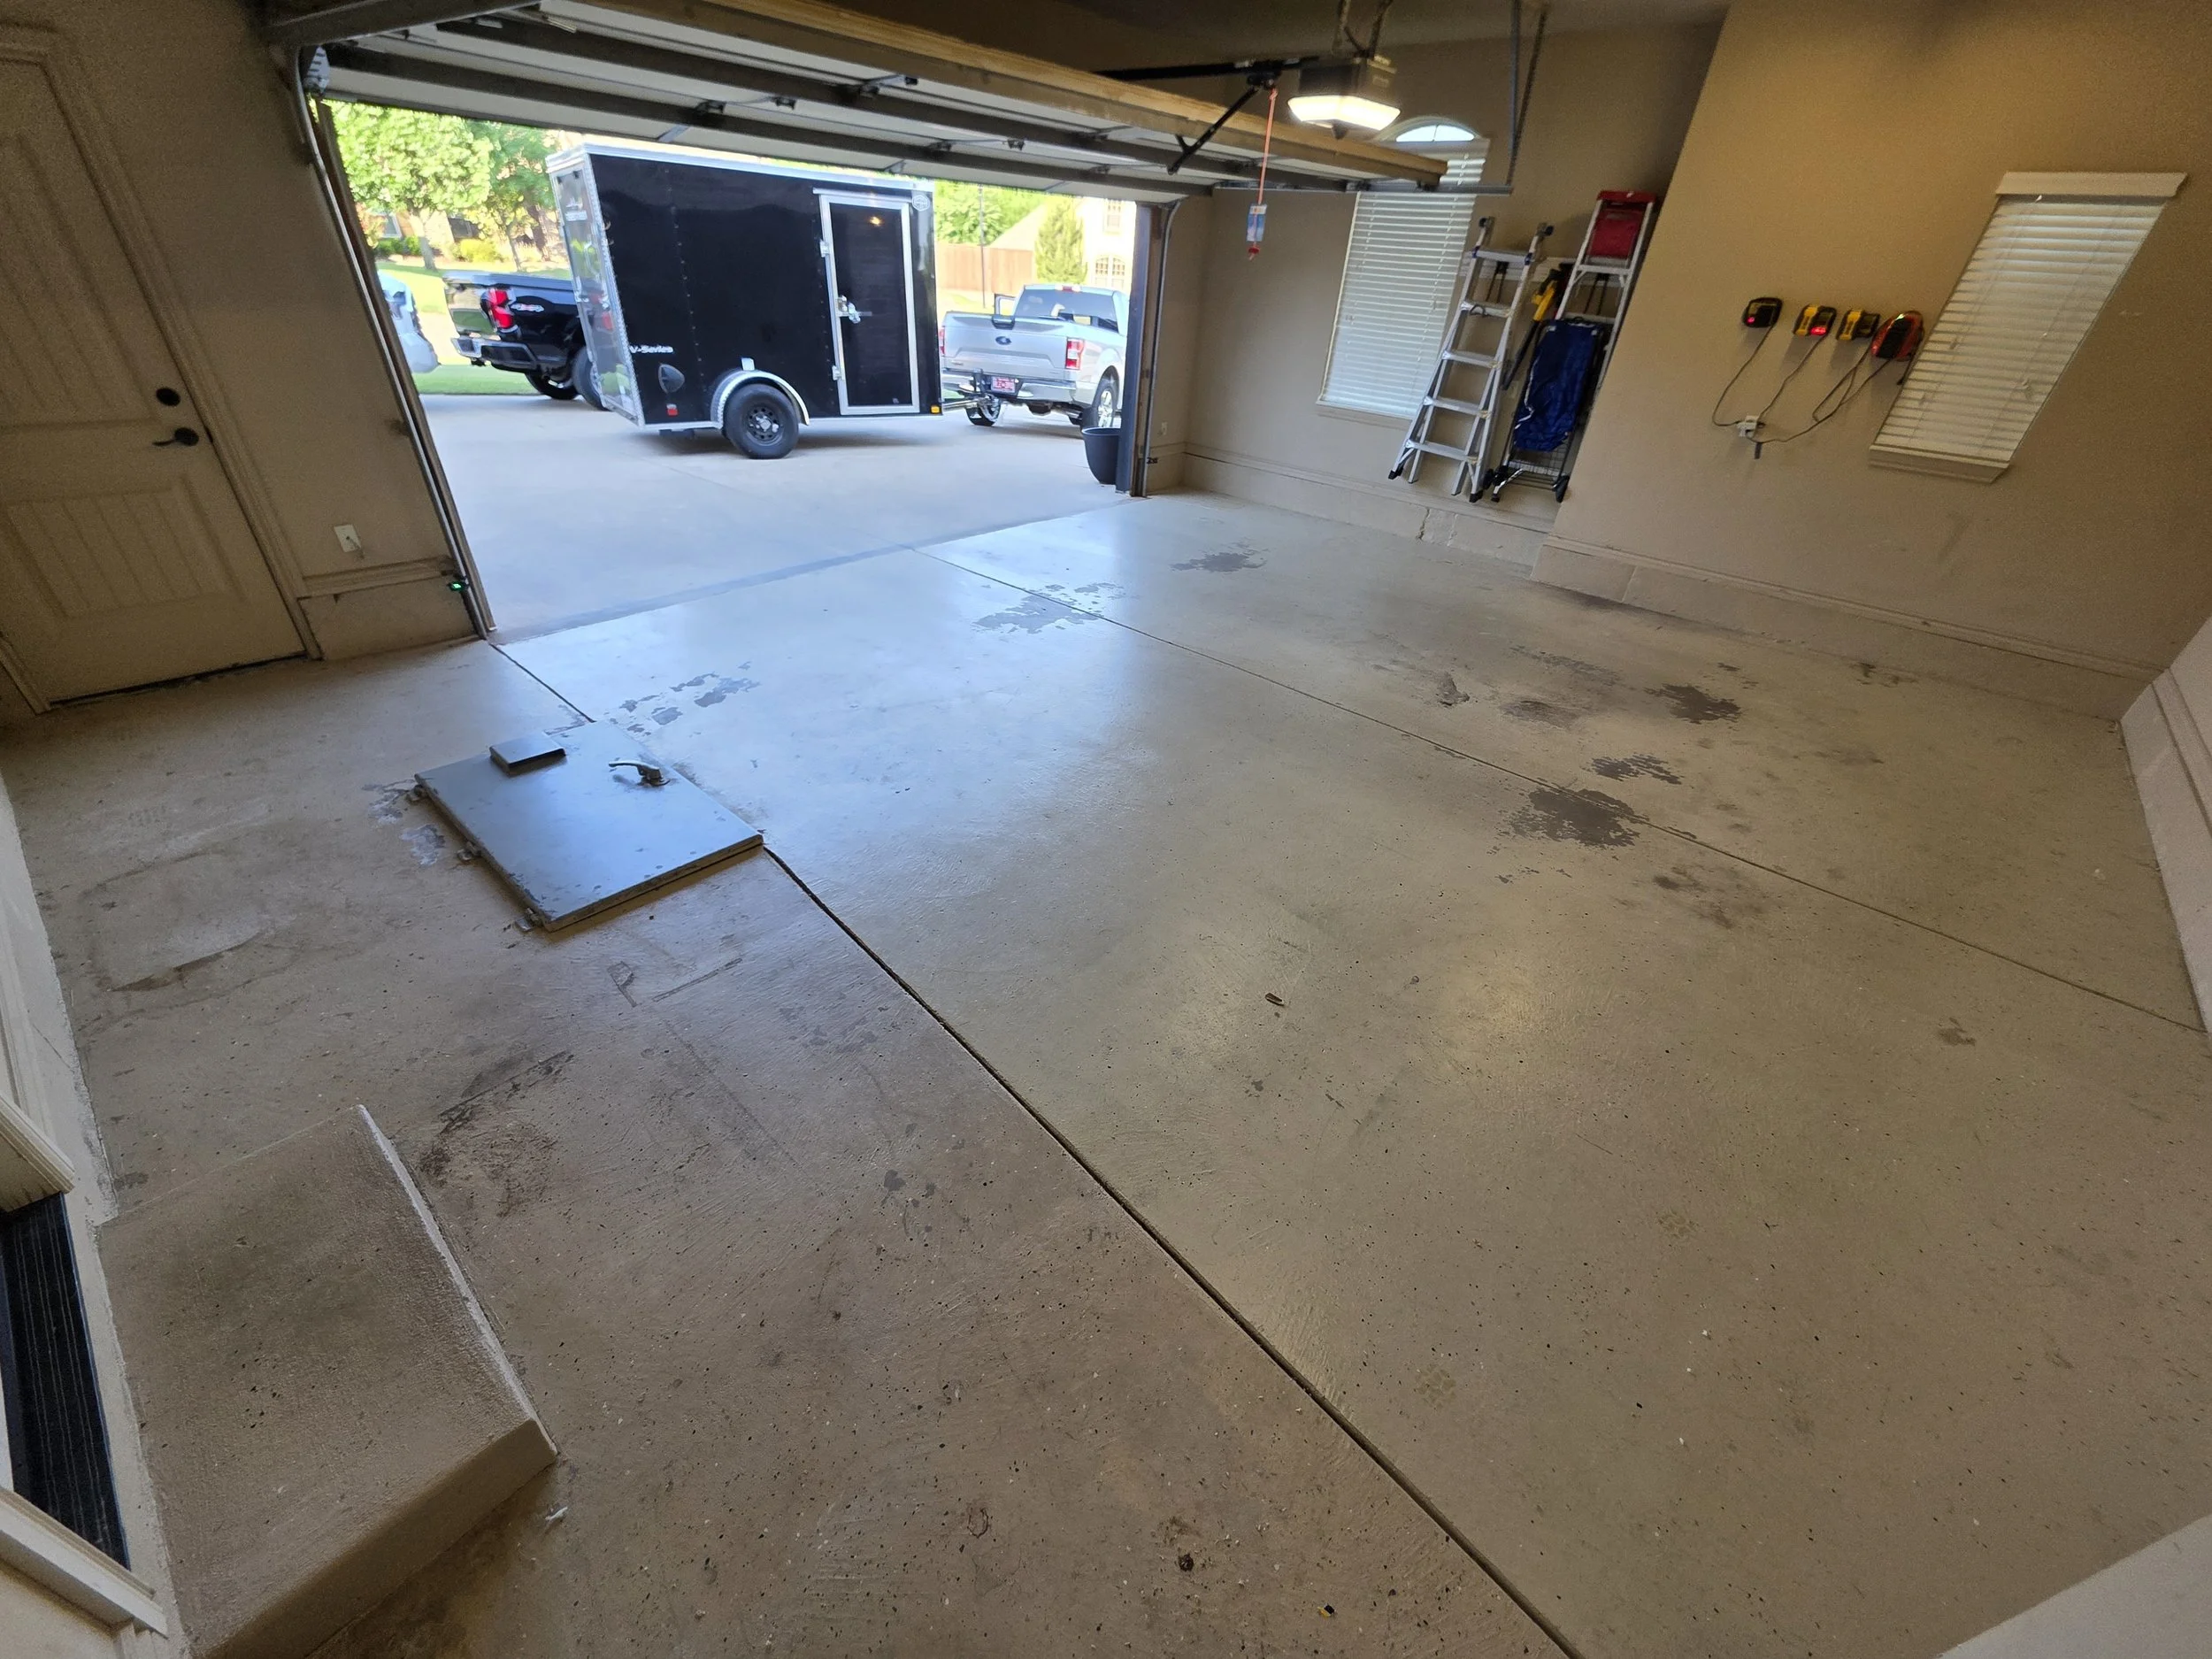
Wide shot of before photo
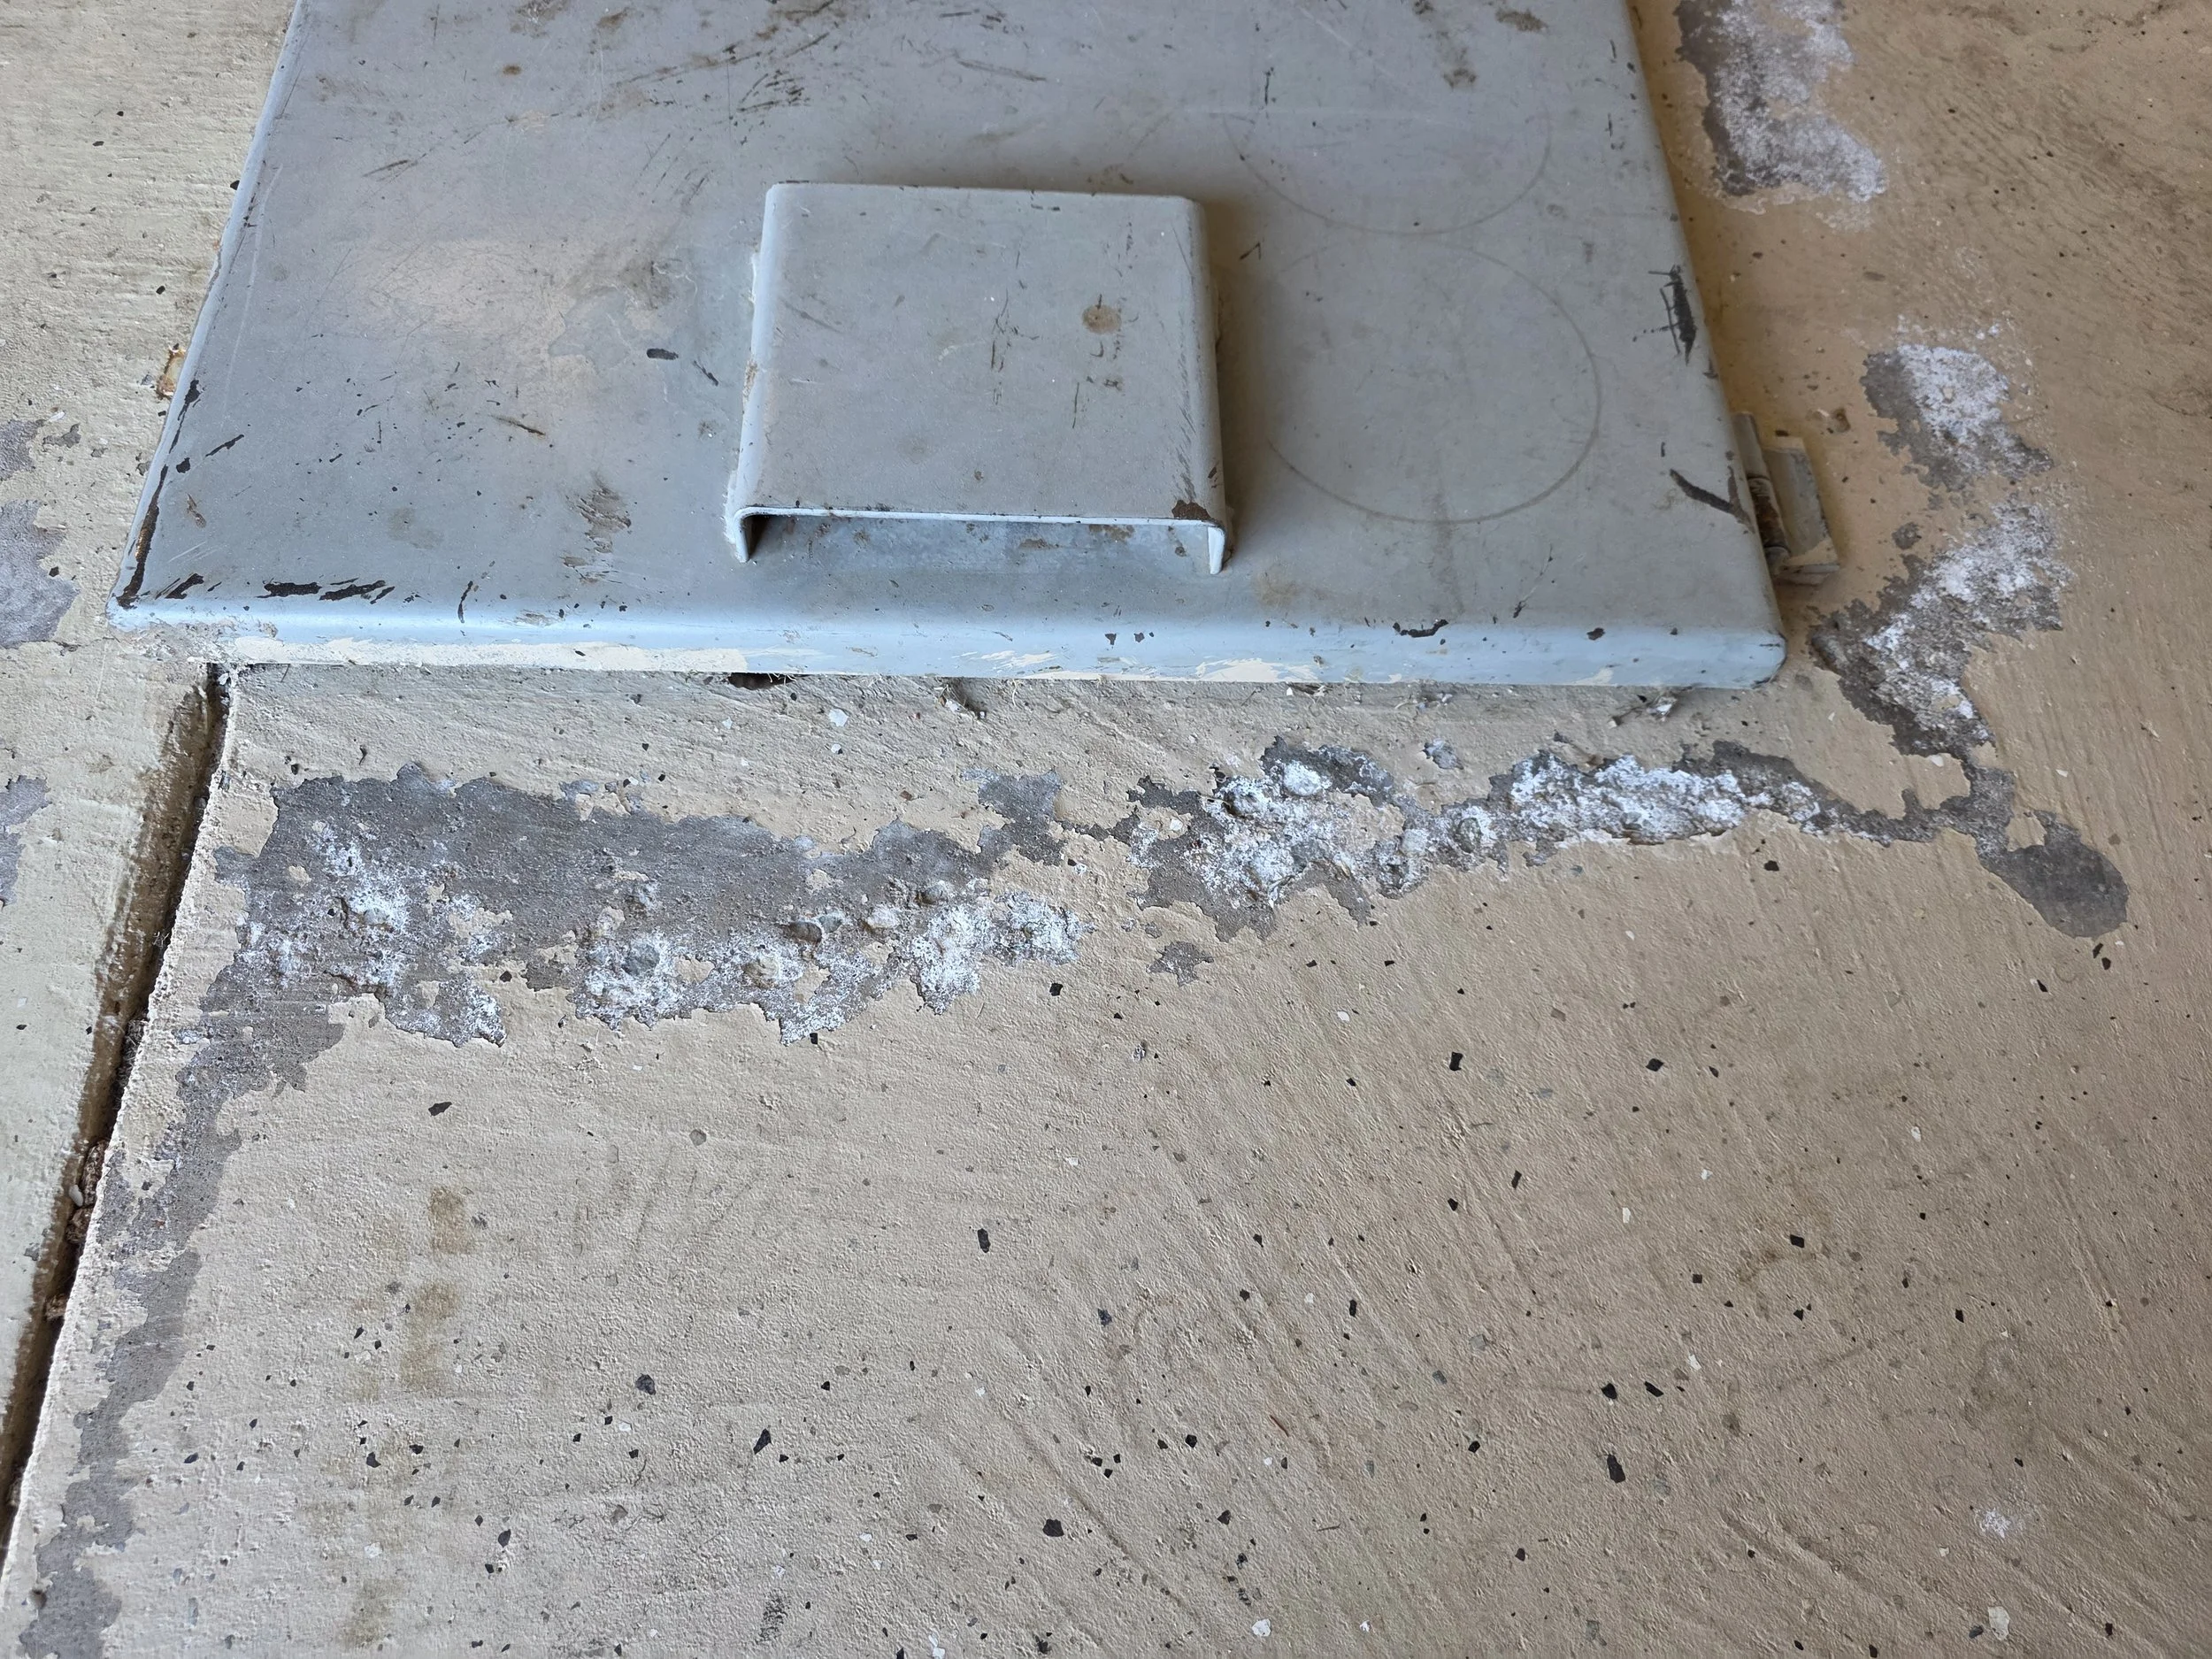
Concrete Spalling around storm shelter
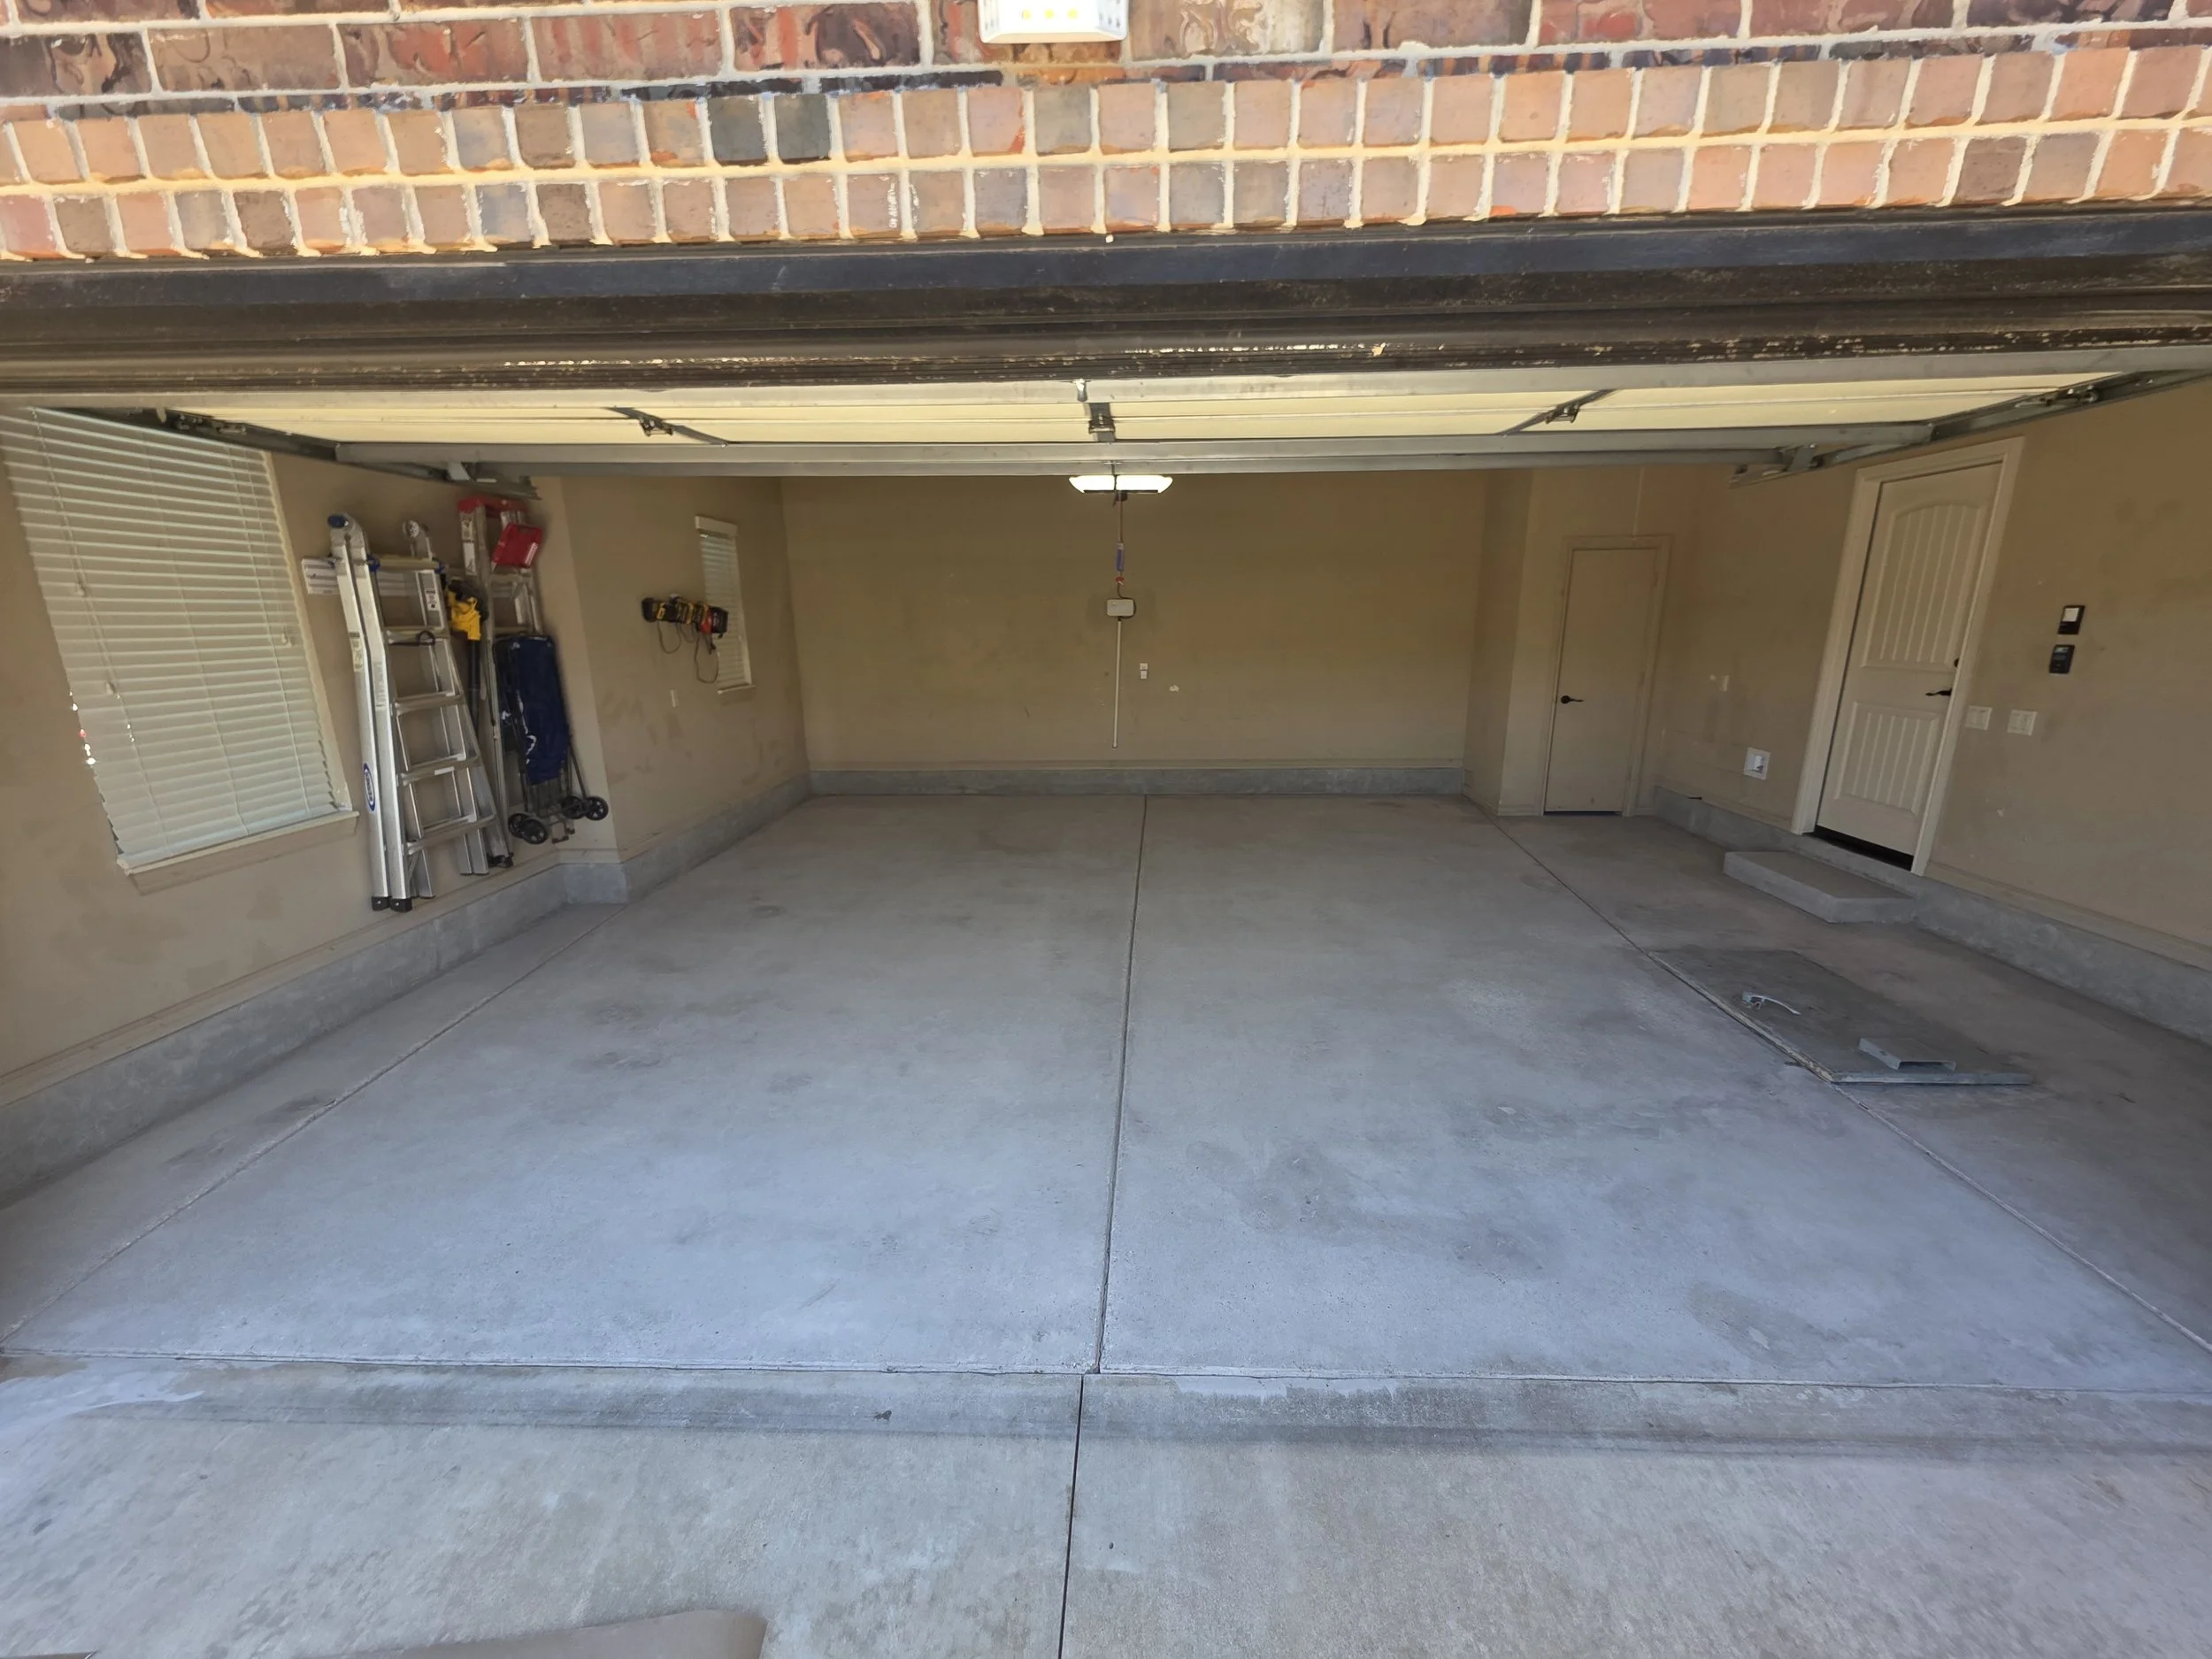
Phase 1 - Fully patched and ground concrete overview. Stem walls ground down as well. Ready for MVB
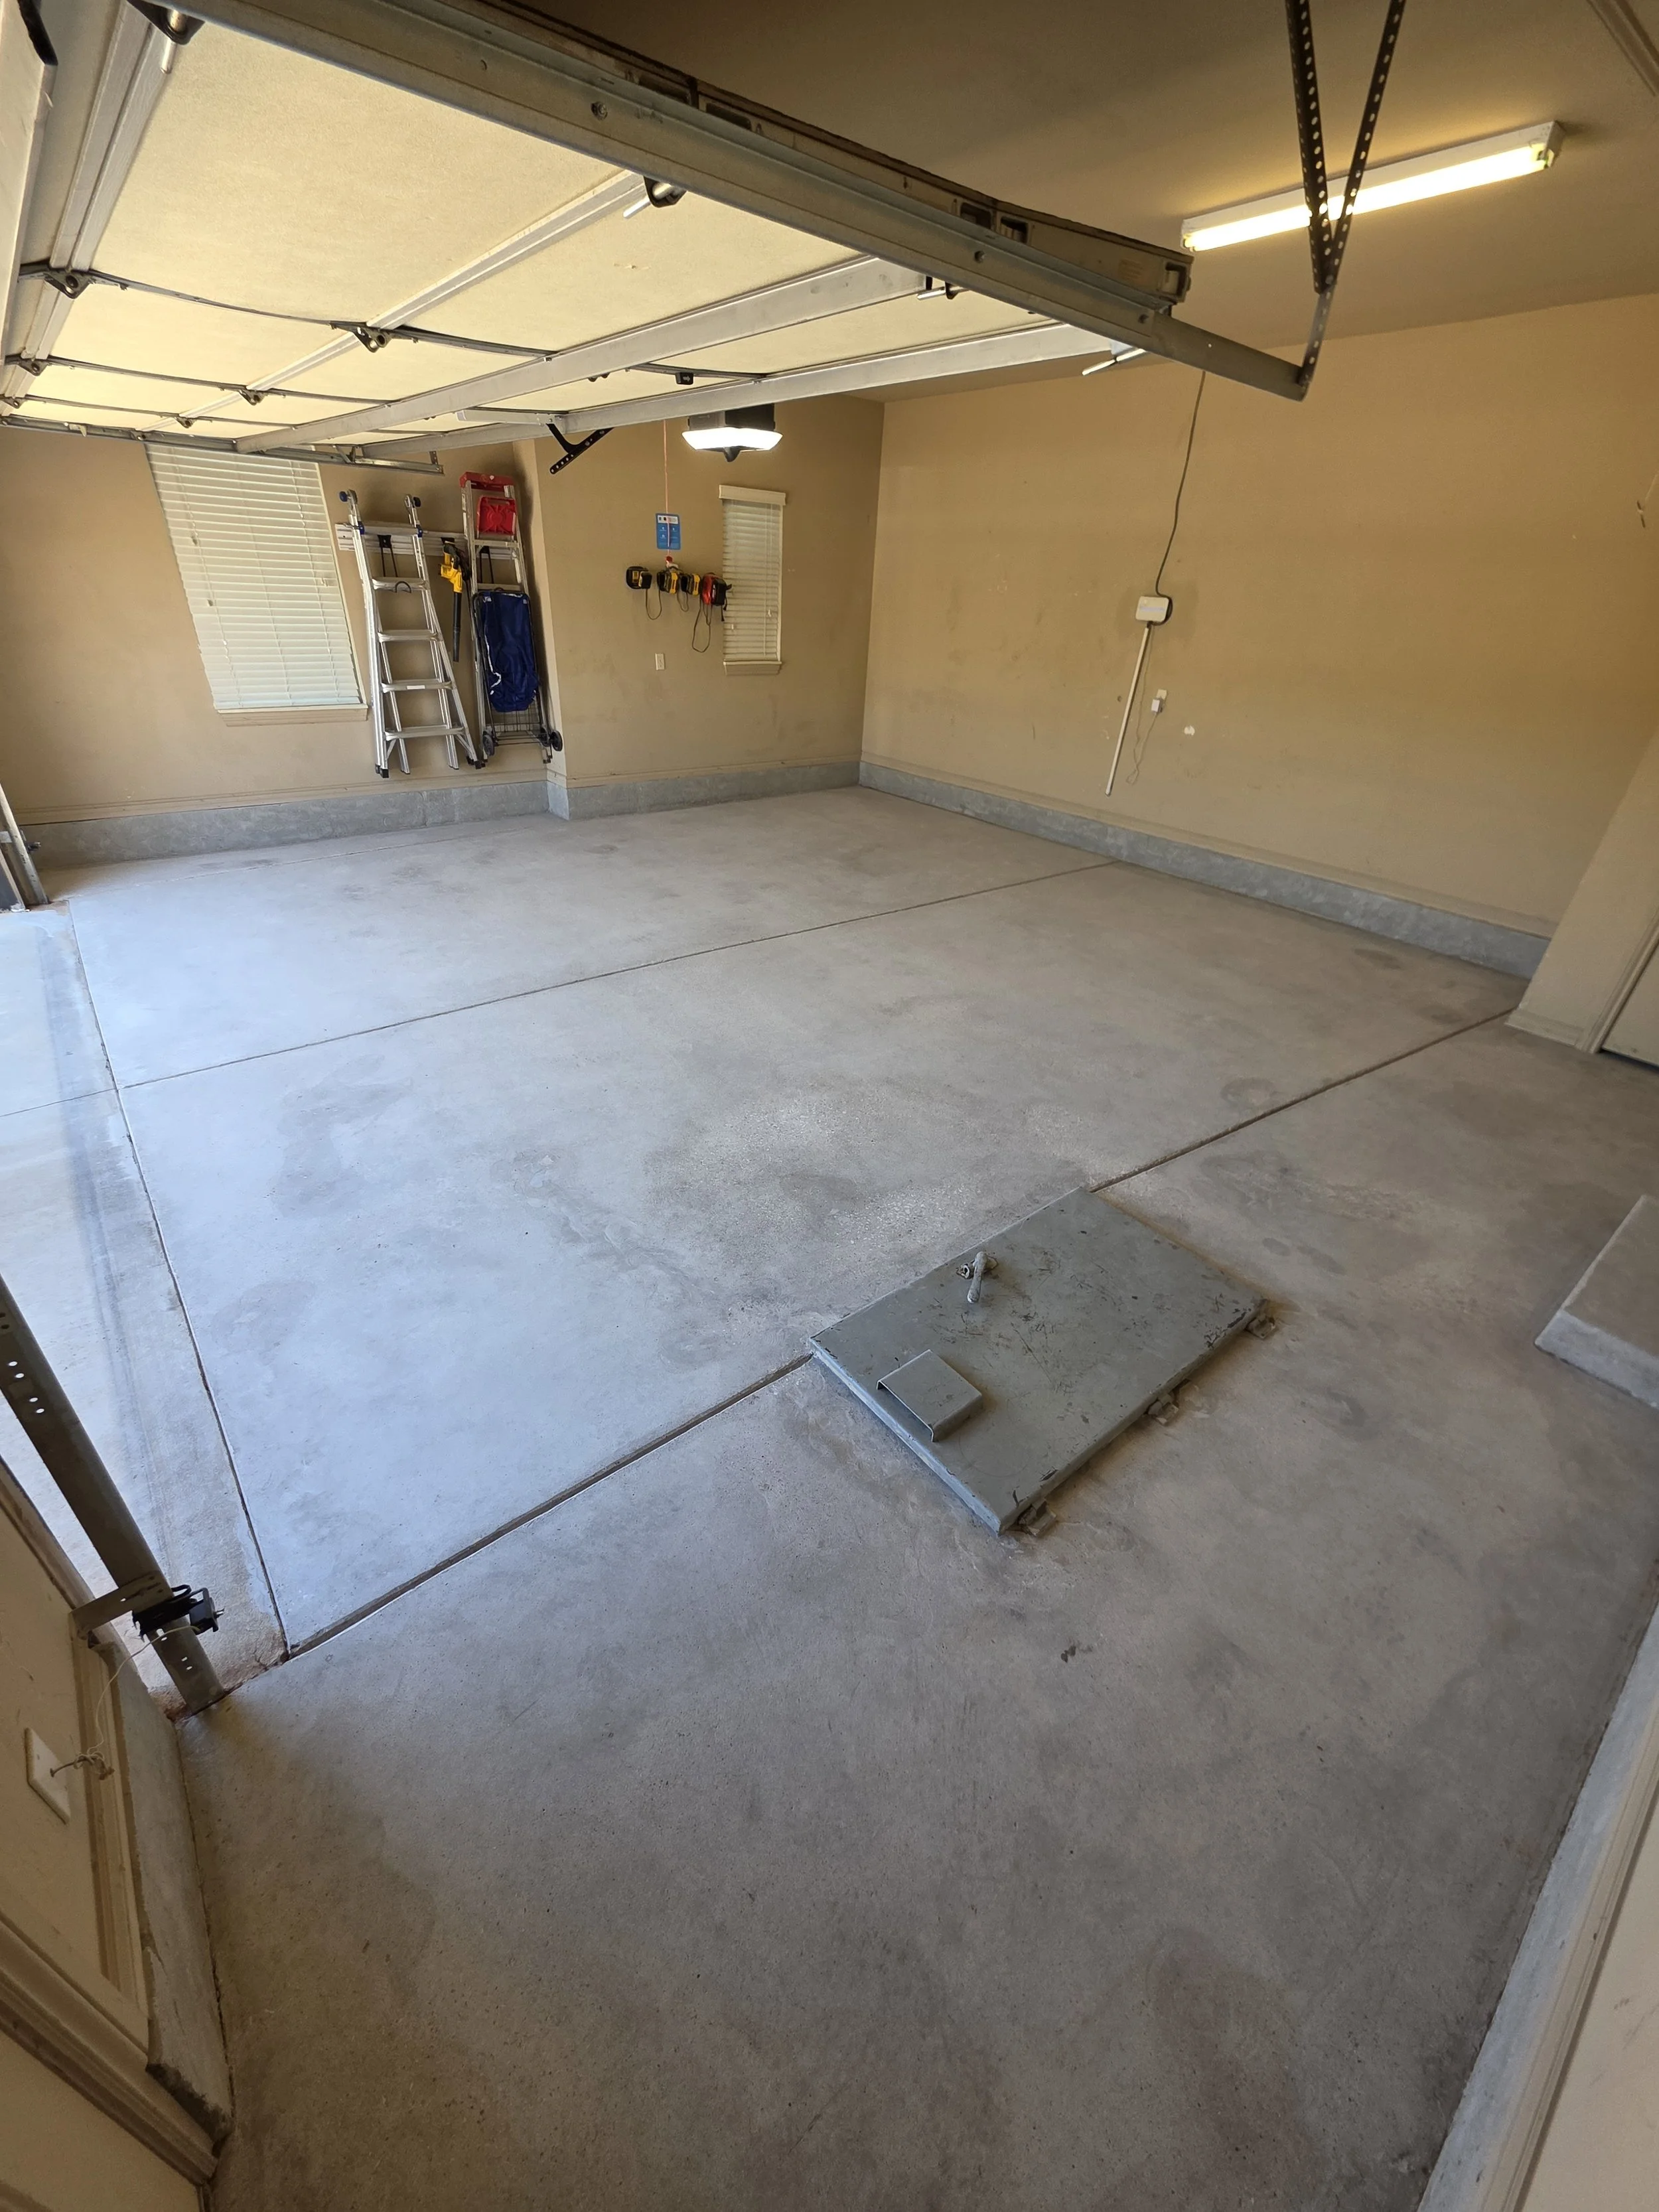
Phase 1 - Side shot of patched and ground concrete. Spalling is repaired
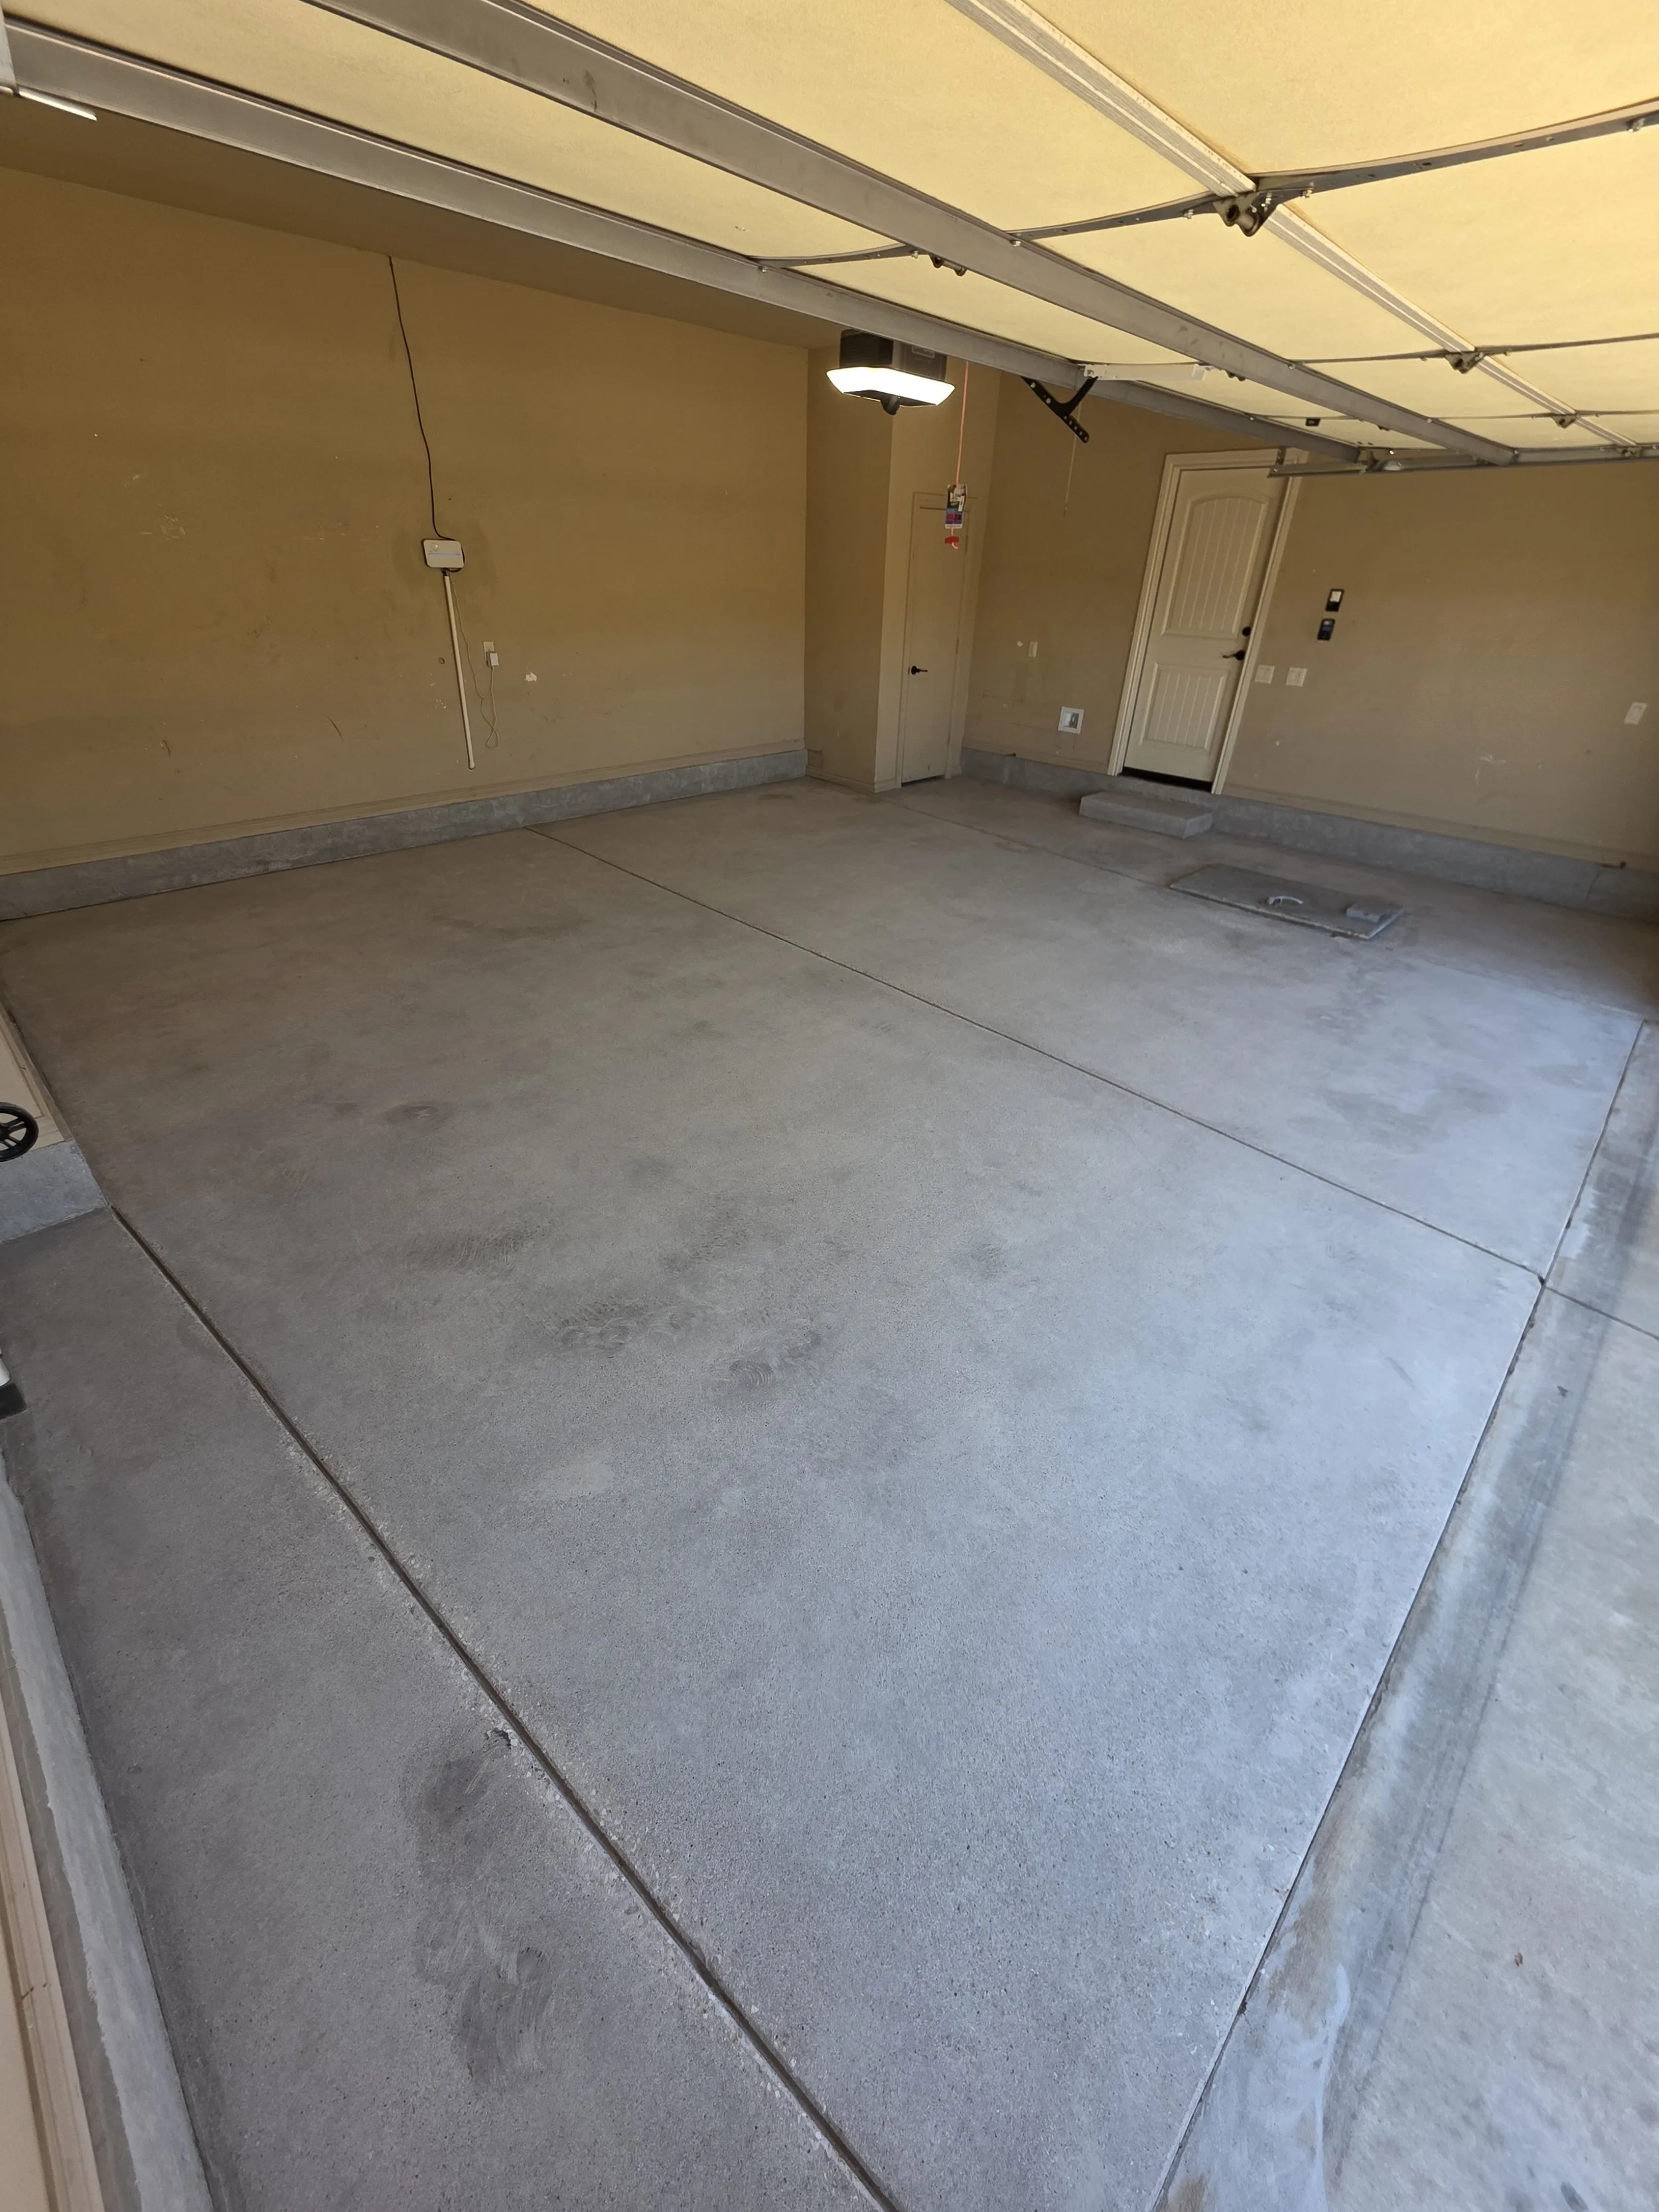
Phase 1 - Side shot of patched and repaired concrete. Some fixed cracks visible
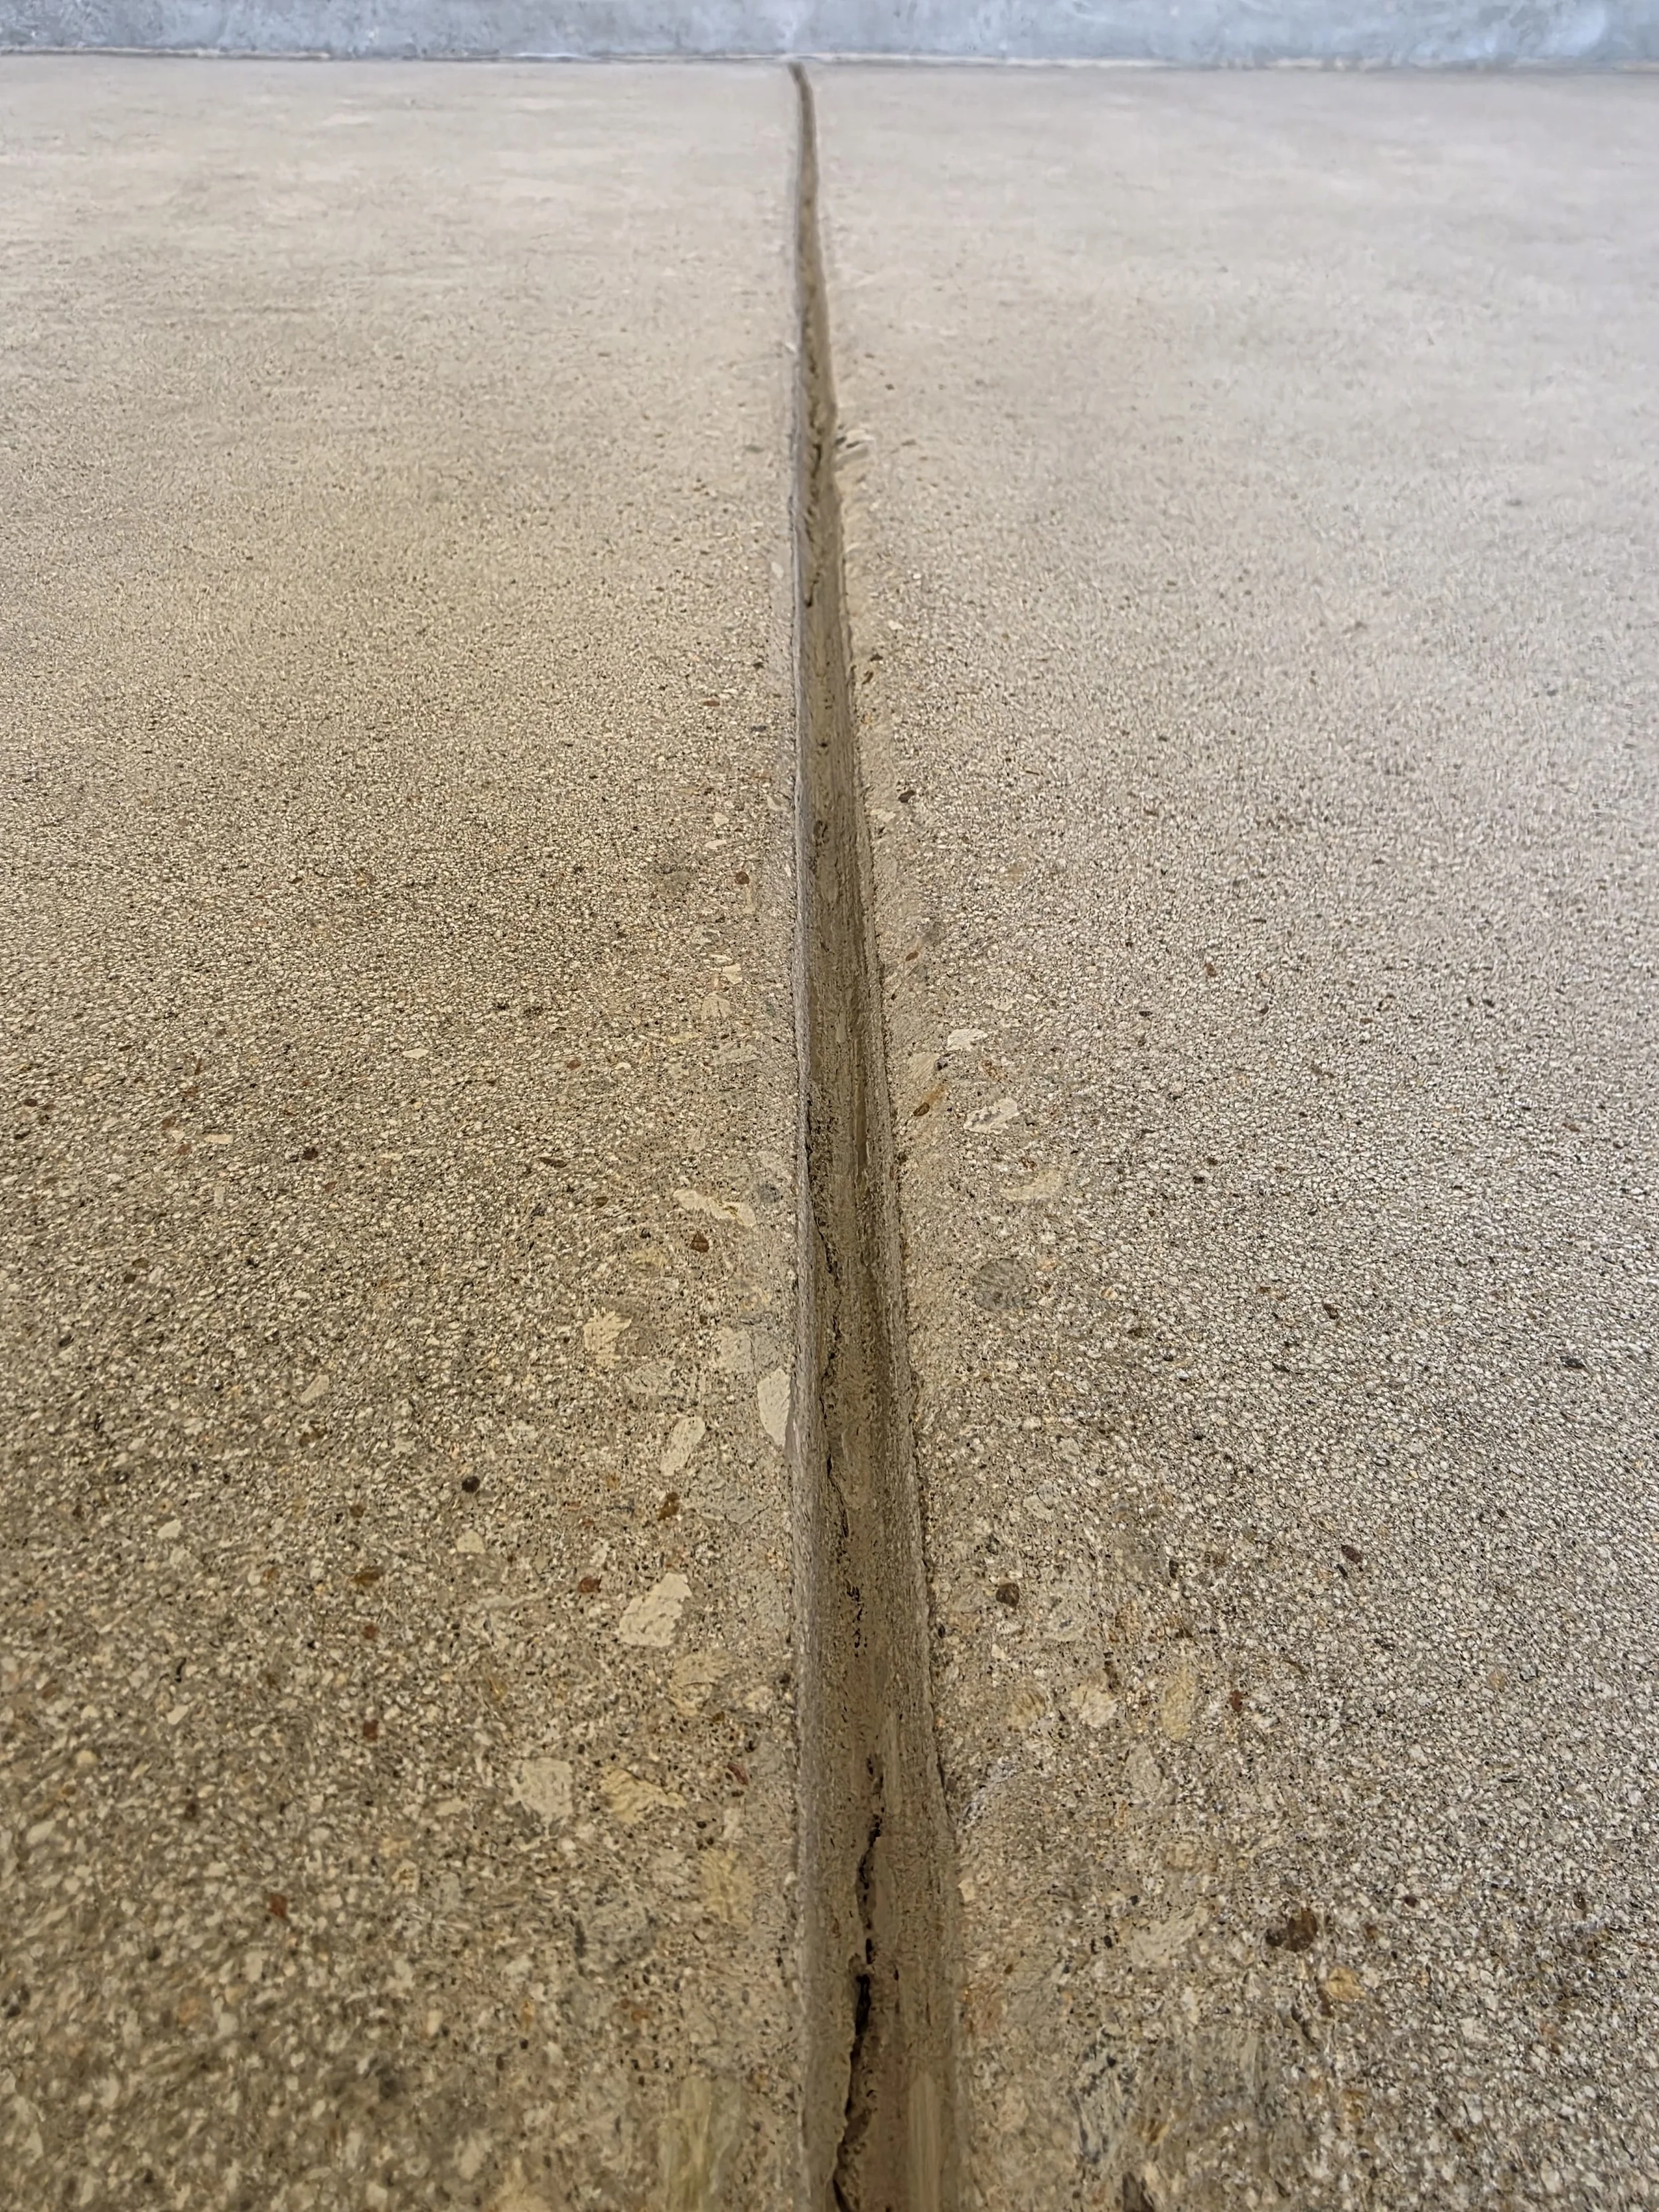
Phase 1 - Expansion Joint is cleaned out and ground with diamond blade.
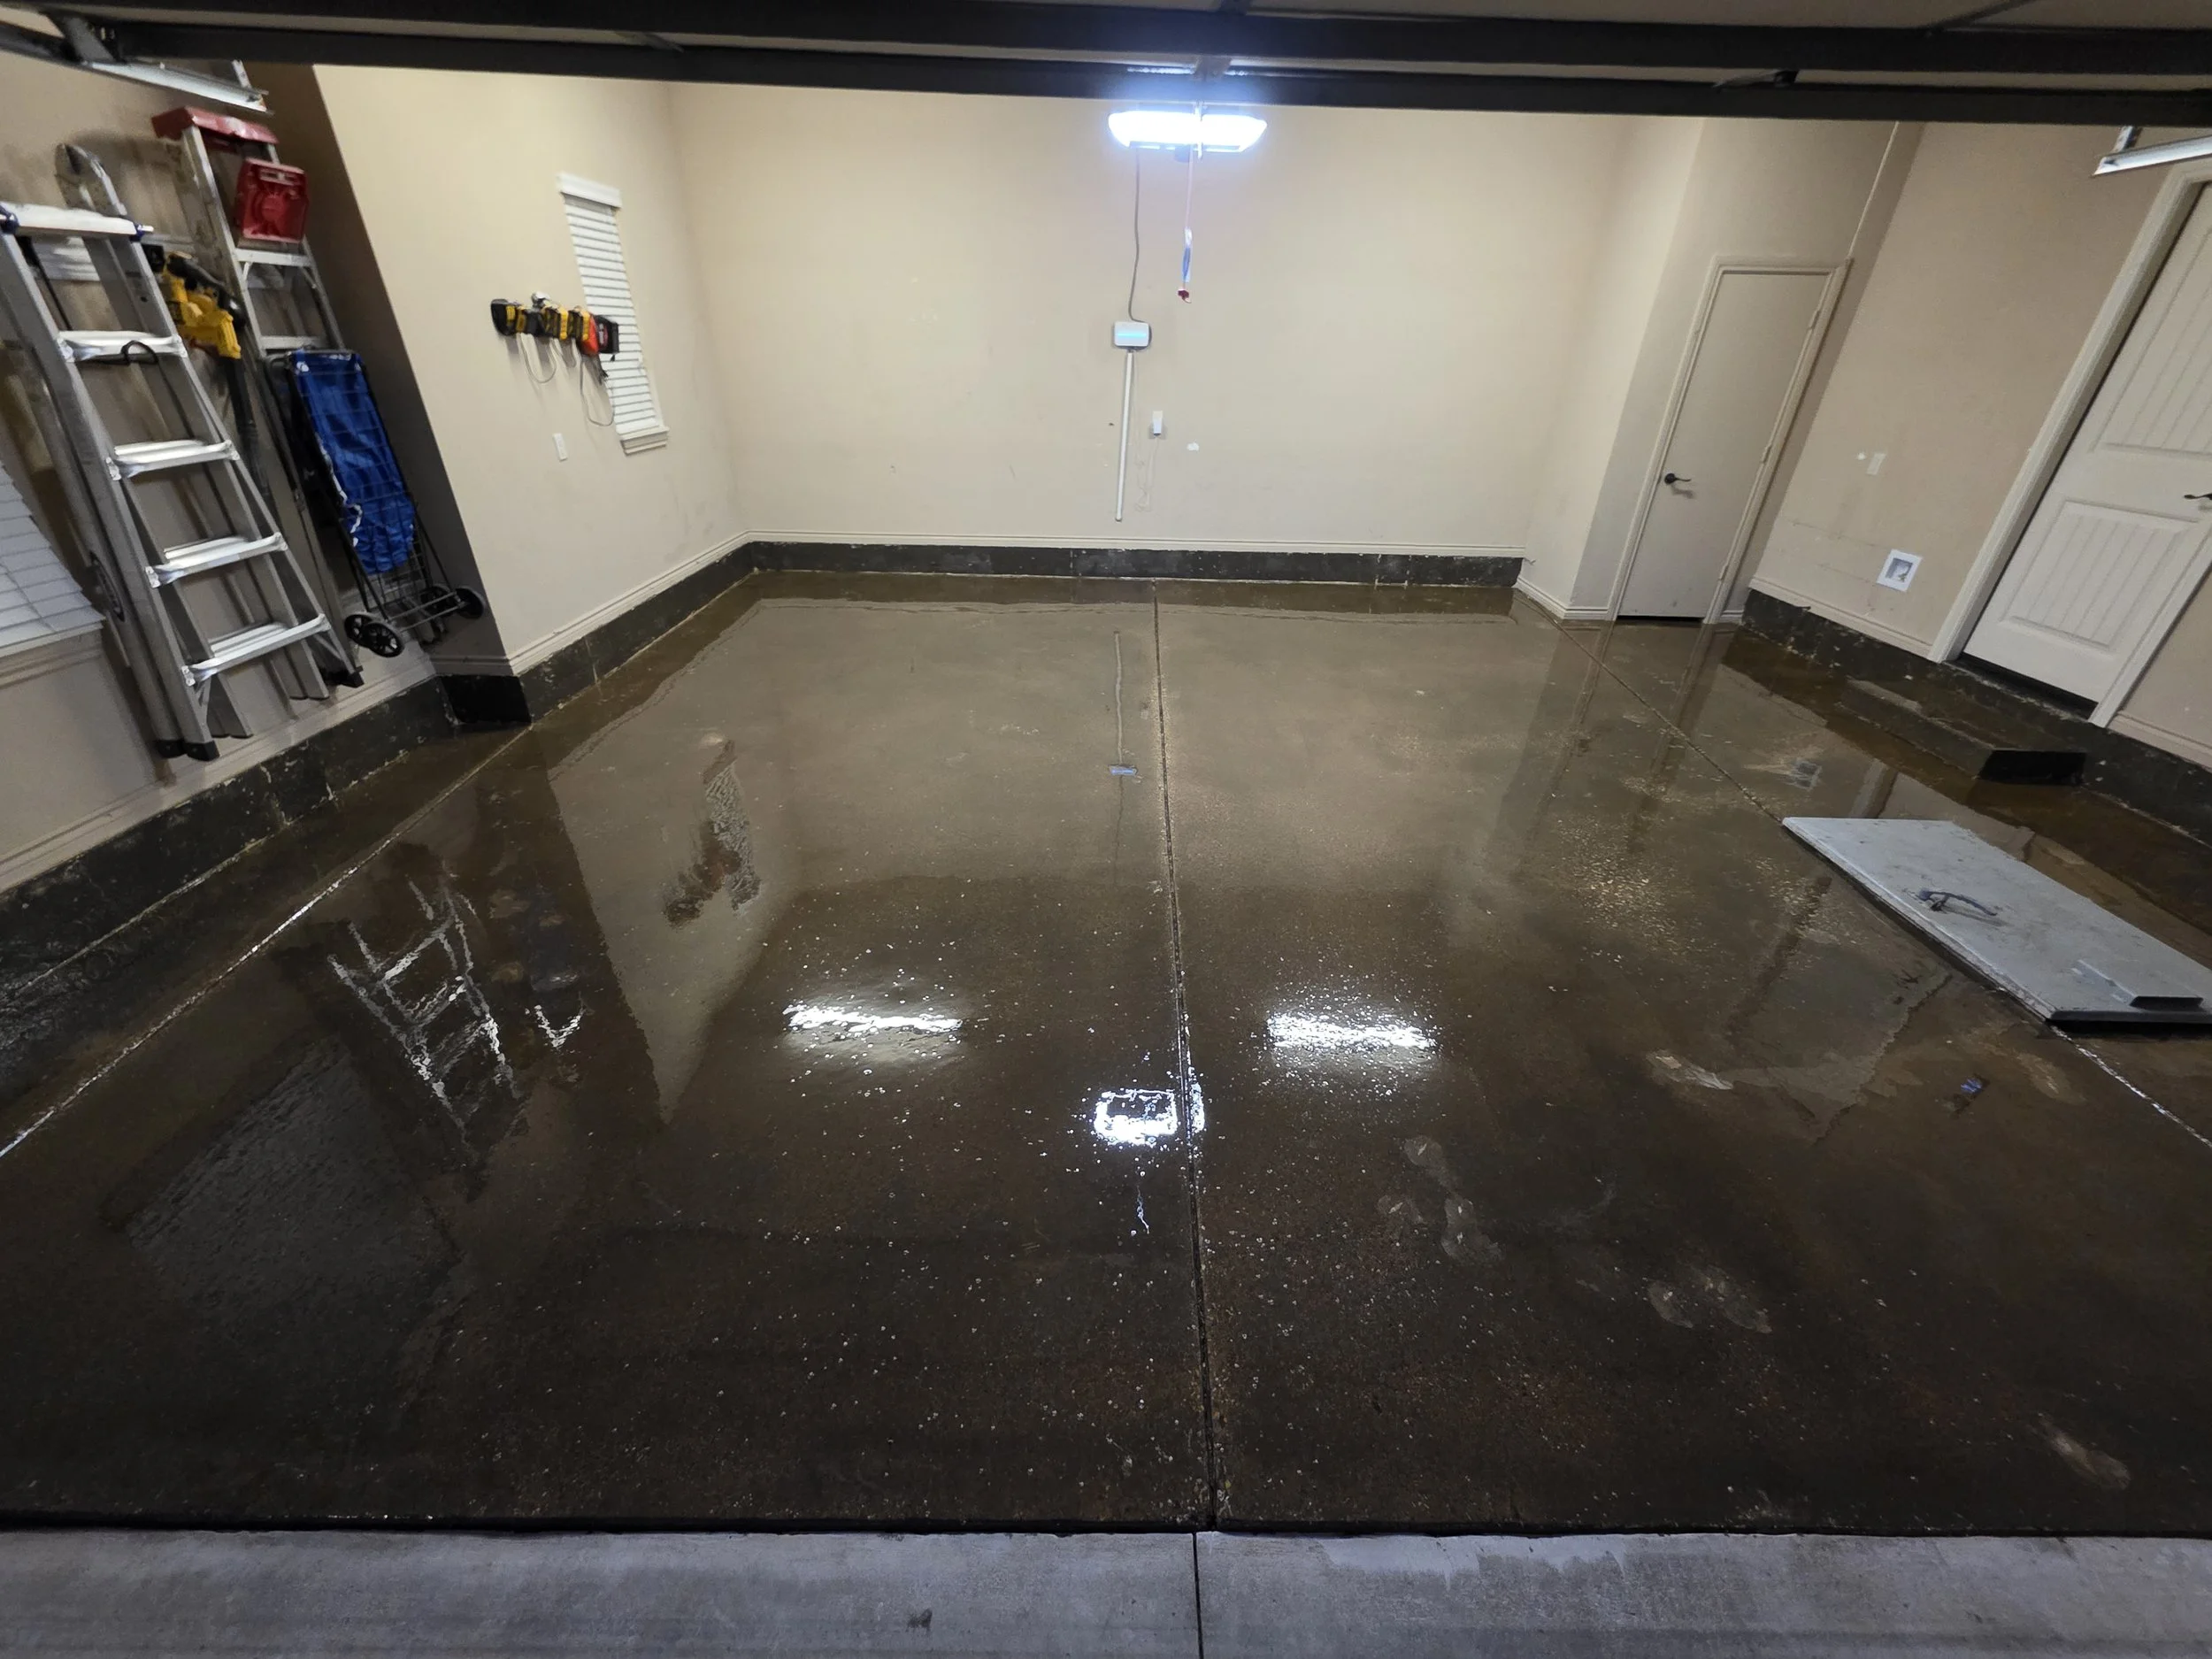
Phase 2 - MVB applied everywhere. MVB bubbled up in areas. (Spiked roller did not help)
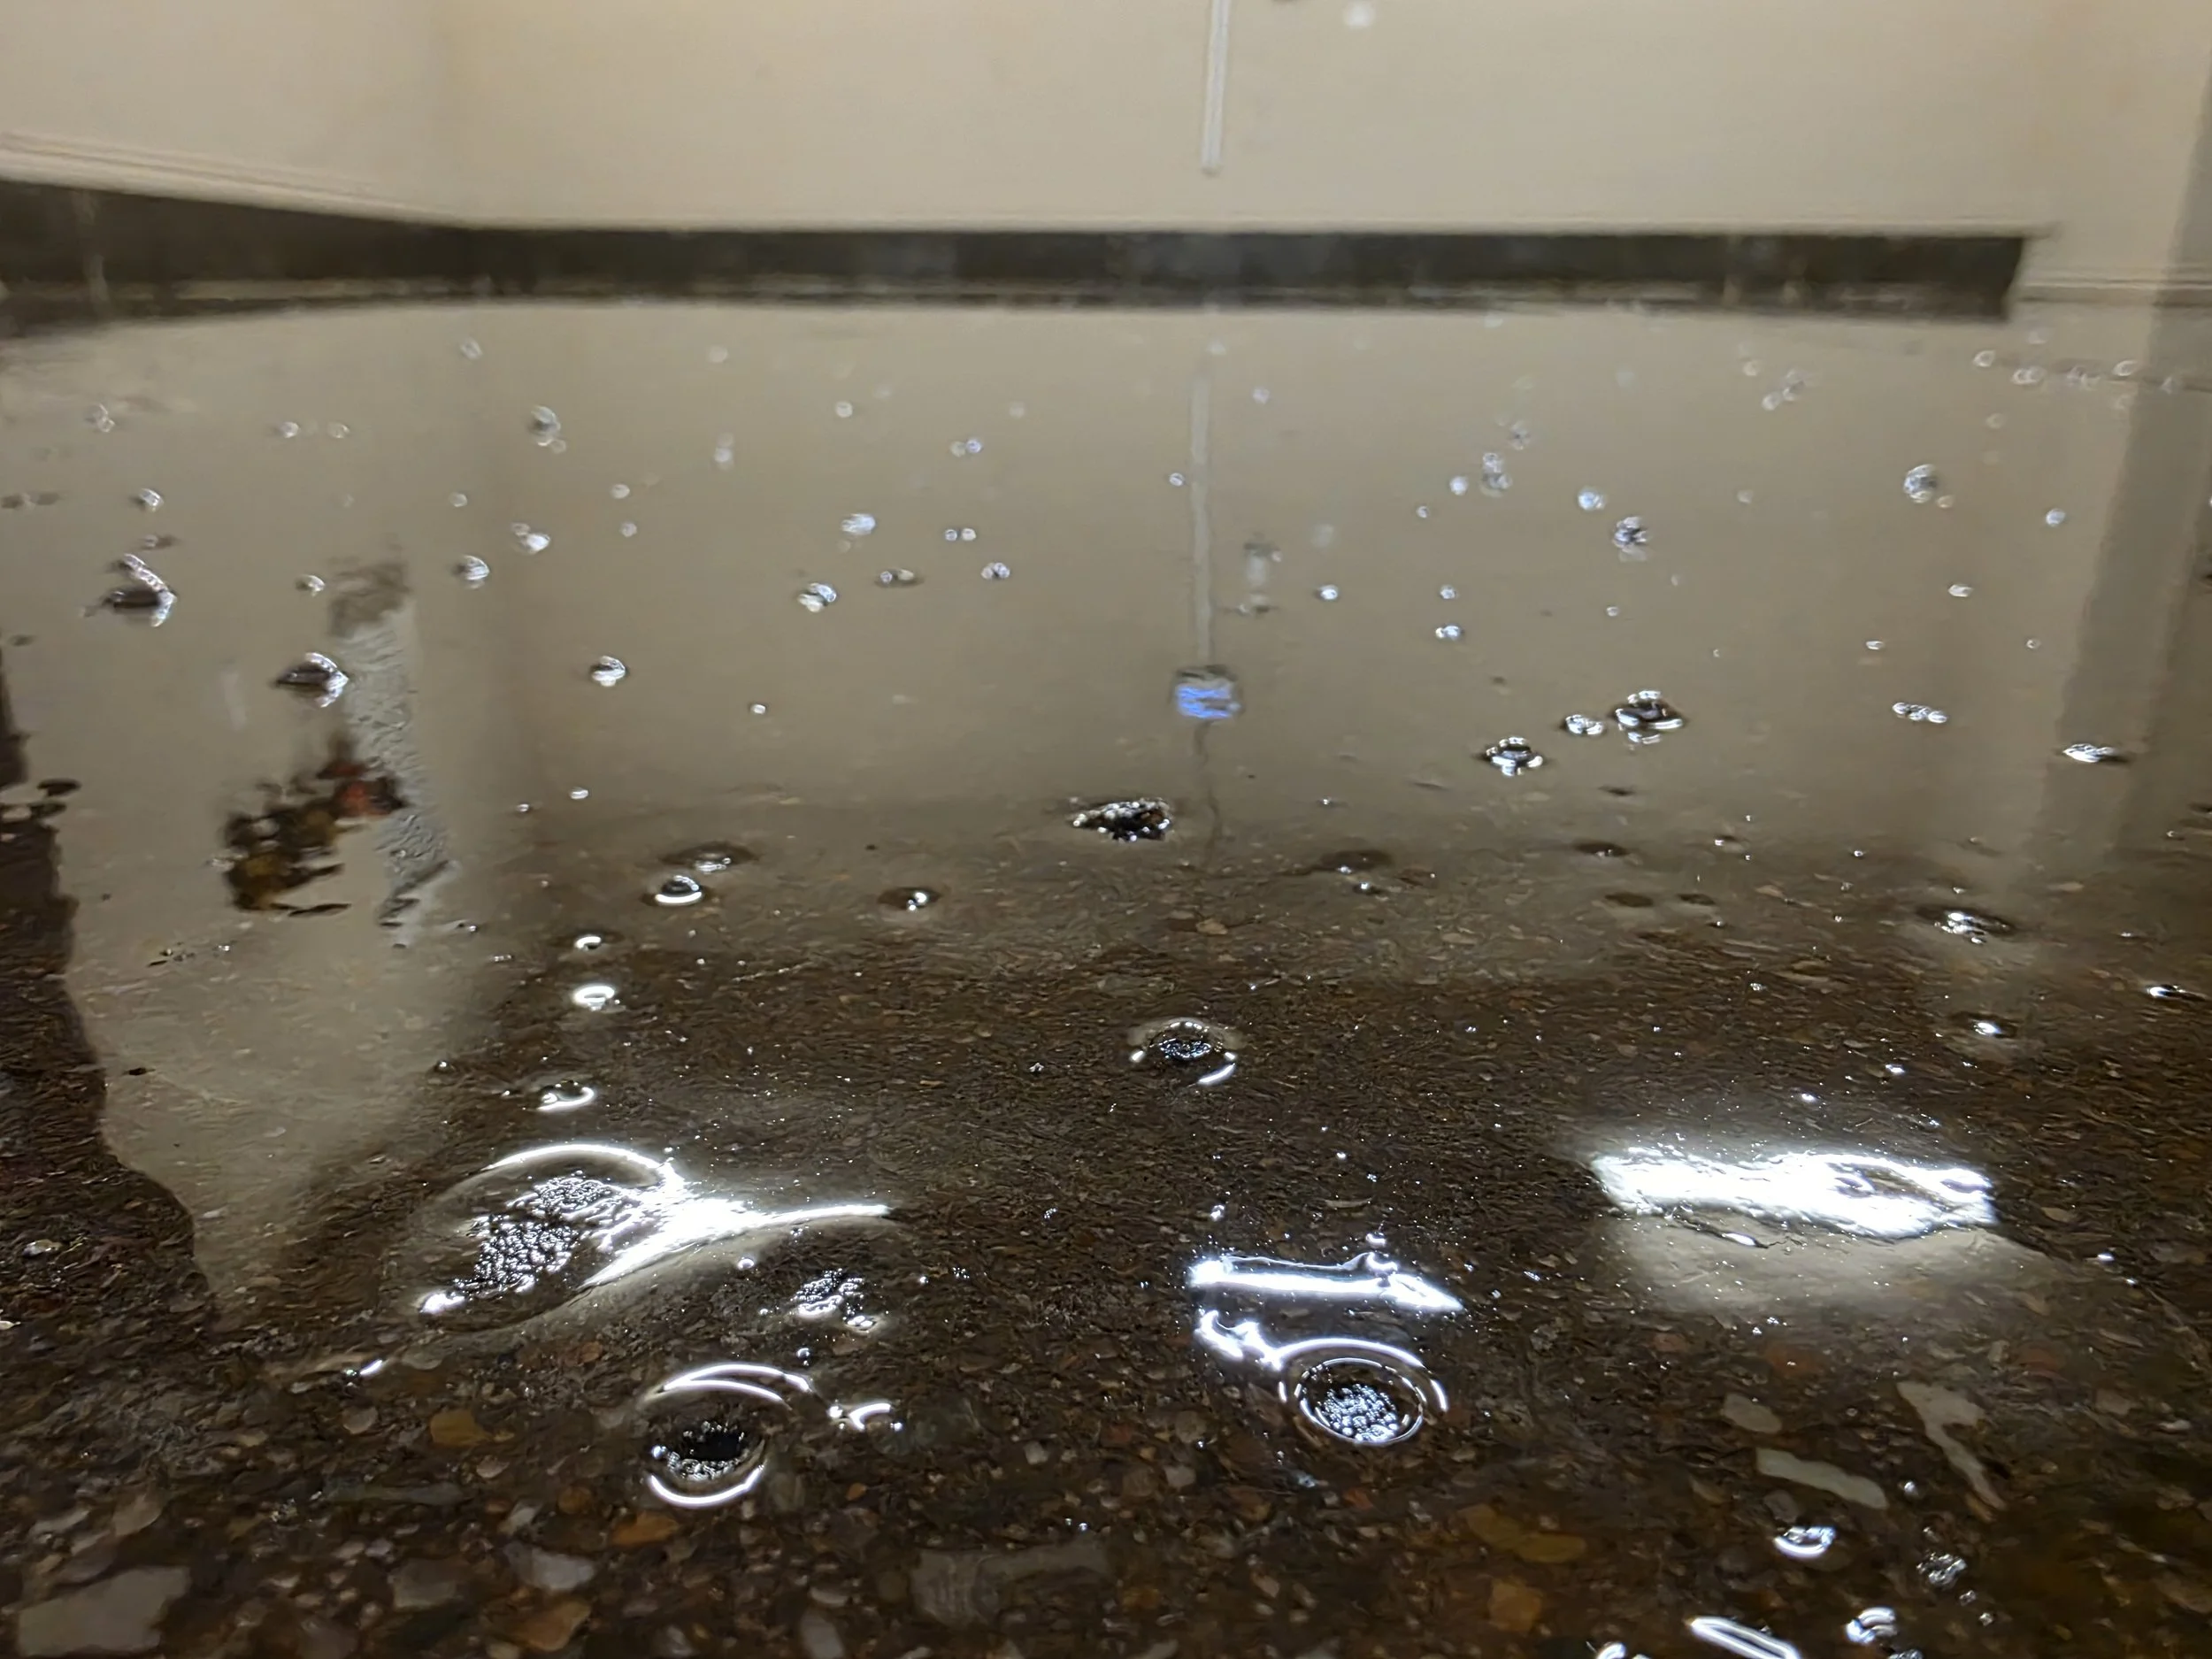
Phase 2 - Closeup of MVB & bubbles
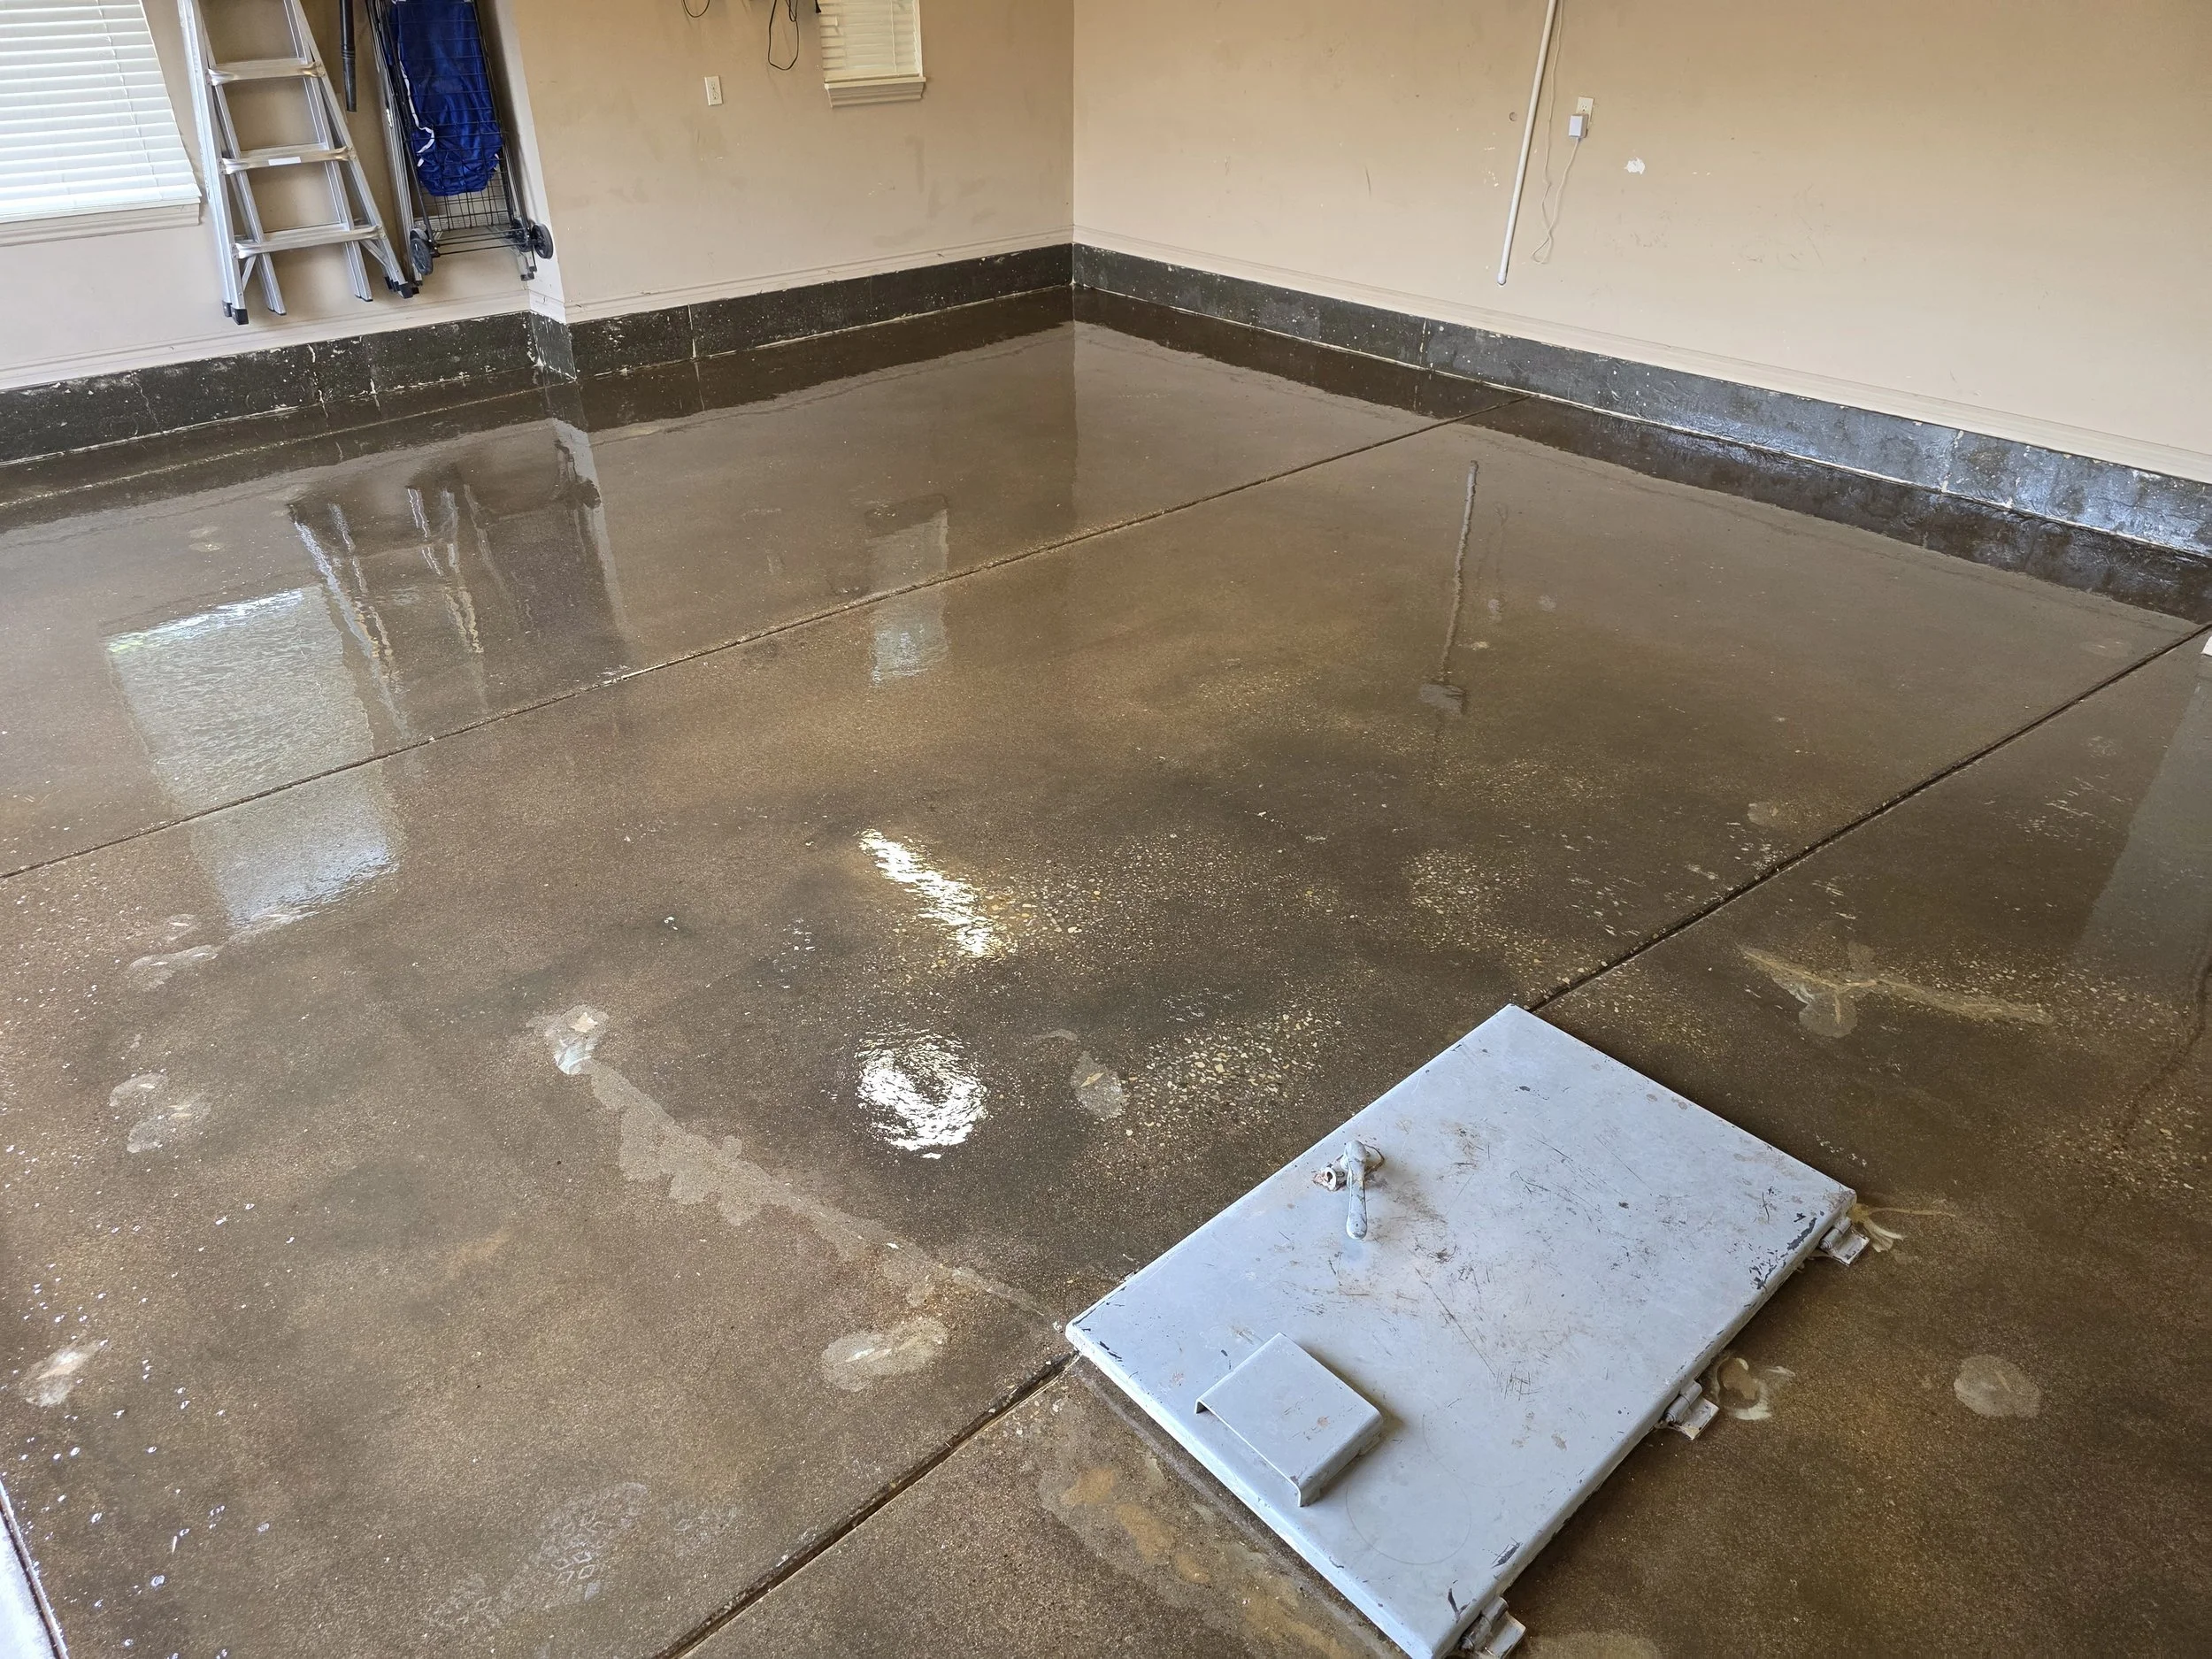
Phase 2 - Side shot of cured MVB
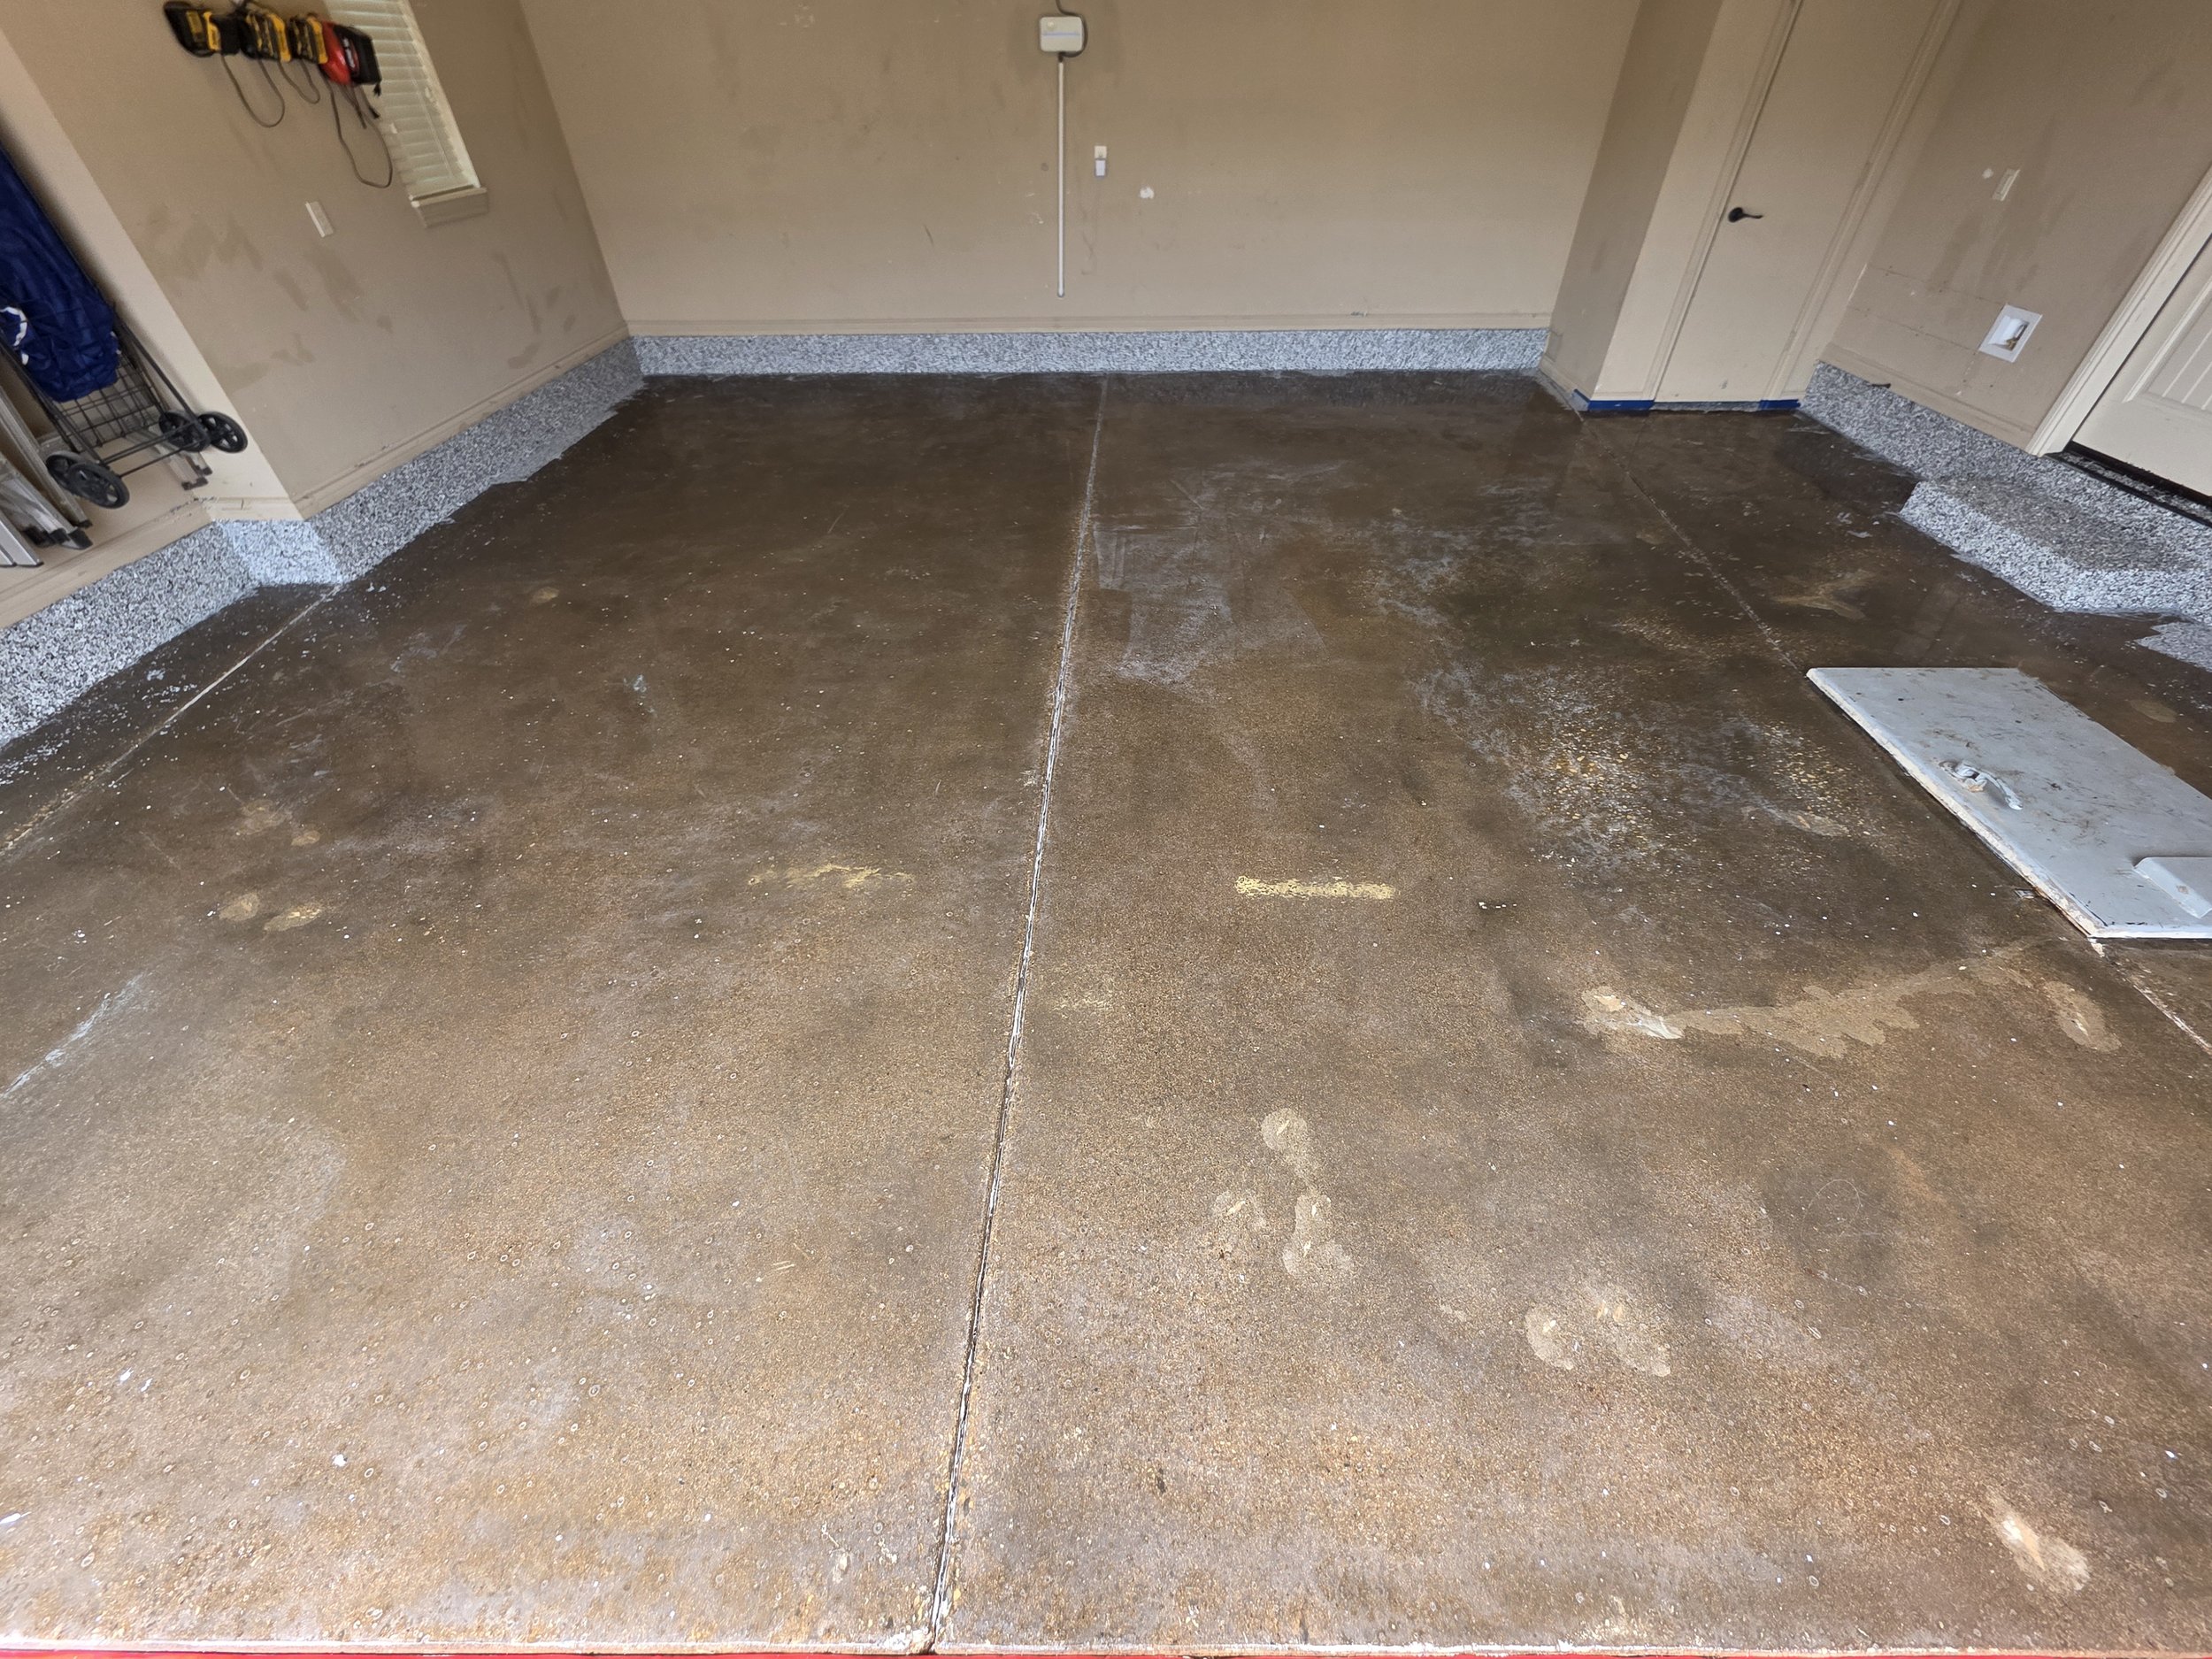
Phase 2.5 - Entire MVB sanded down to remove bubbles and level out the coating.
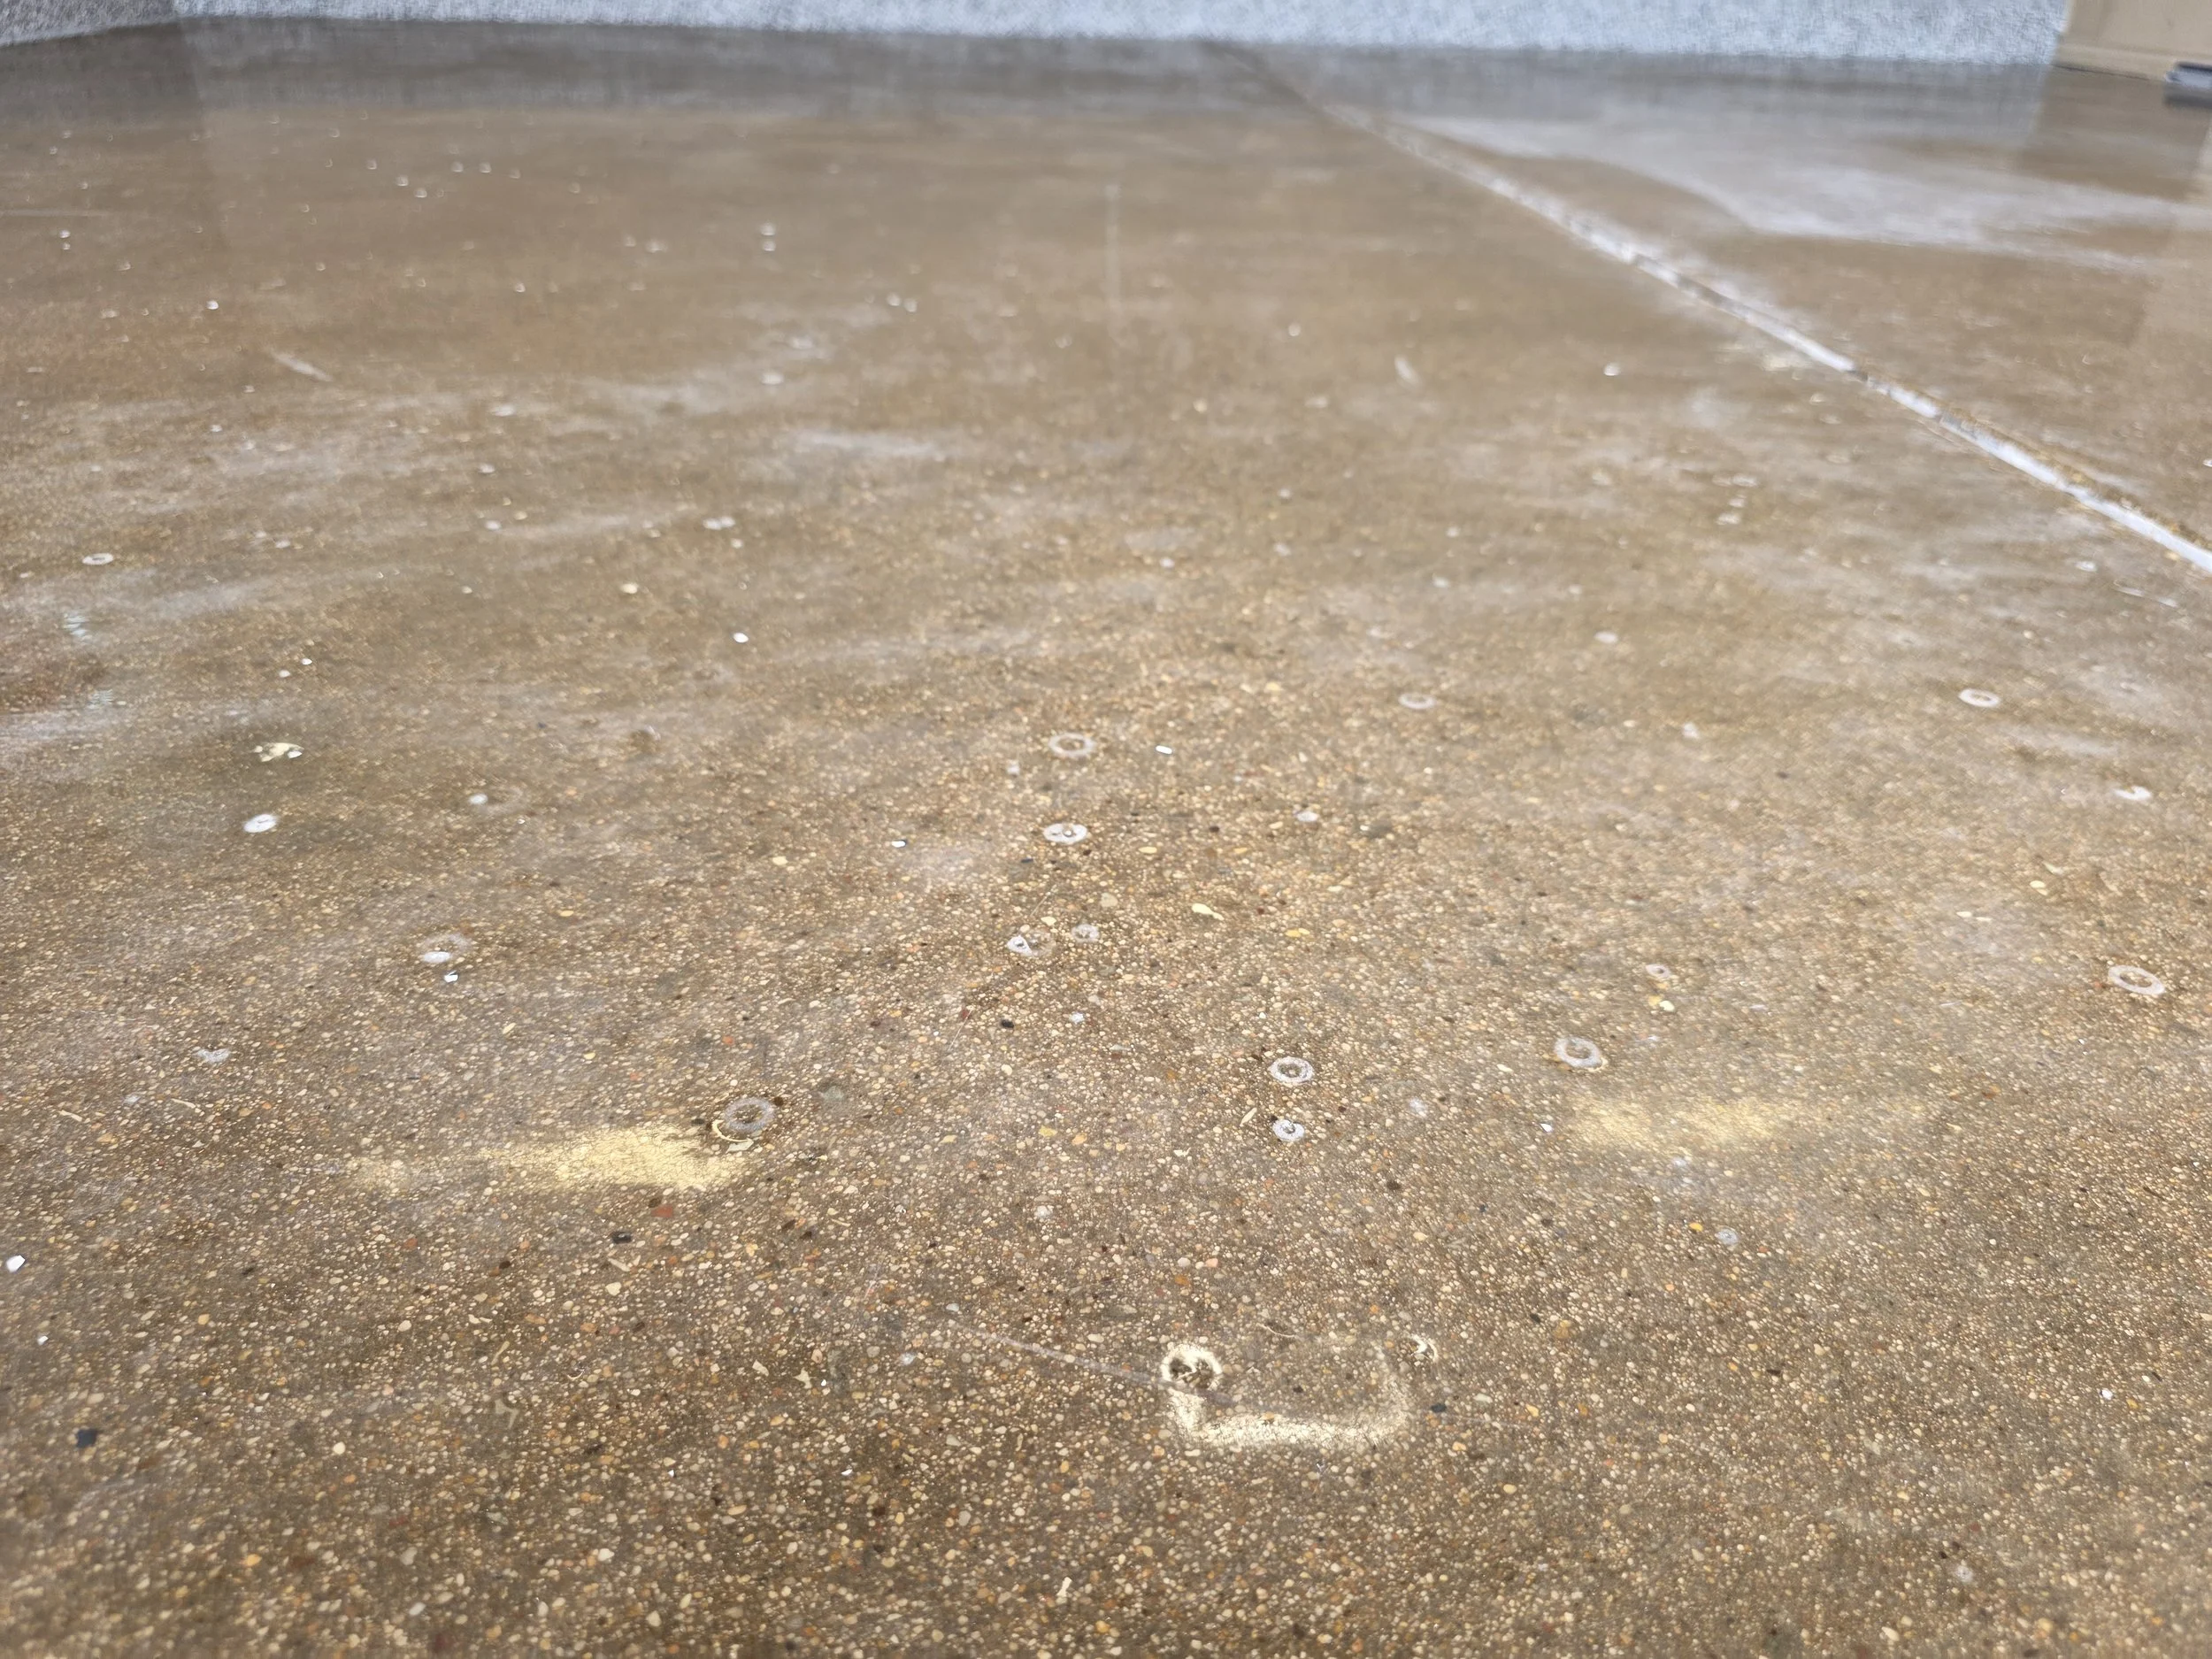
Phase 2.5 - Close up of sanded MVB
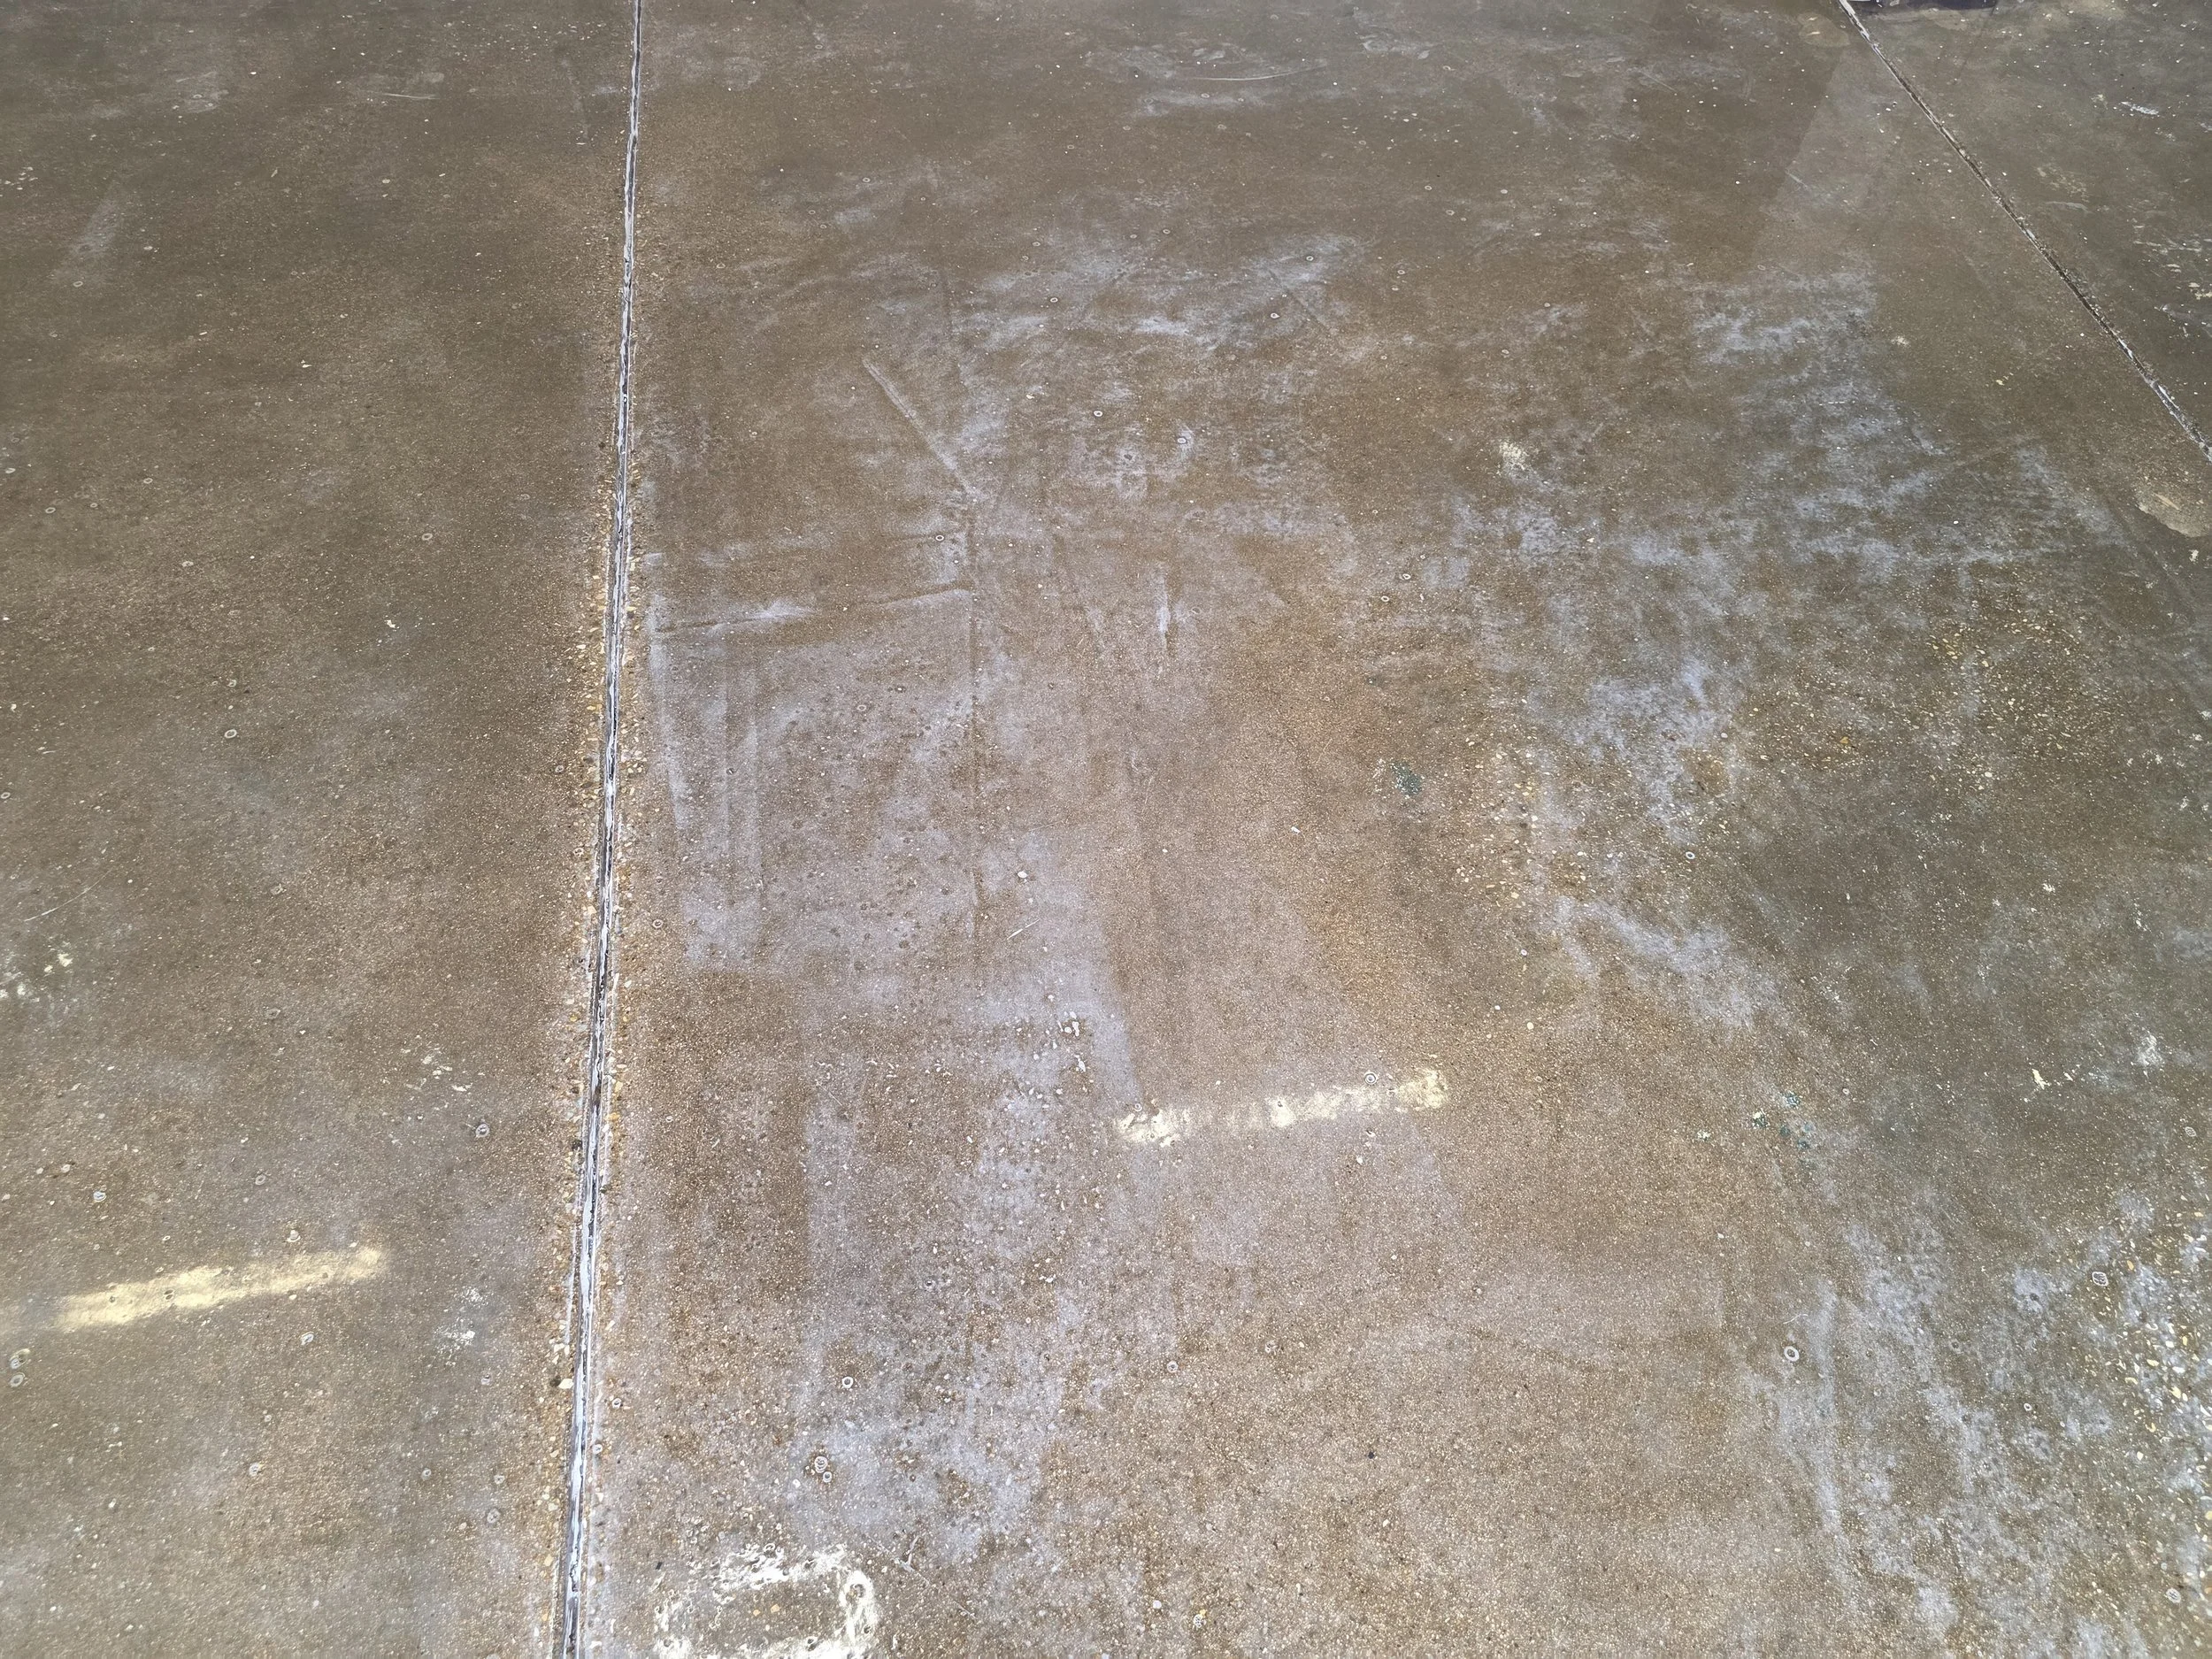
Phase 2.5 - Another shot of the sanded MVB
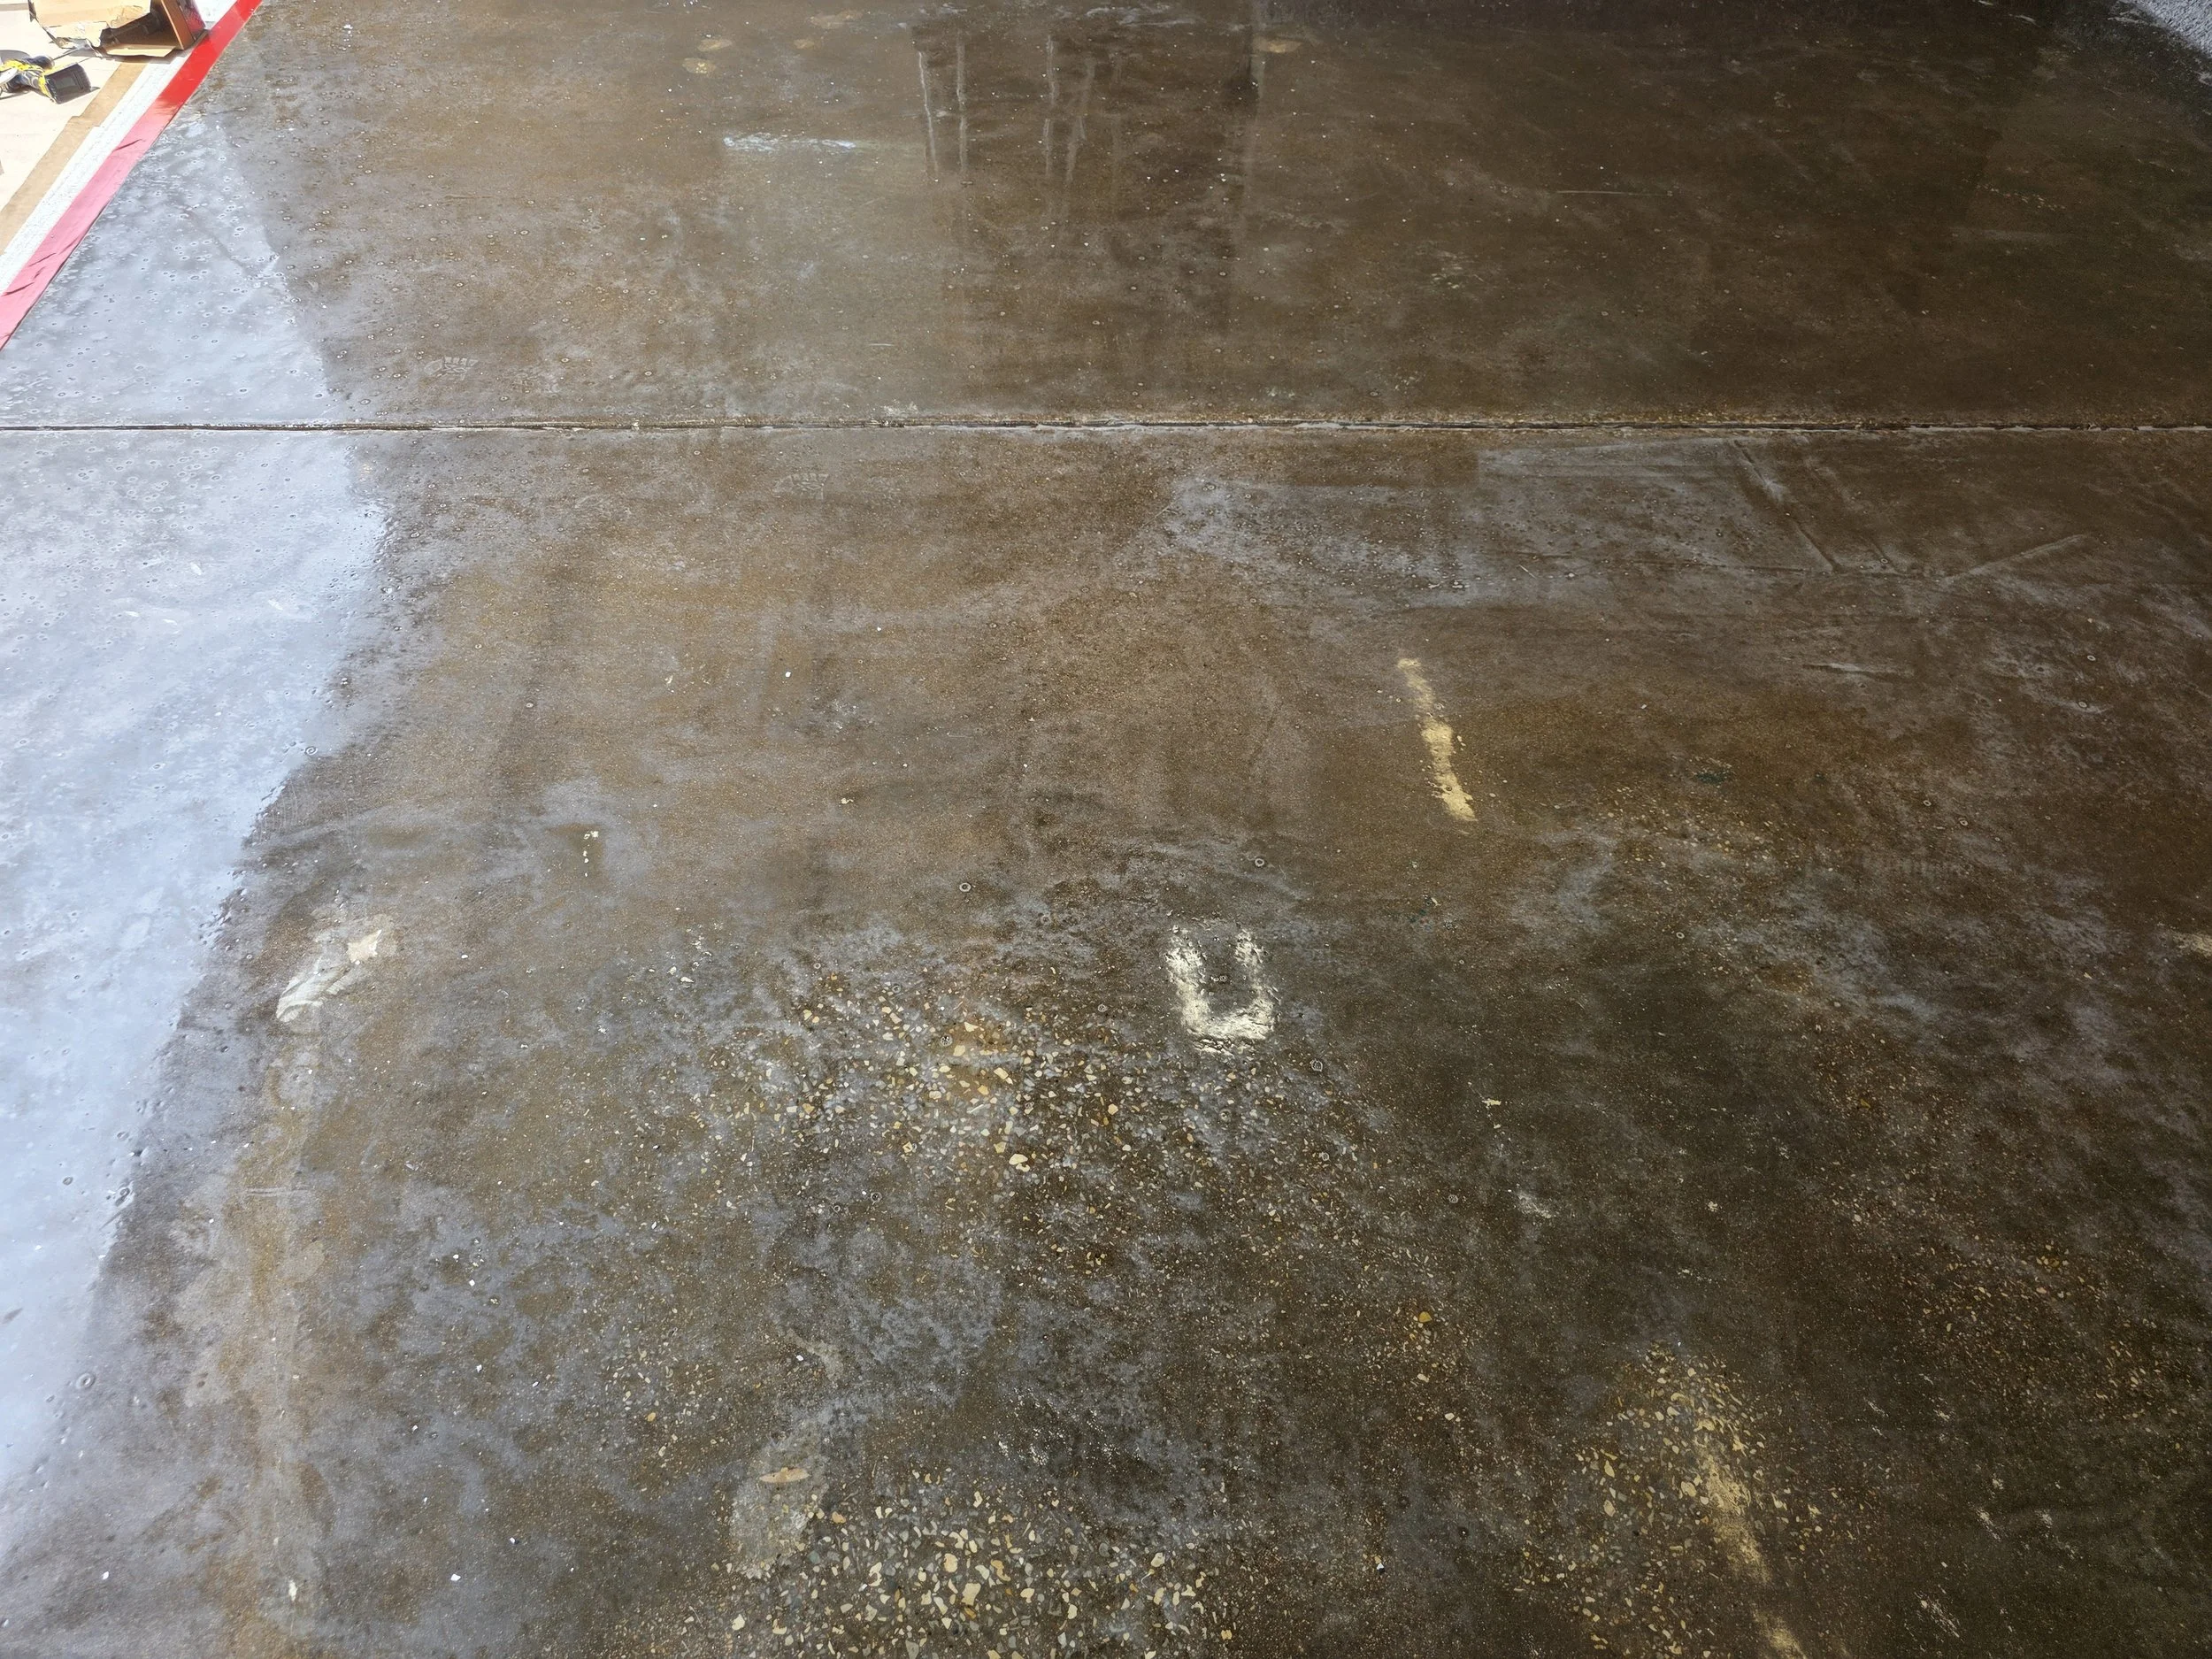
Phase 2.5 - Side angle of sanded MVB

Phase 3 - Medium Gray Polyaspartic applied overtop MVB. Floor and stem walls have Domino 1/4" Flake broadcasted to rejection. Entire floor and walls scraped to remove jagged flakes.
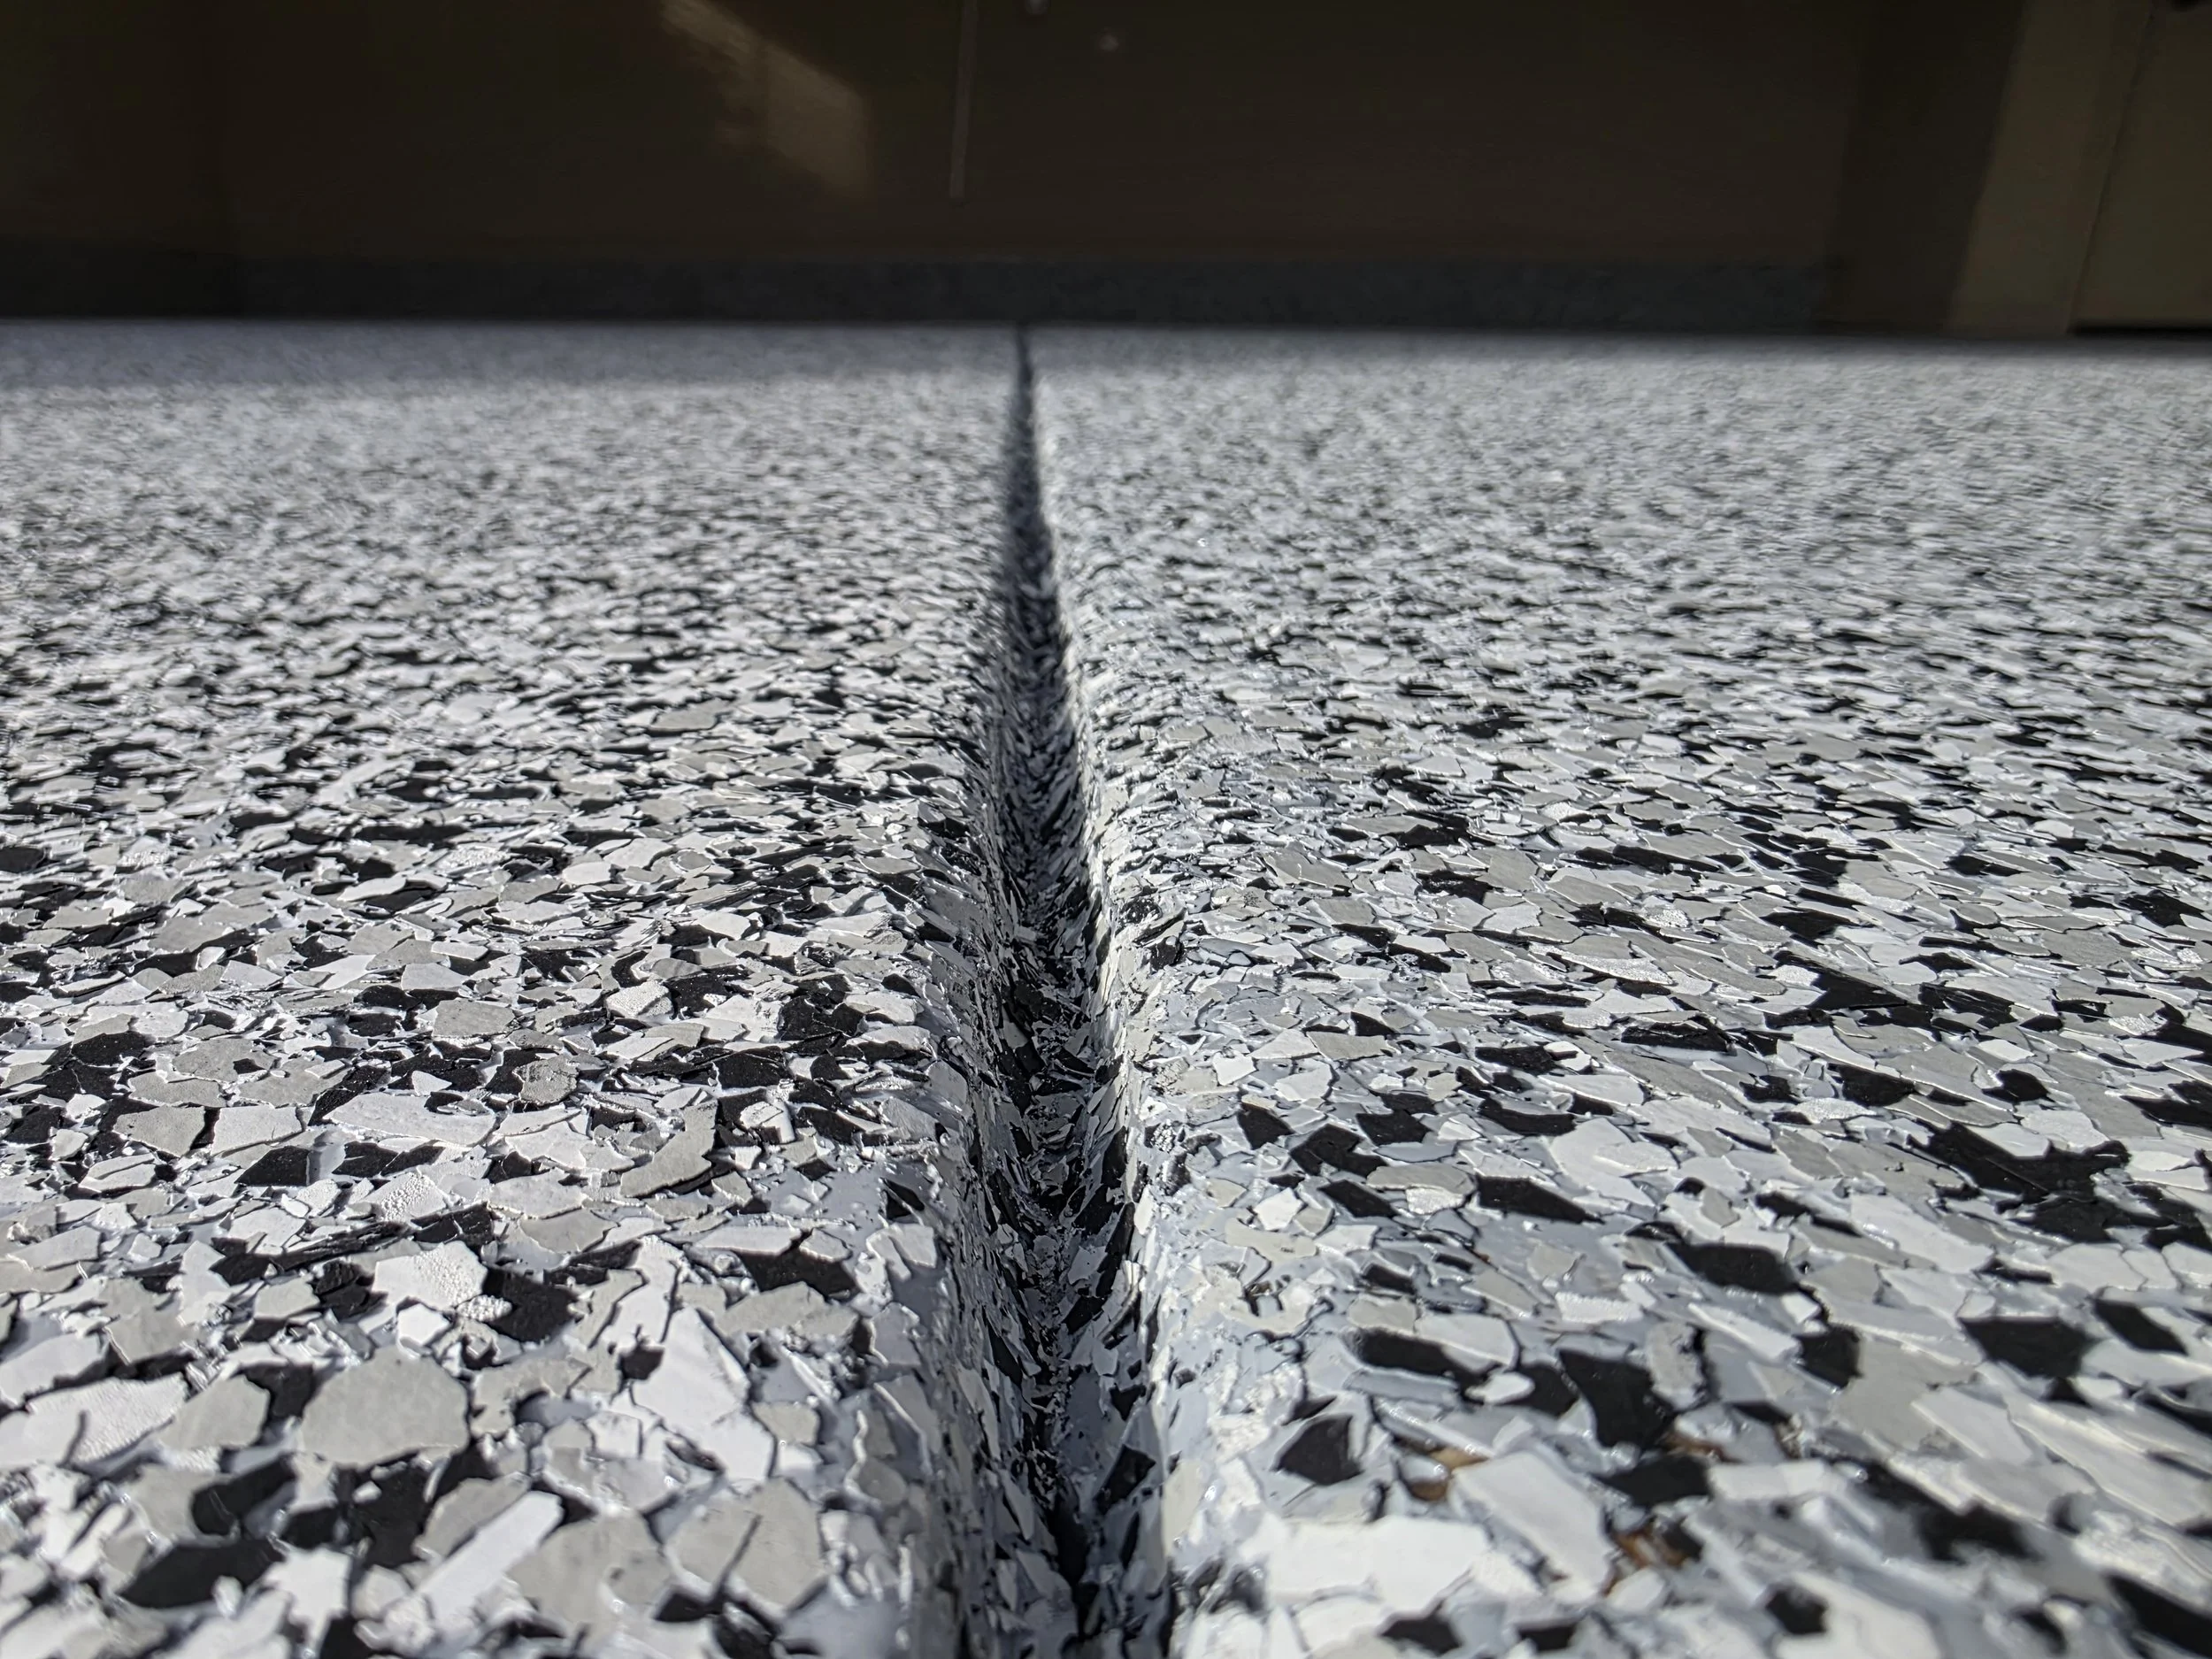
Phase 3 - Close up of expansion joint
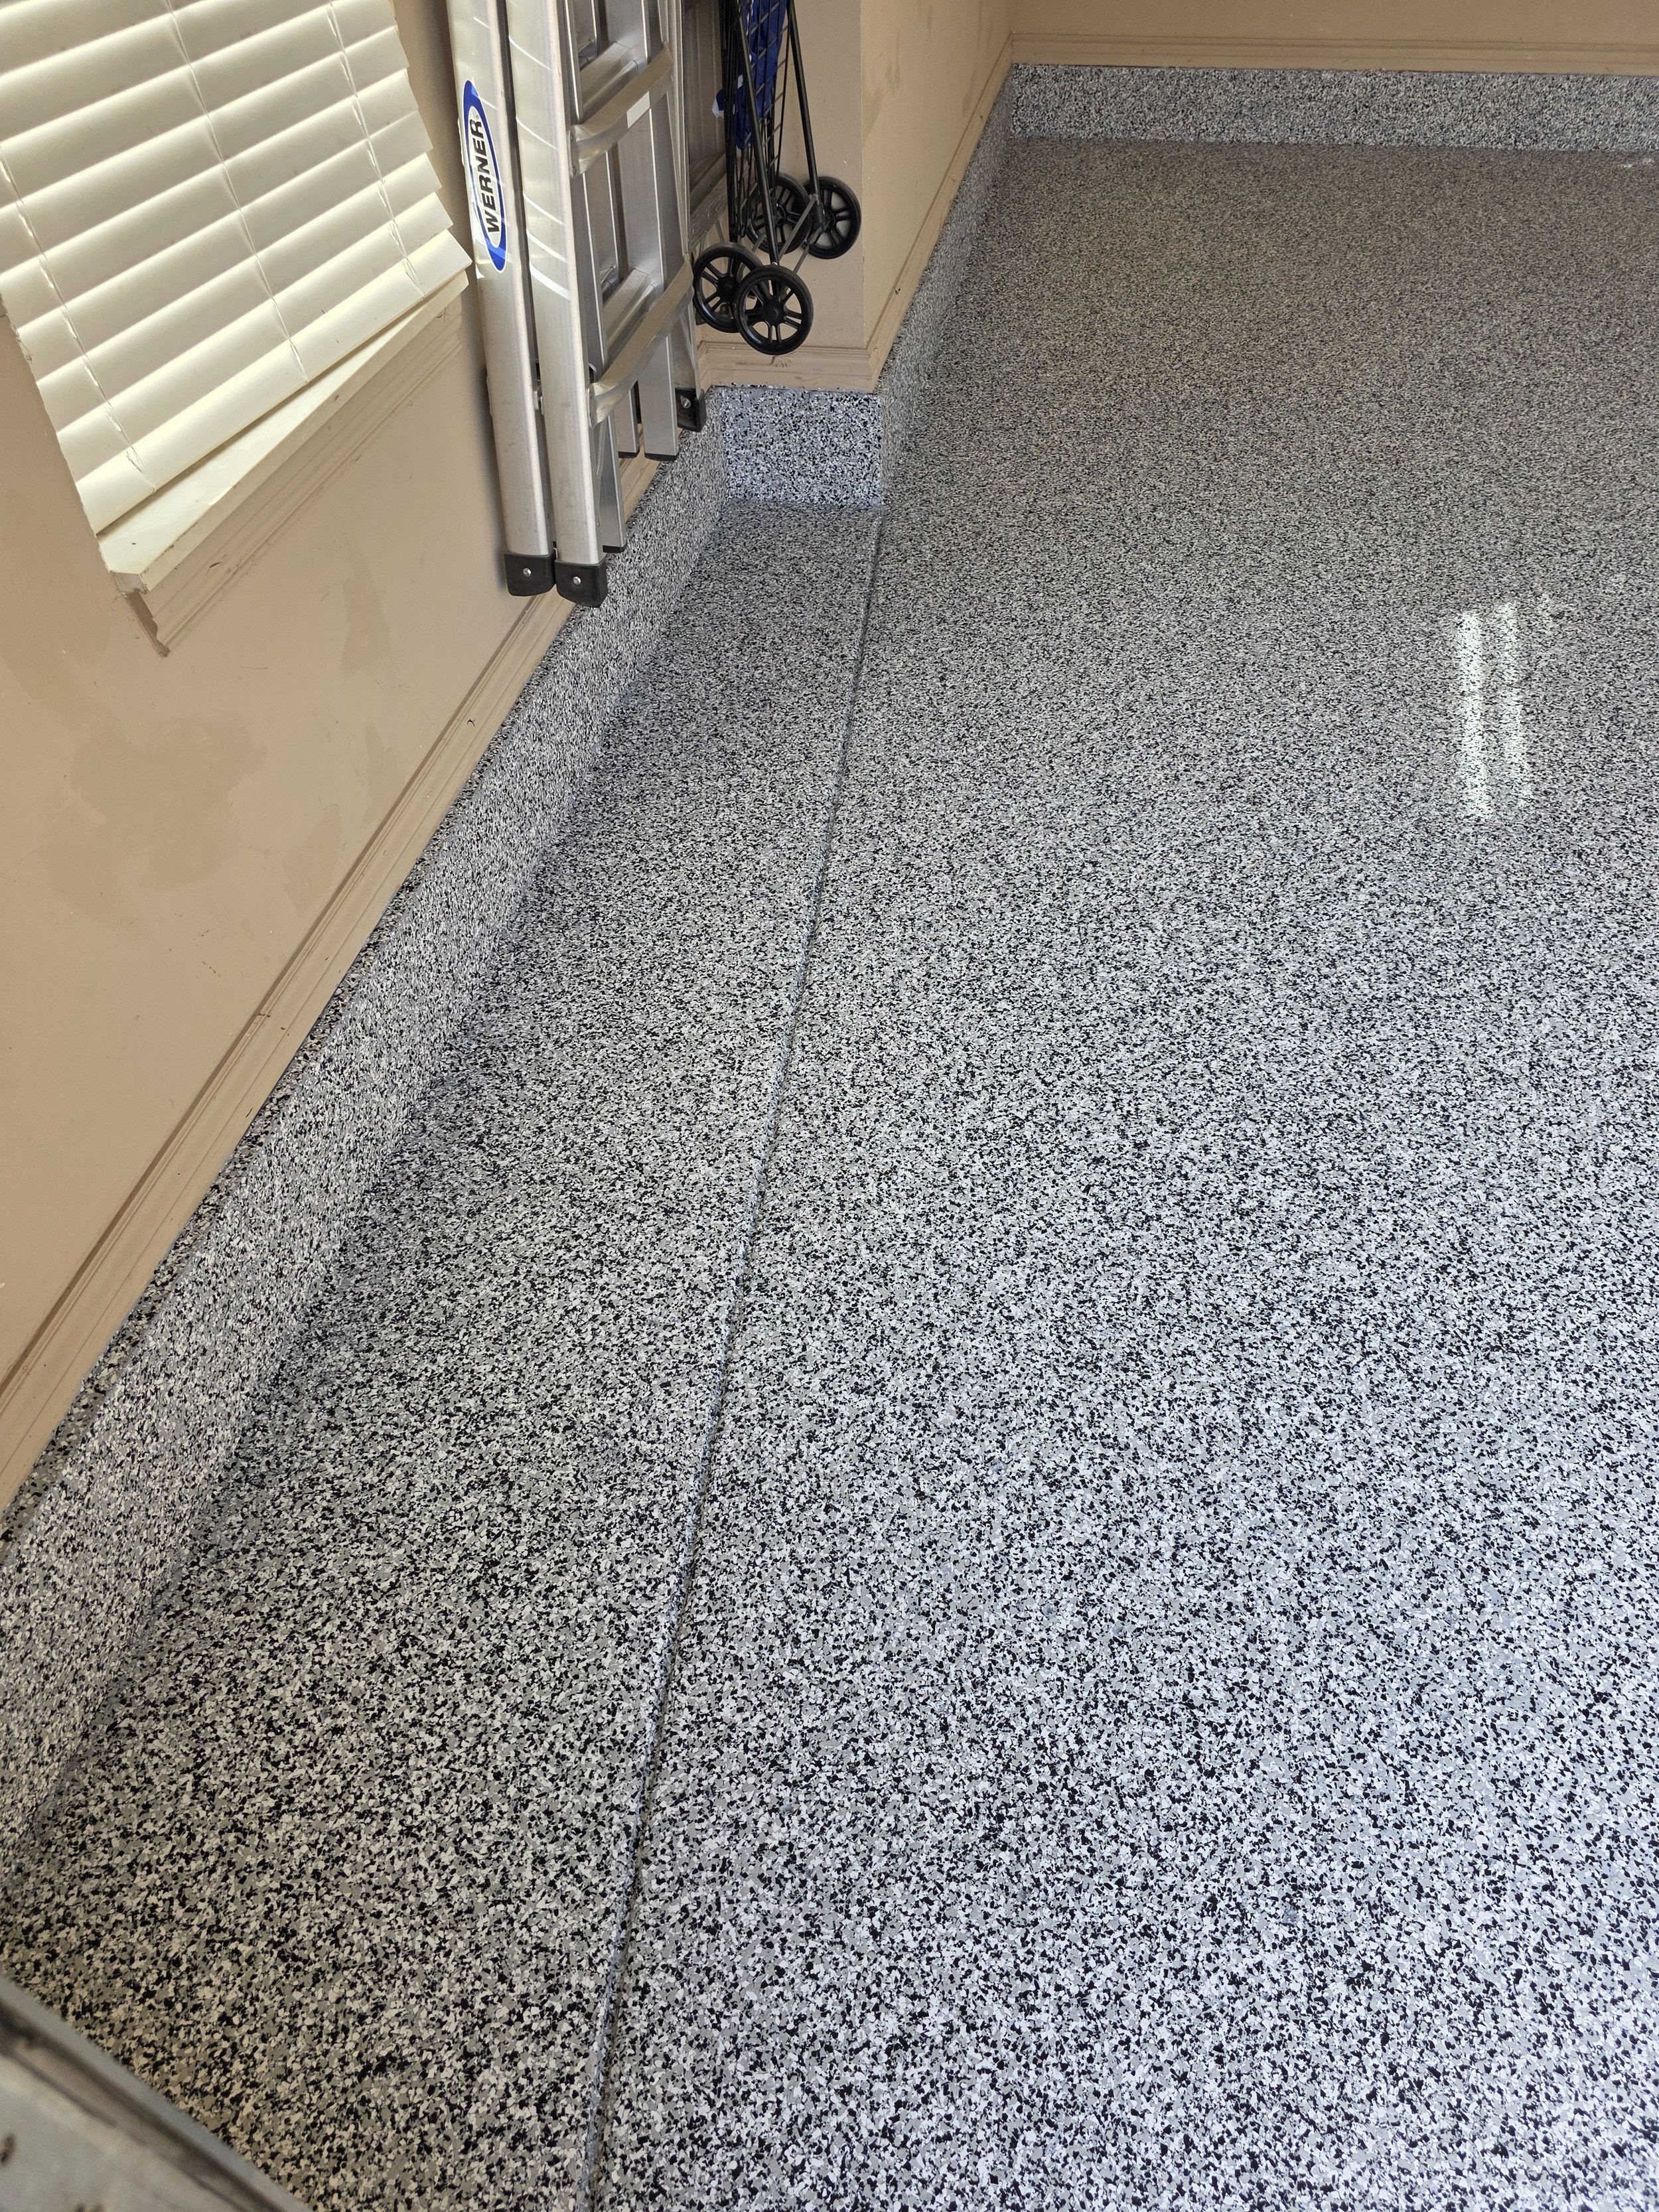
Phase 3 - Side shot of body coat w/ flake
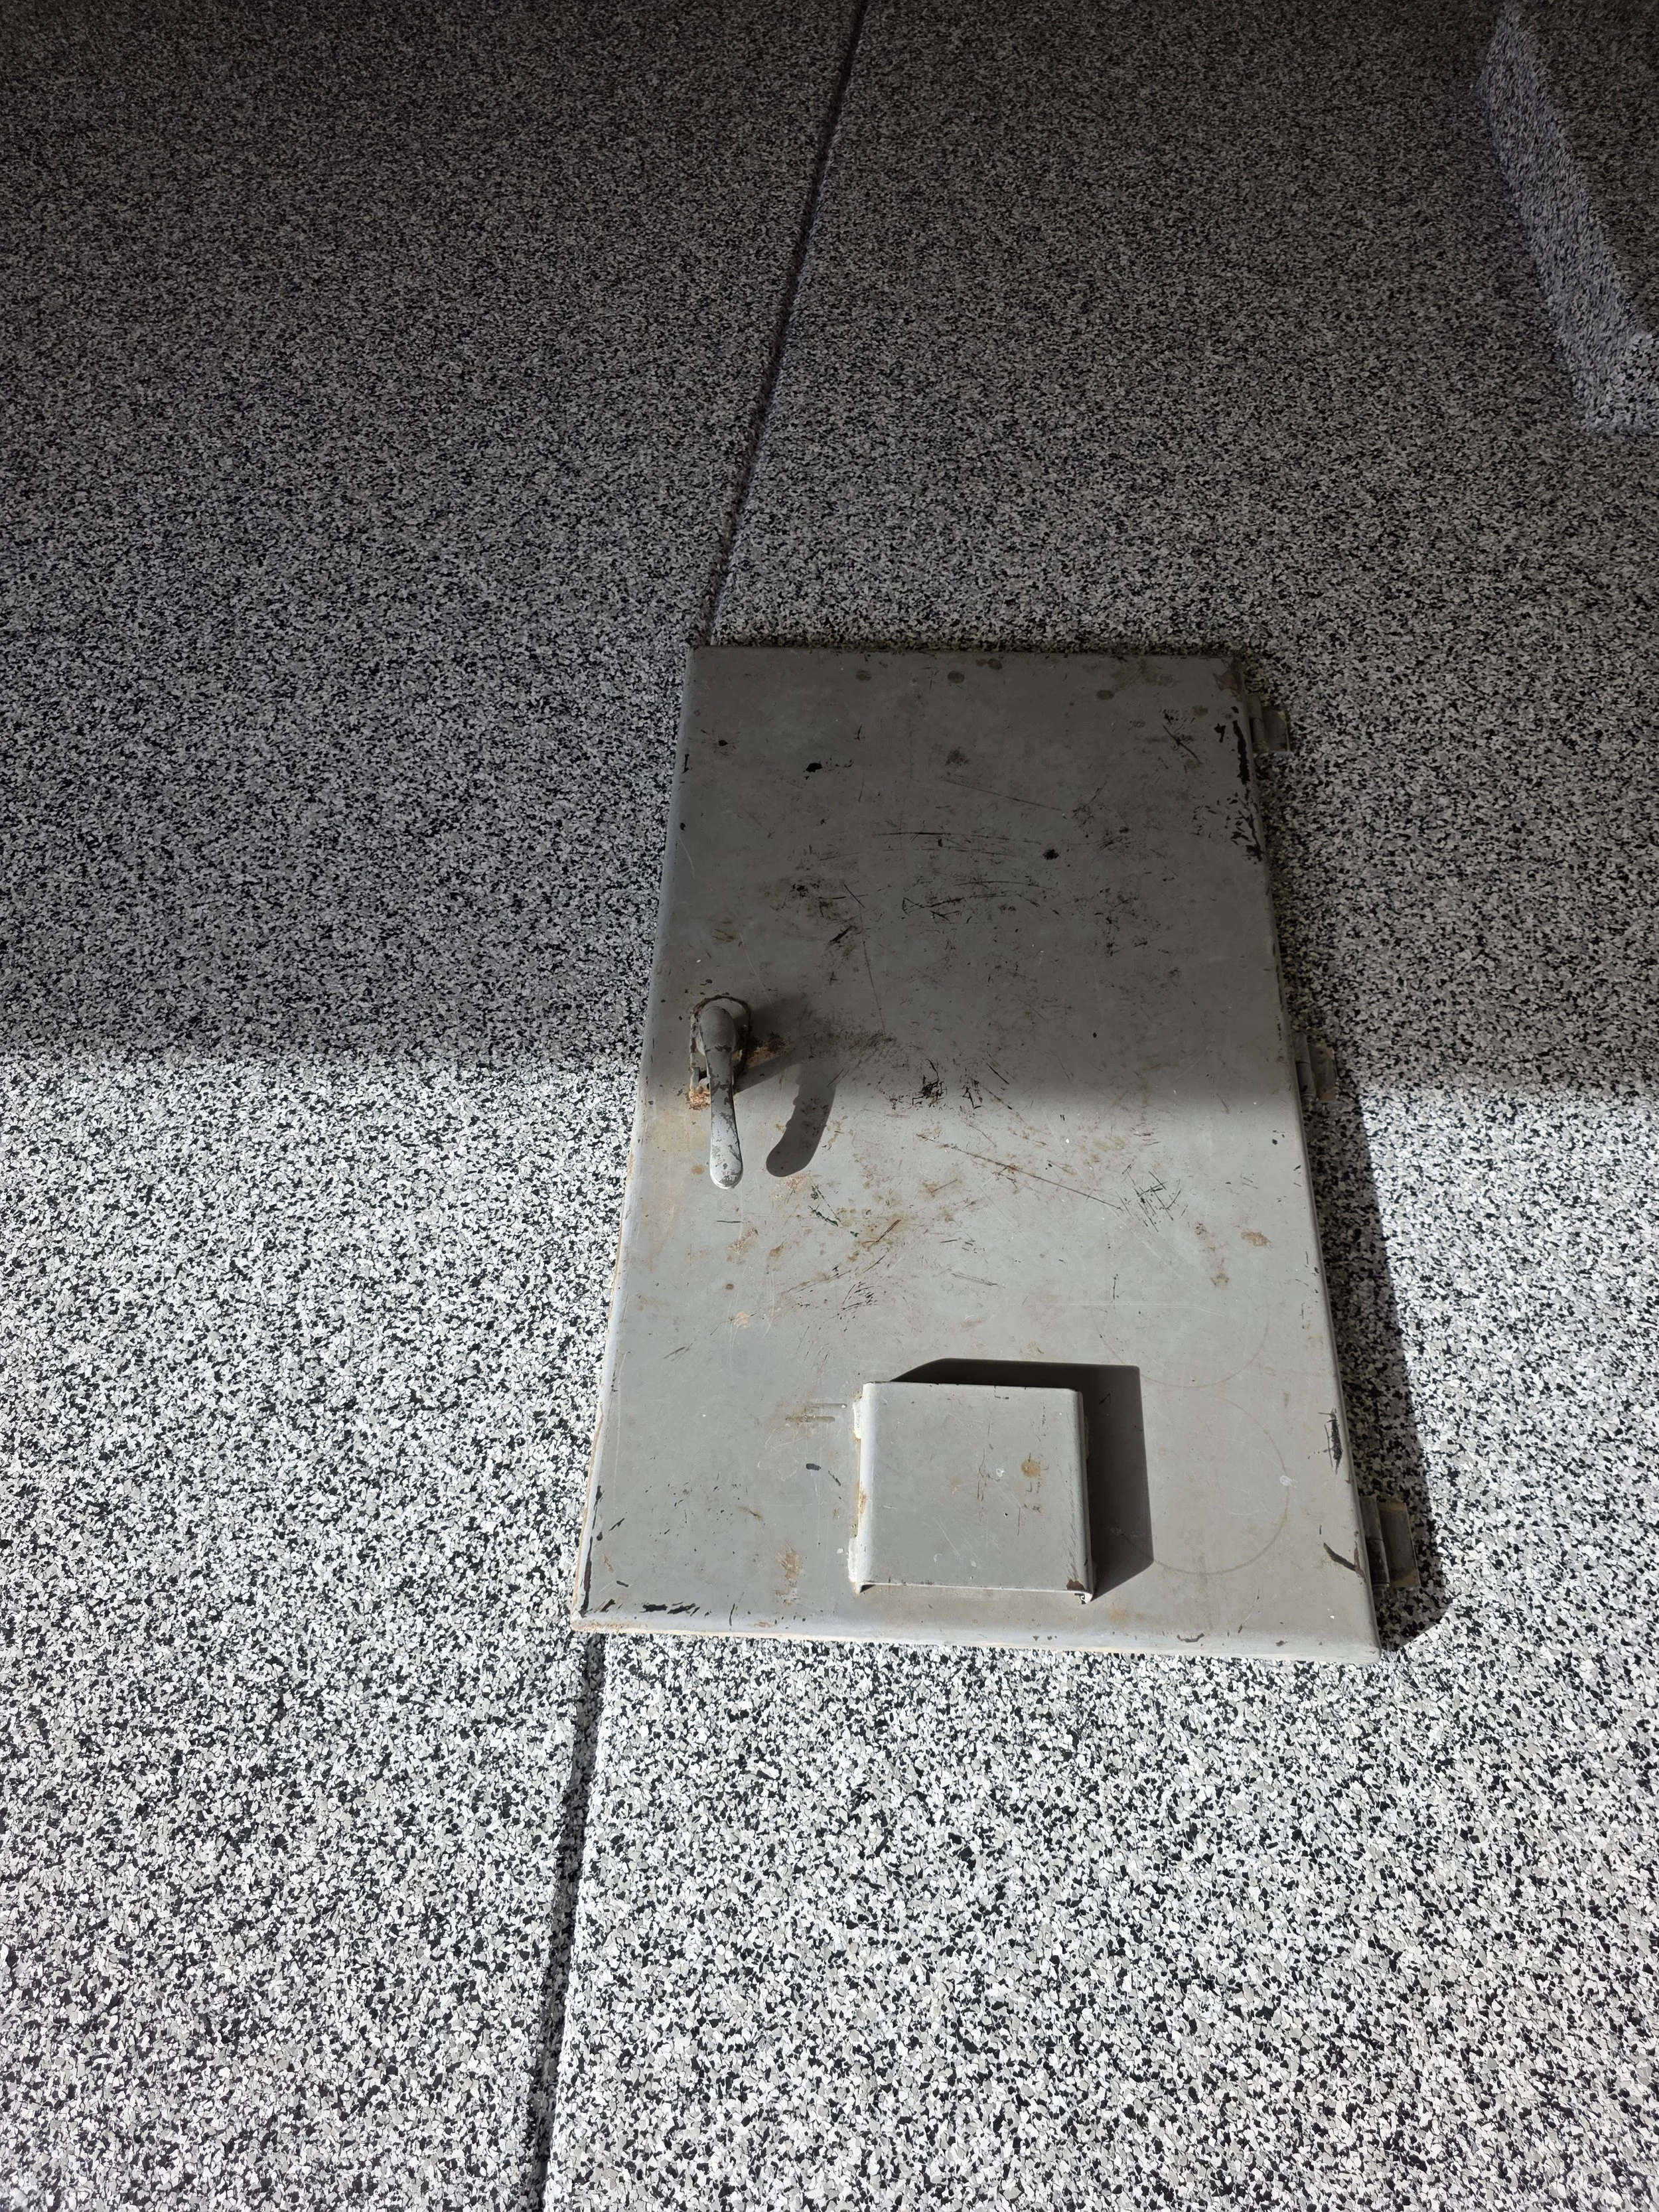
Phase 3 - Coatings and flake applied right up to the storm shelters frame
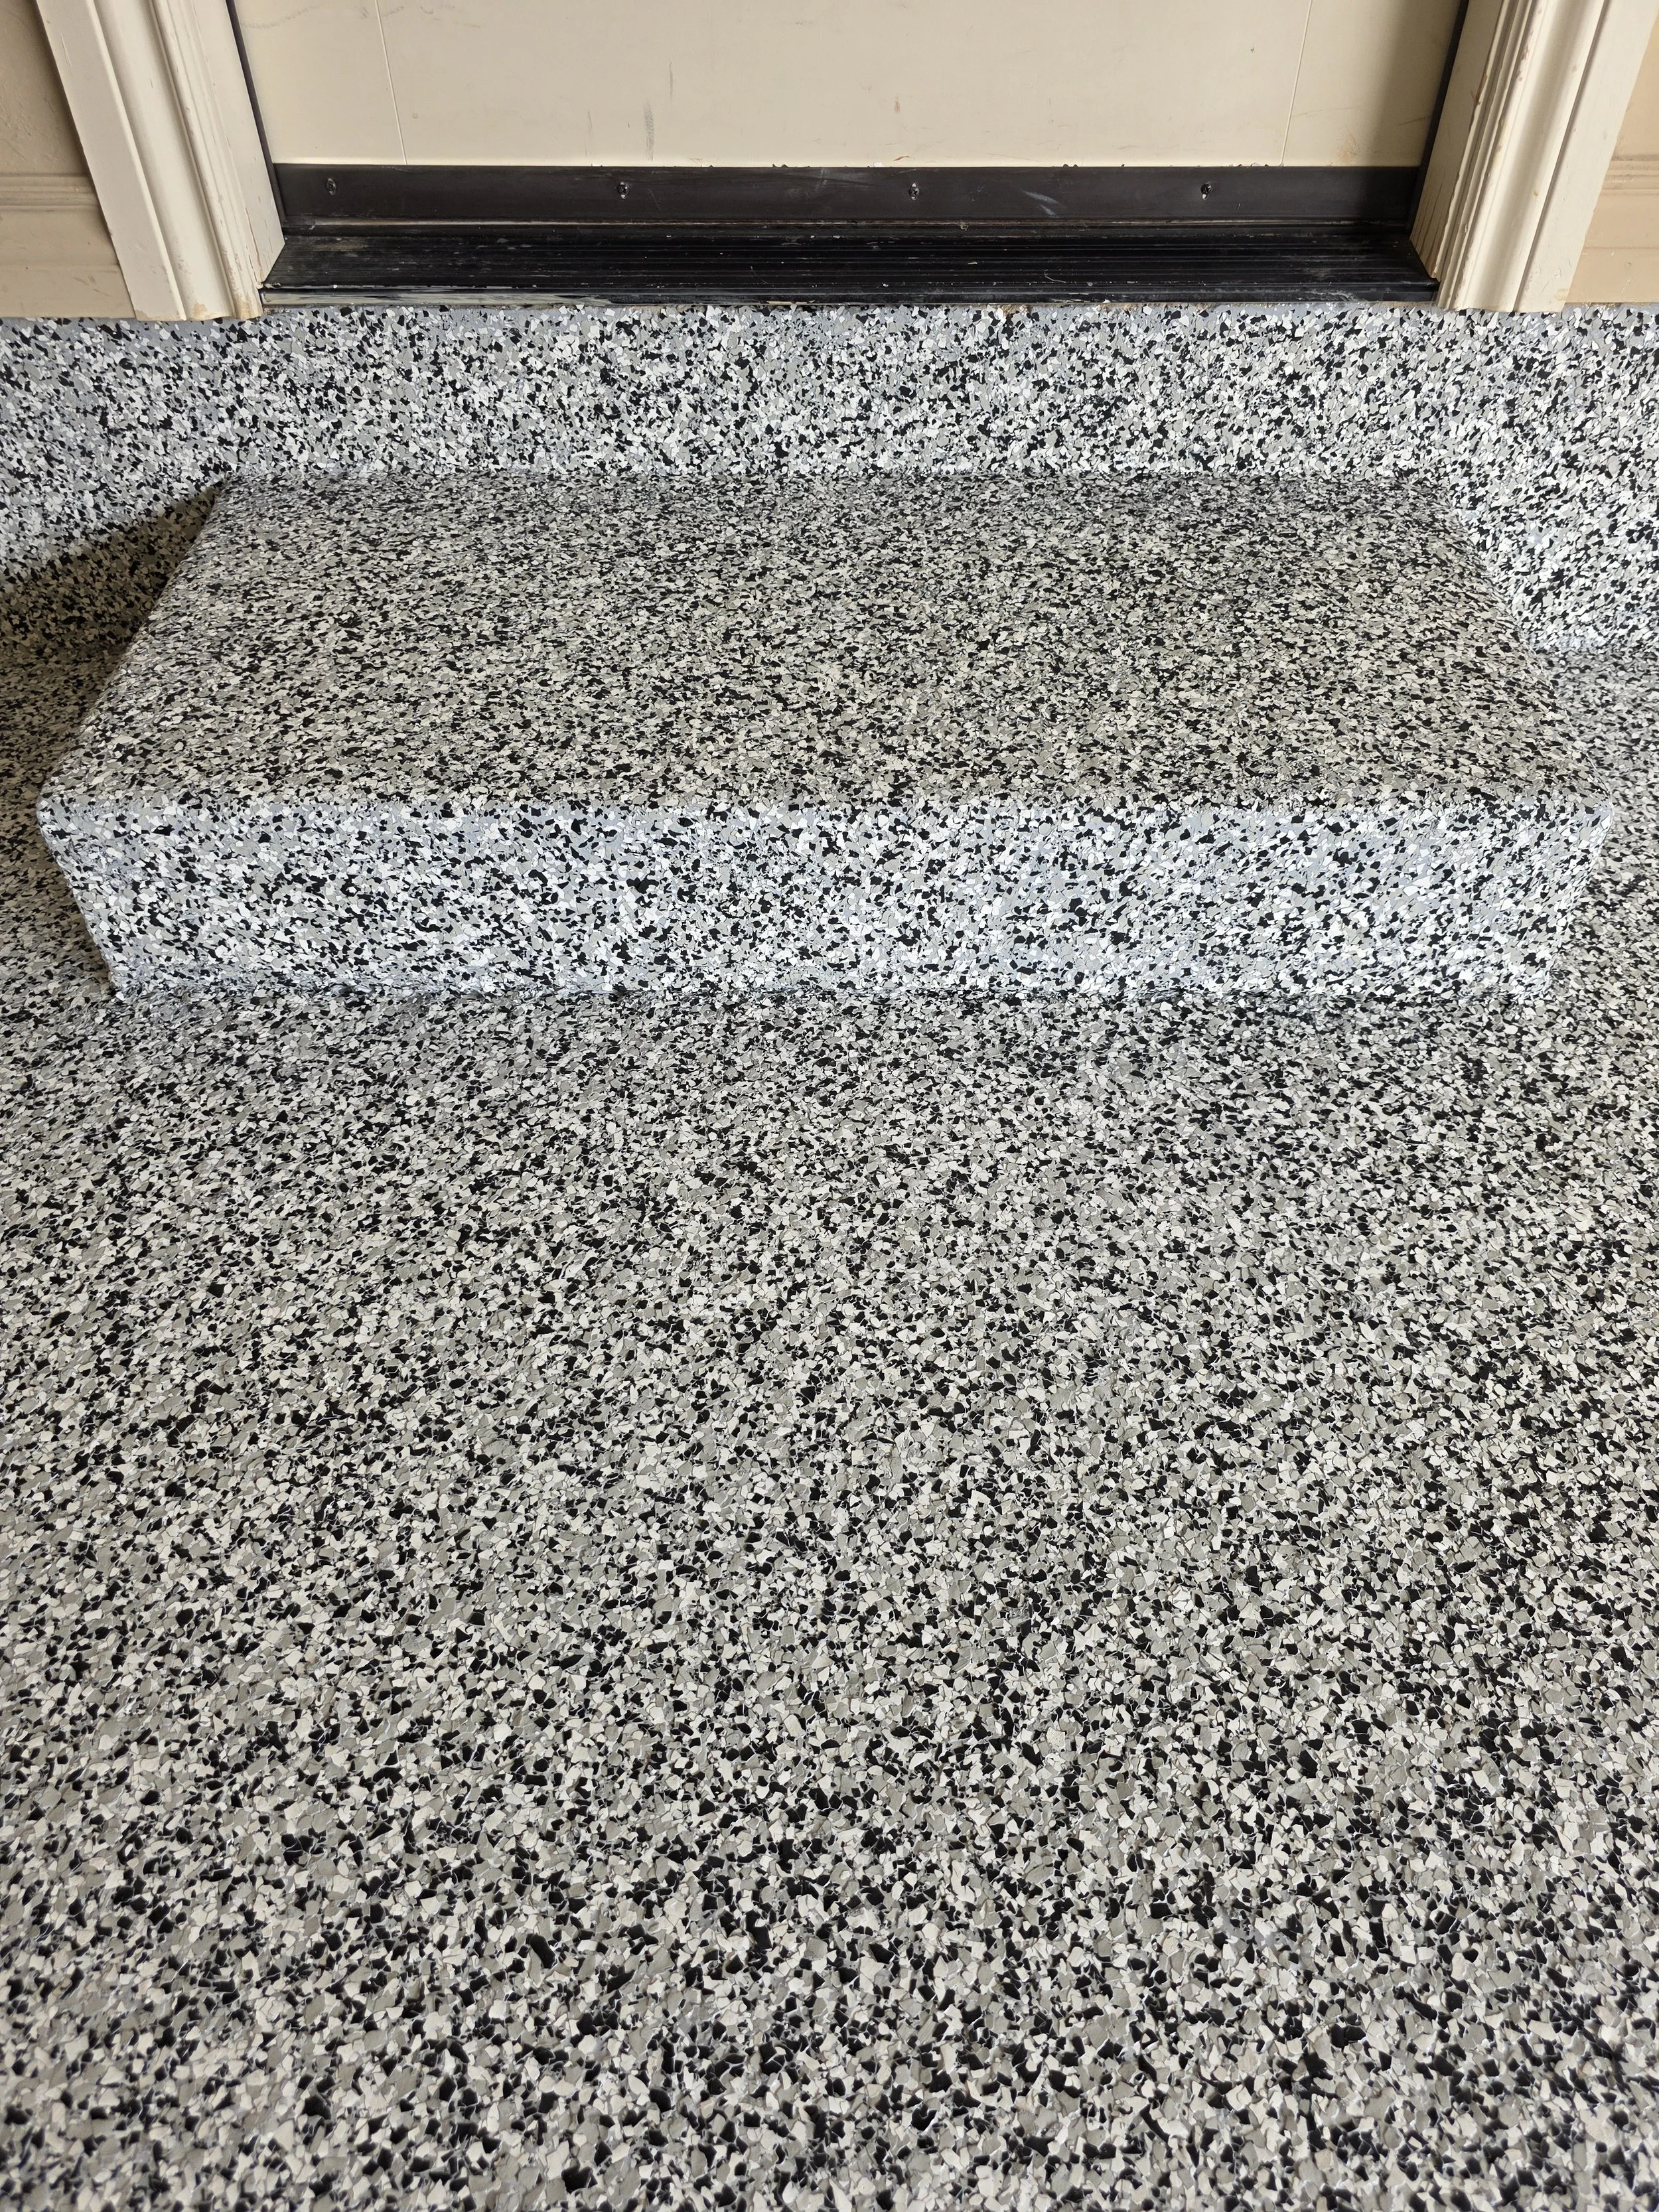
Phase 3 - Stairs carefully scraped to ensure no jagged edges where foot traffic will be heavy
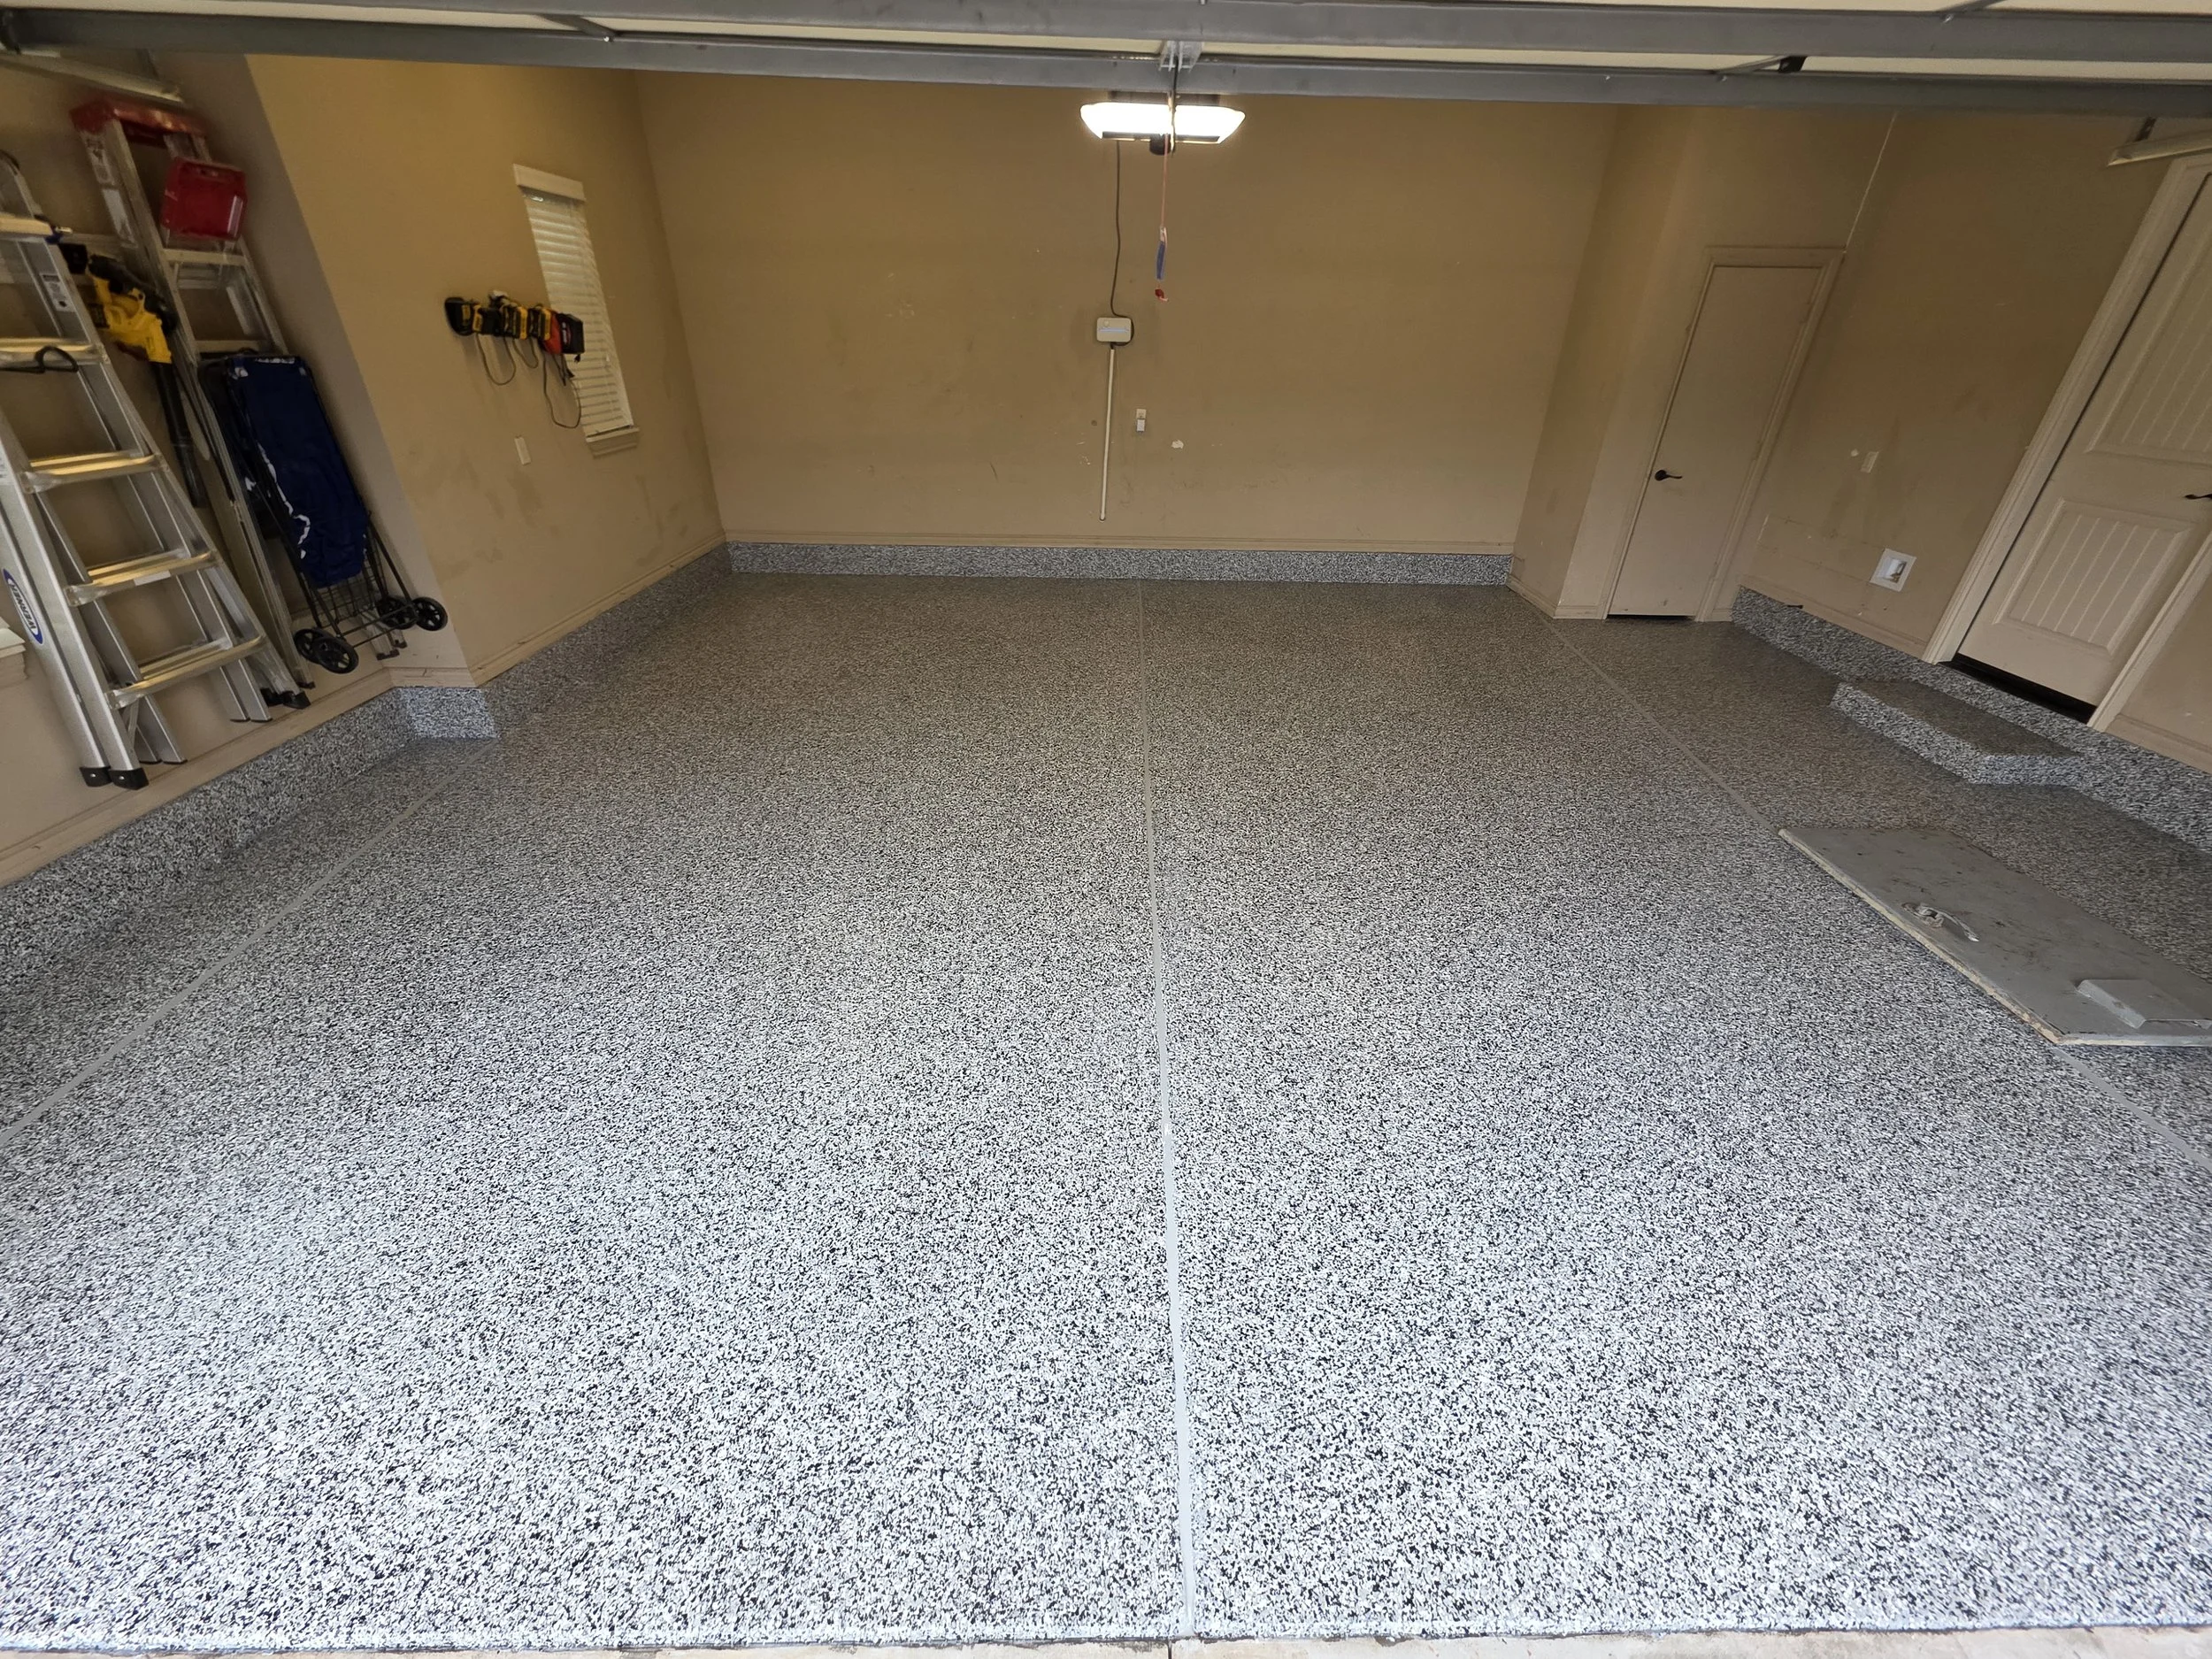
Phase 4 (Finished) - Polyaspartic topcoat applied over flakes. Expansion joints filled with gray caulking to imitate seamless floor.
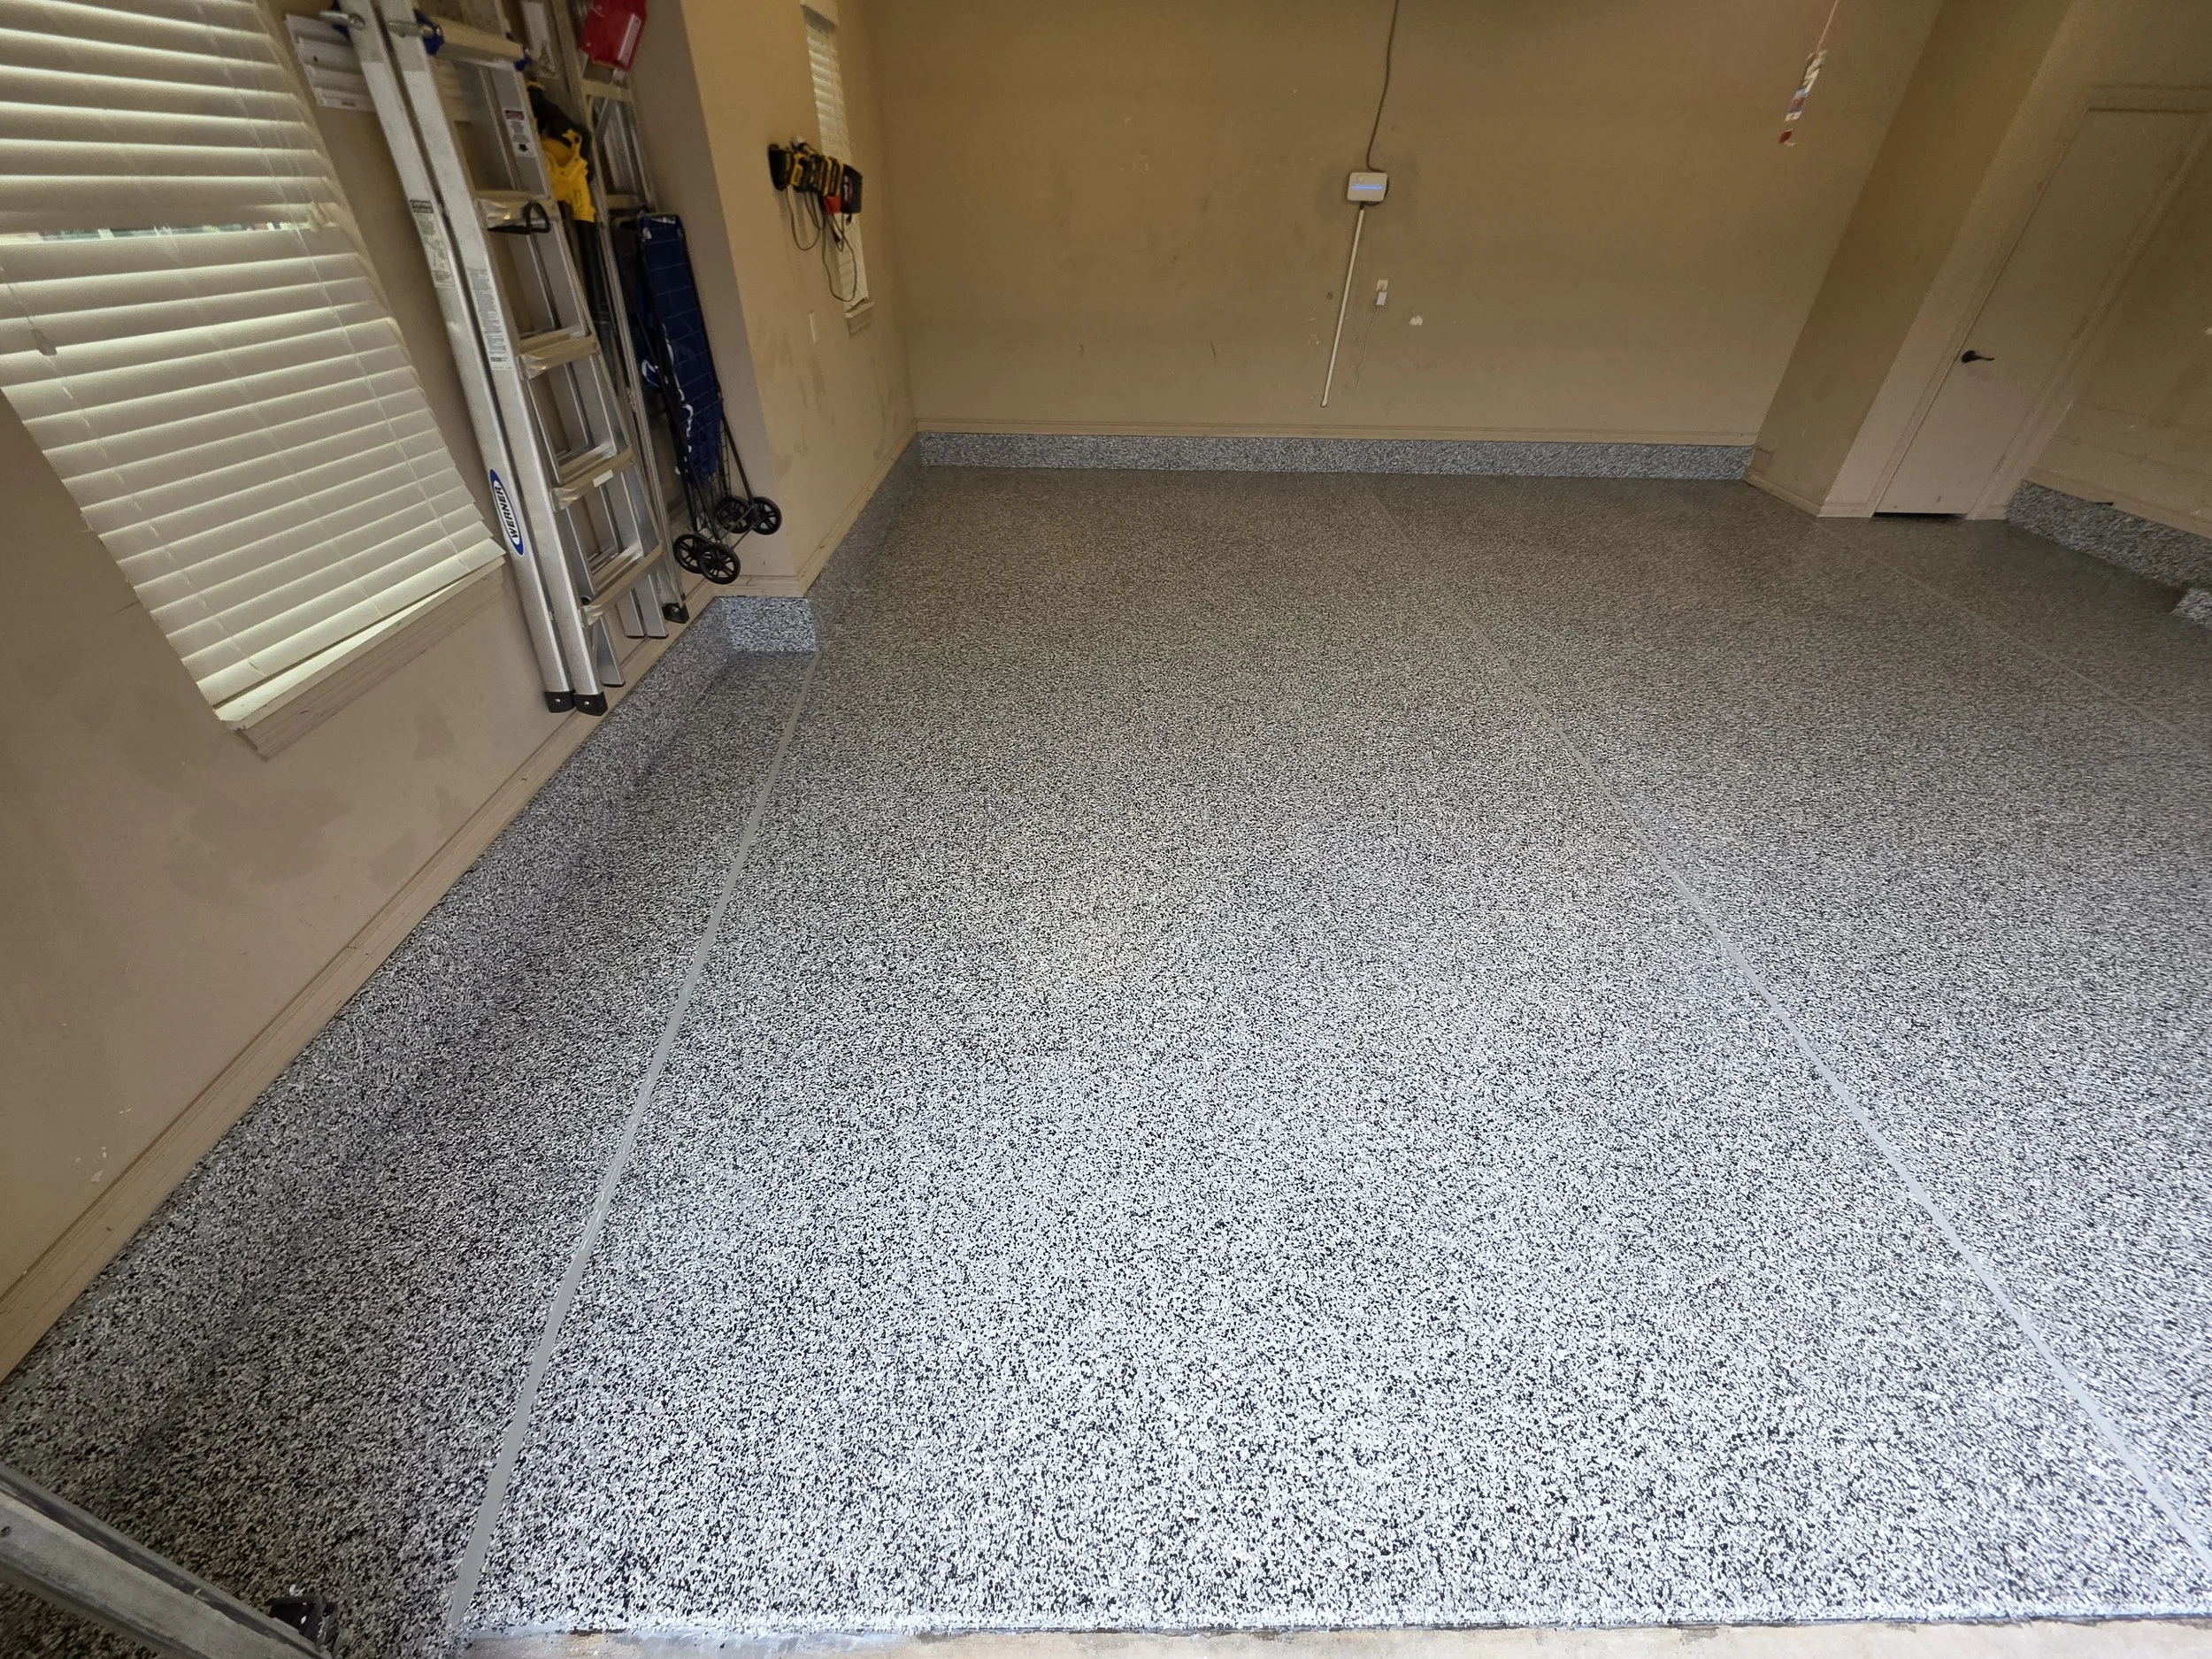
Phase 4 (Finished) - Side shot of finished floor
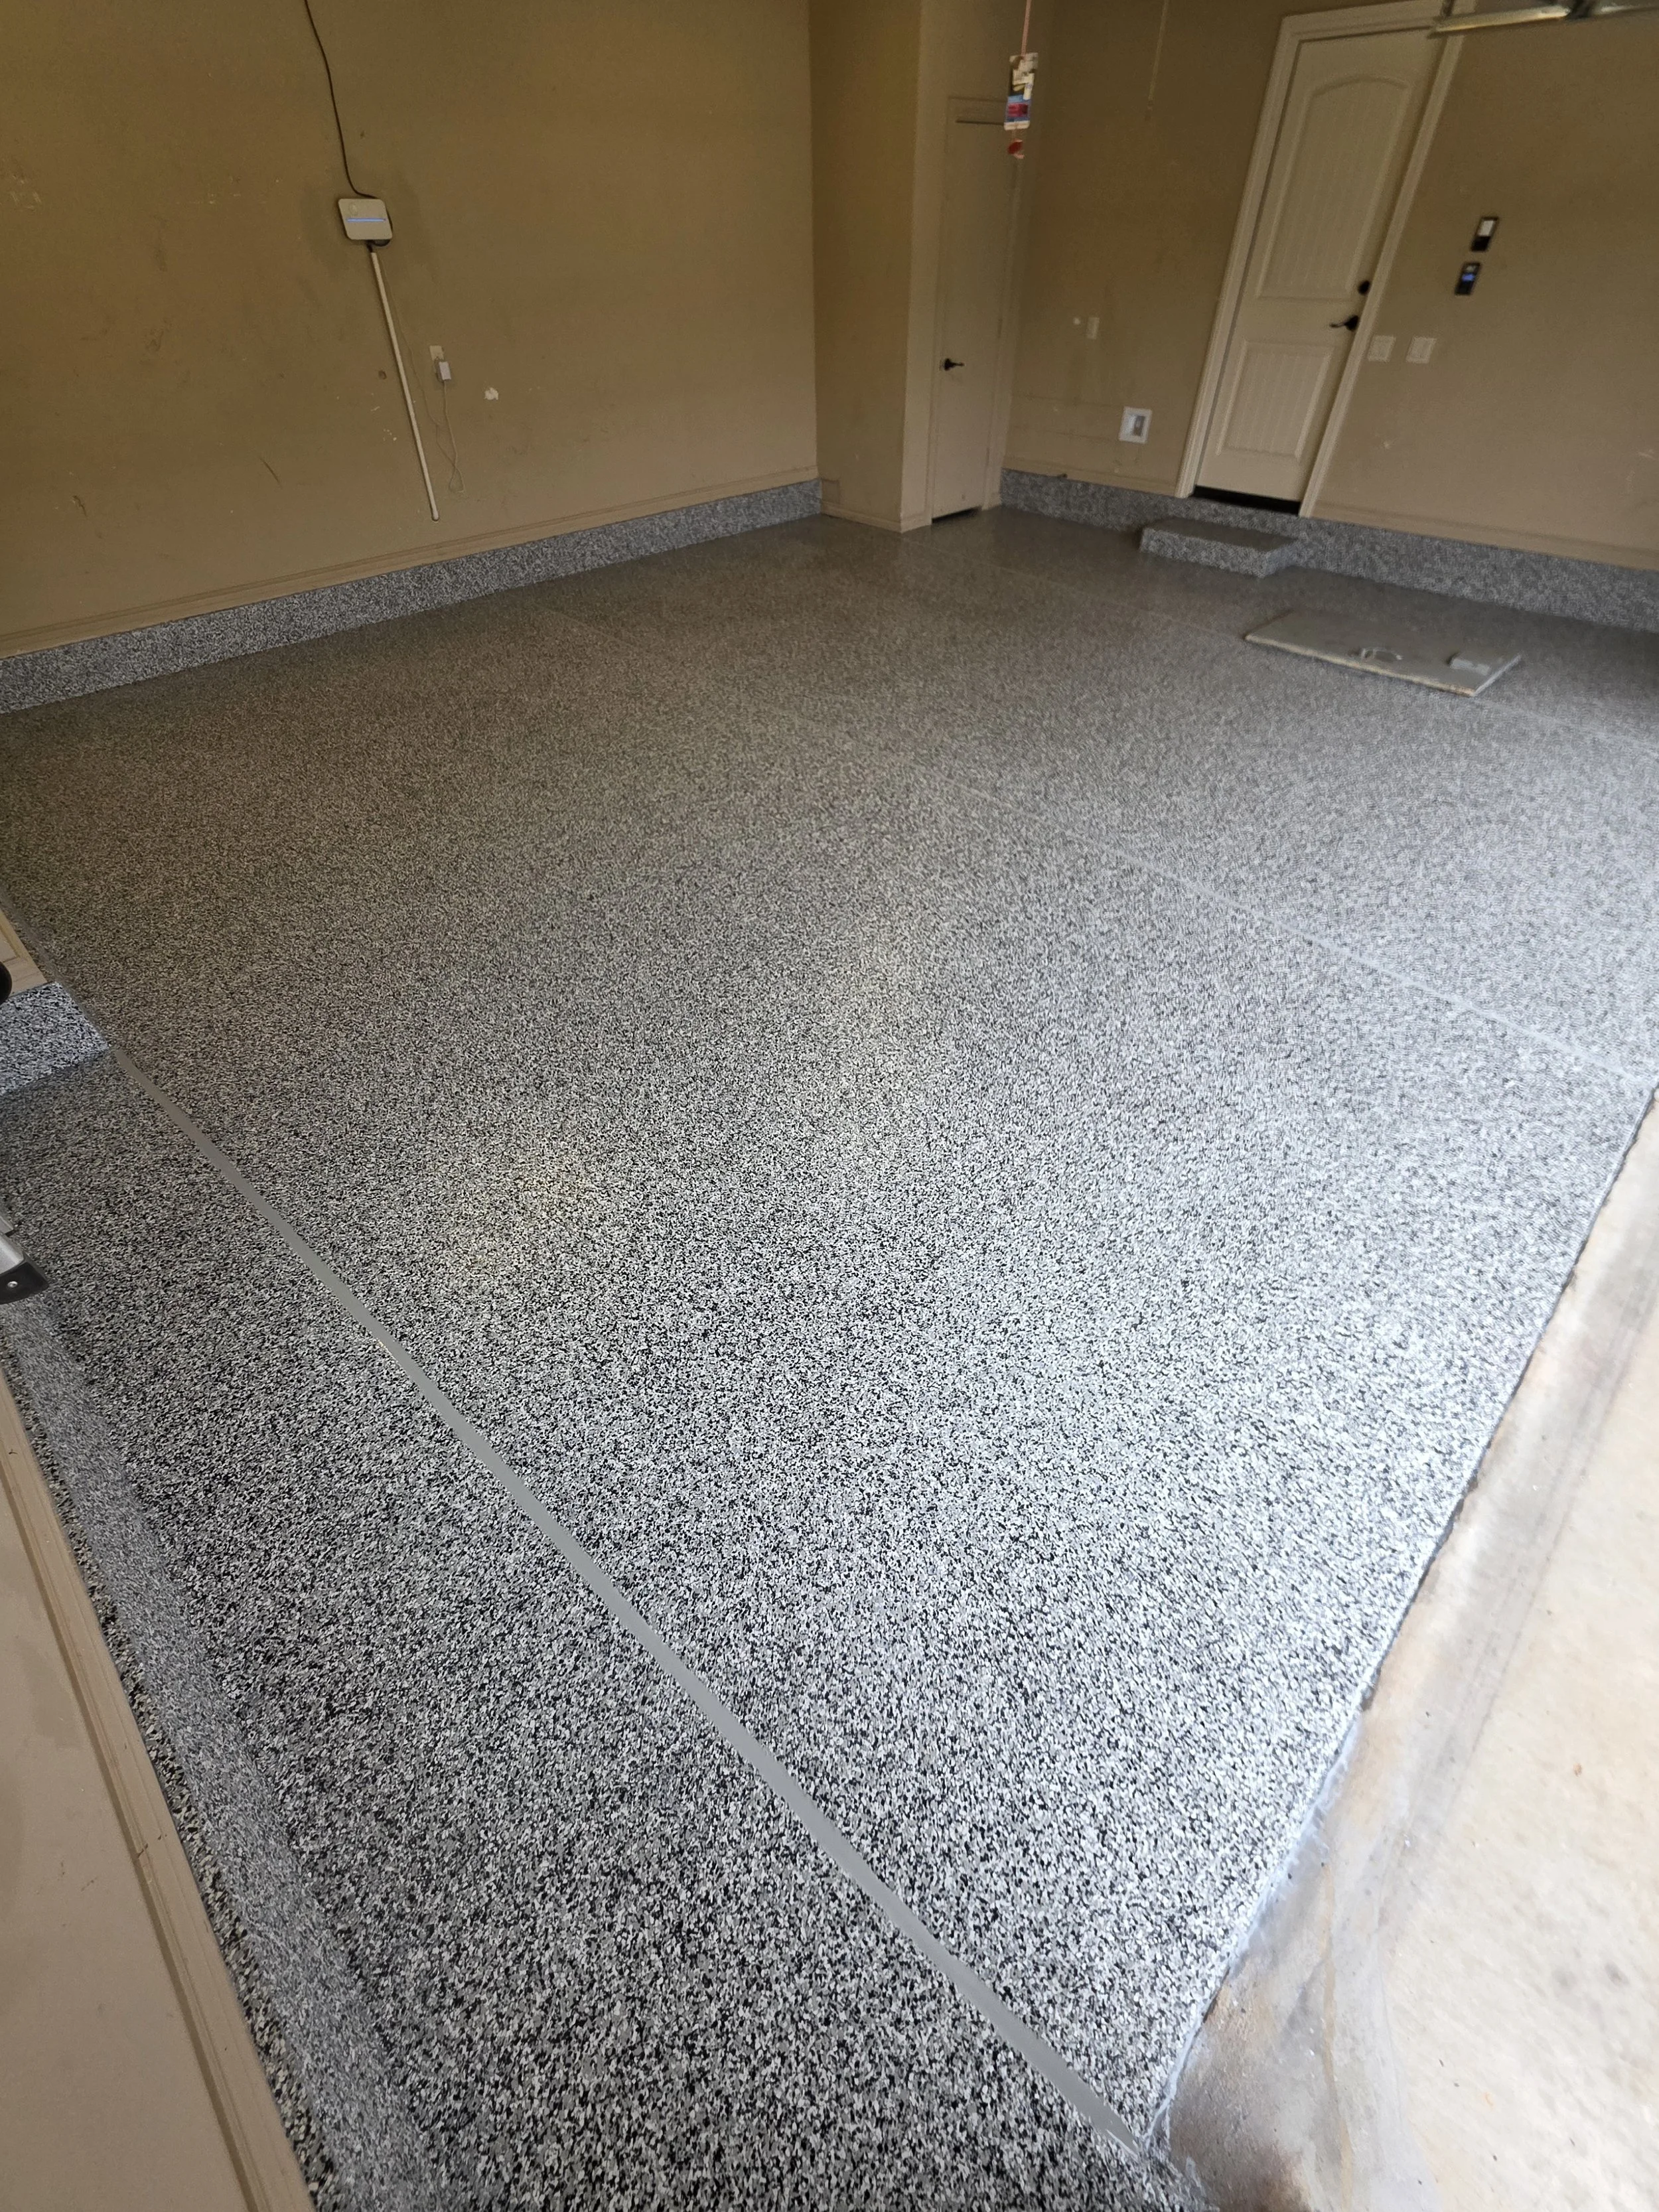
Phase 4 (Finished) - Floor alternate side angle
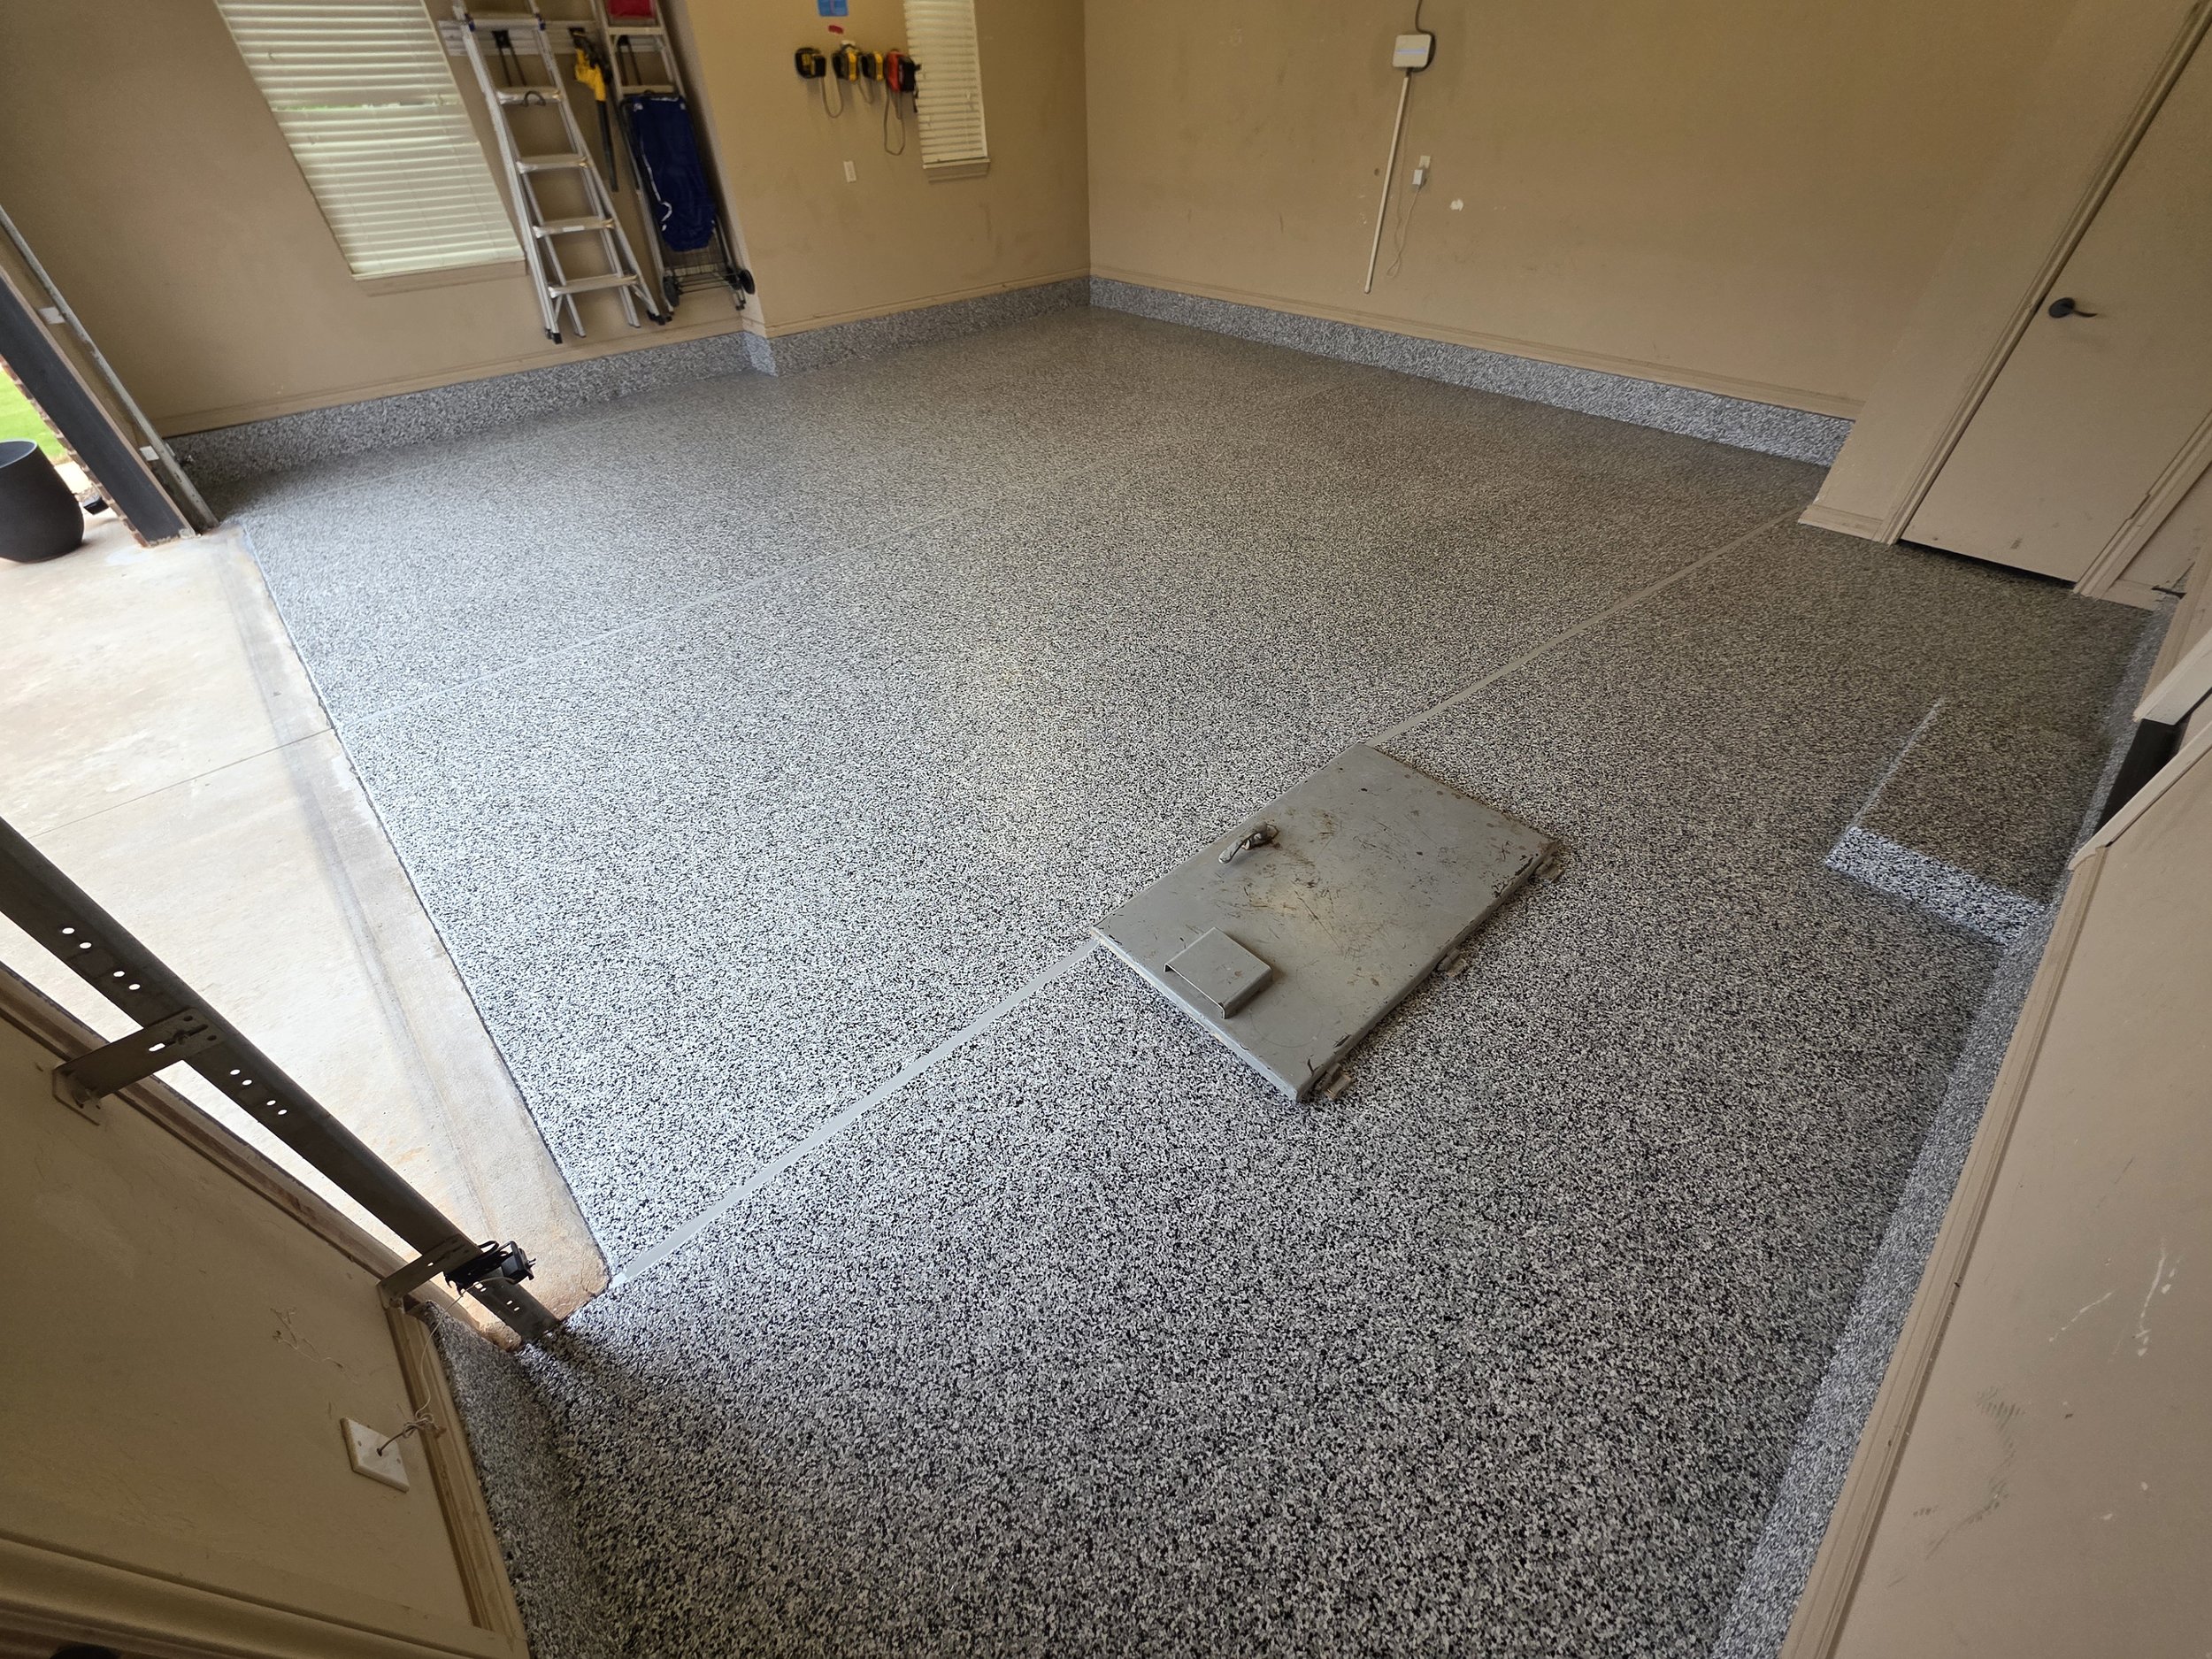
Phase 4 (Finished) - Other side of floor, Landscape
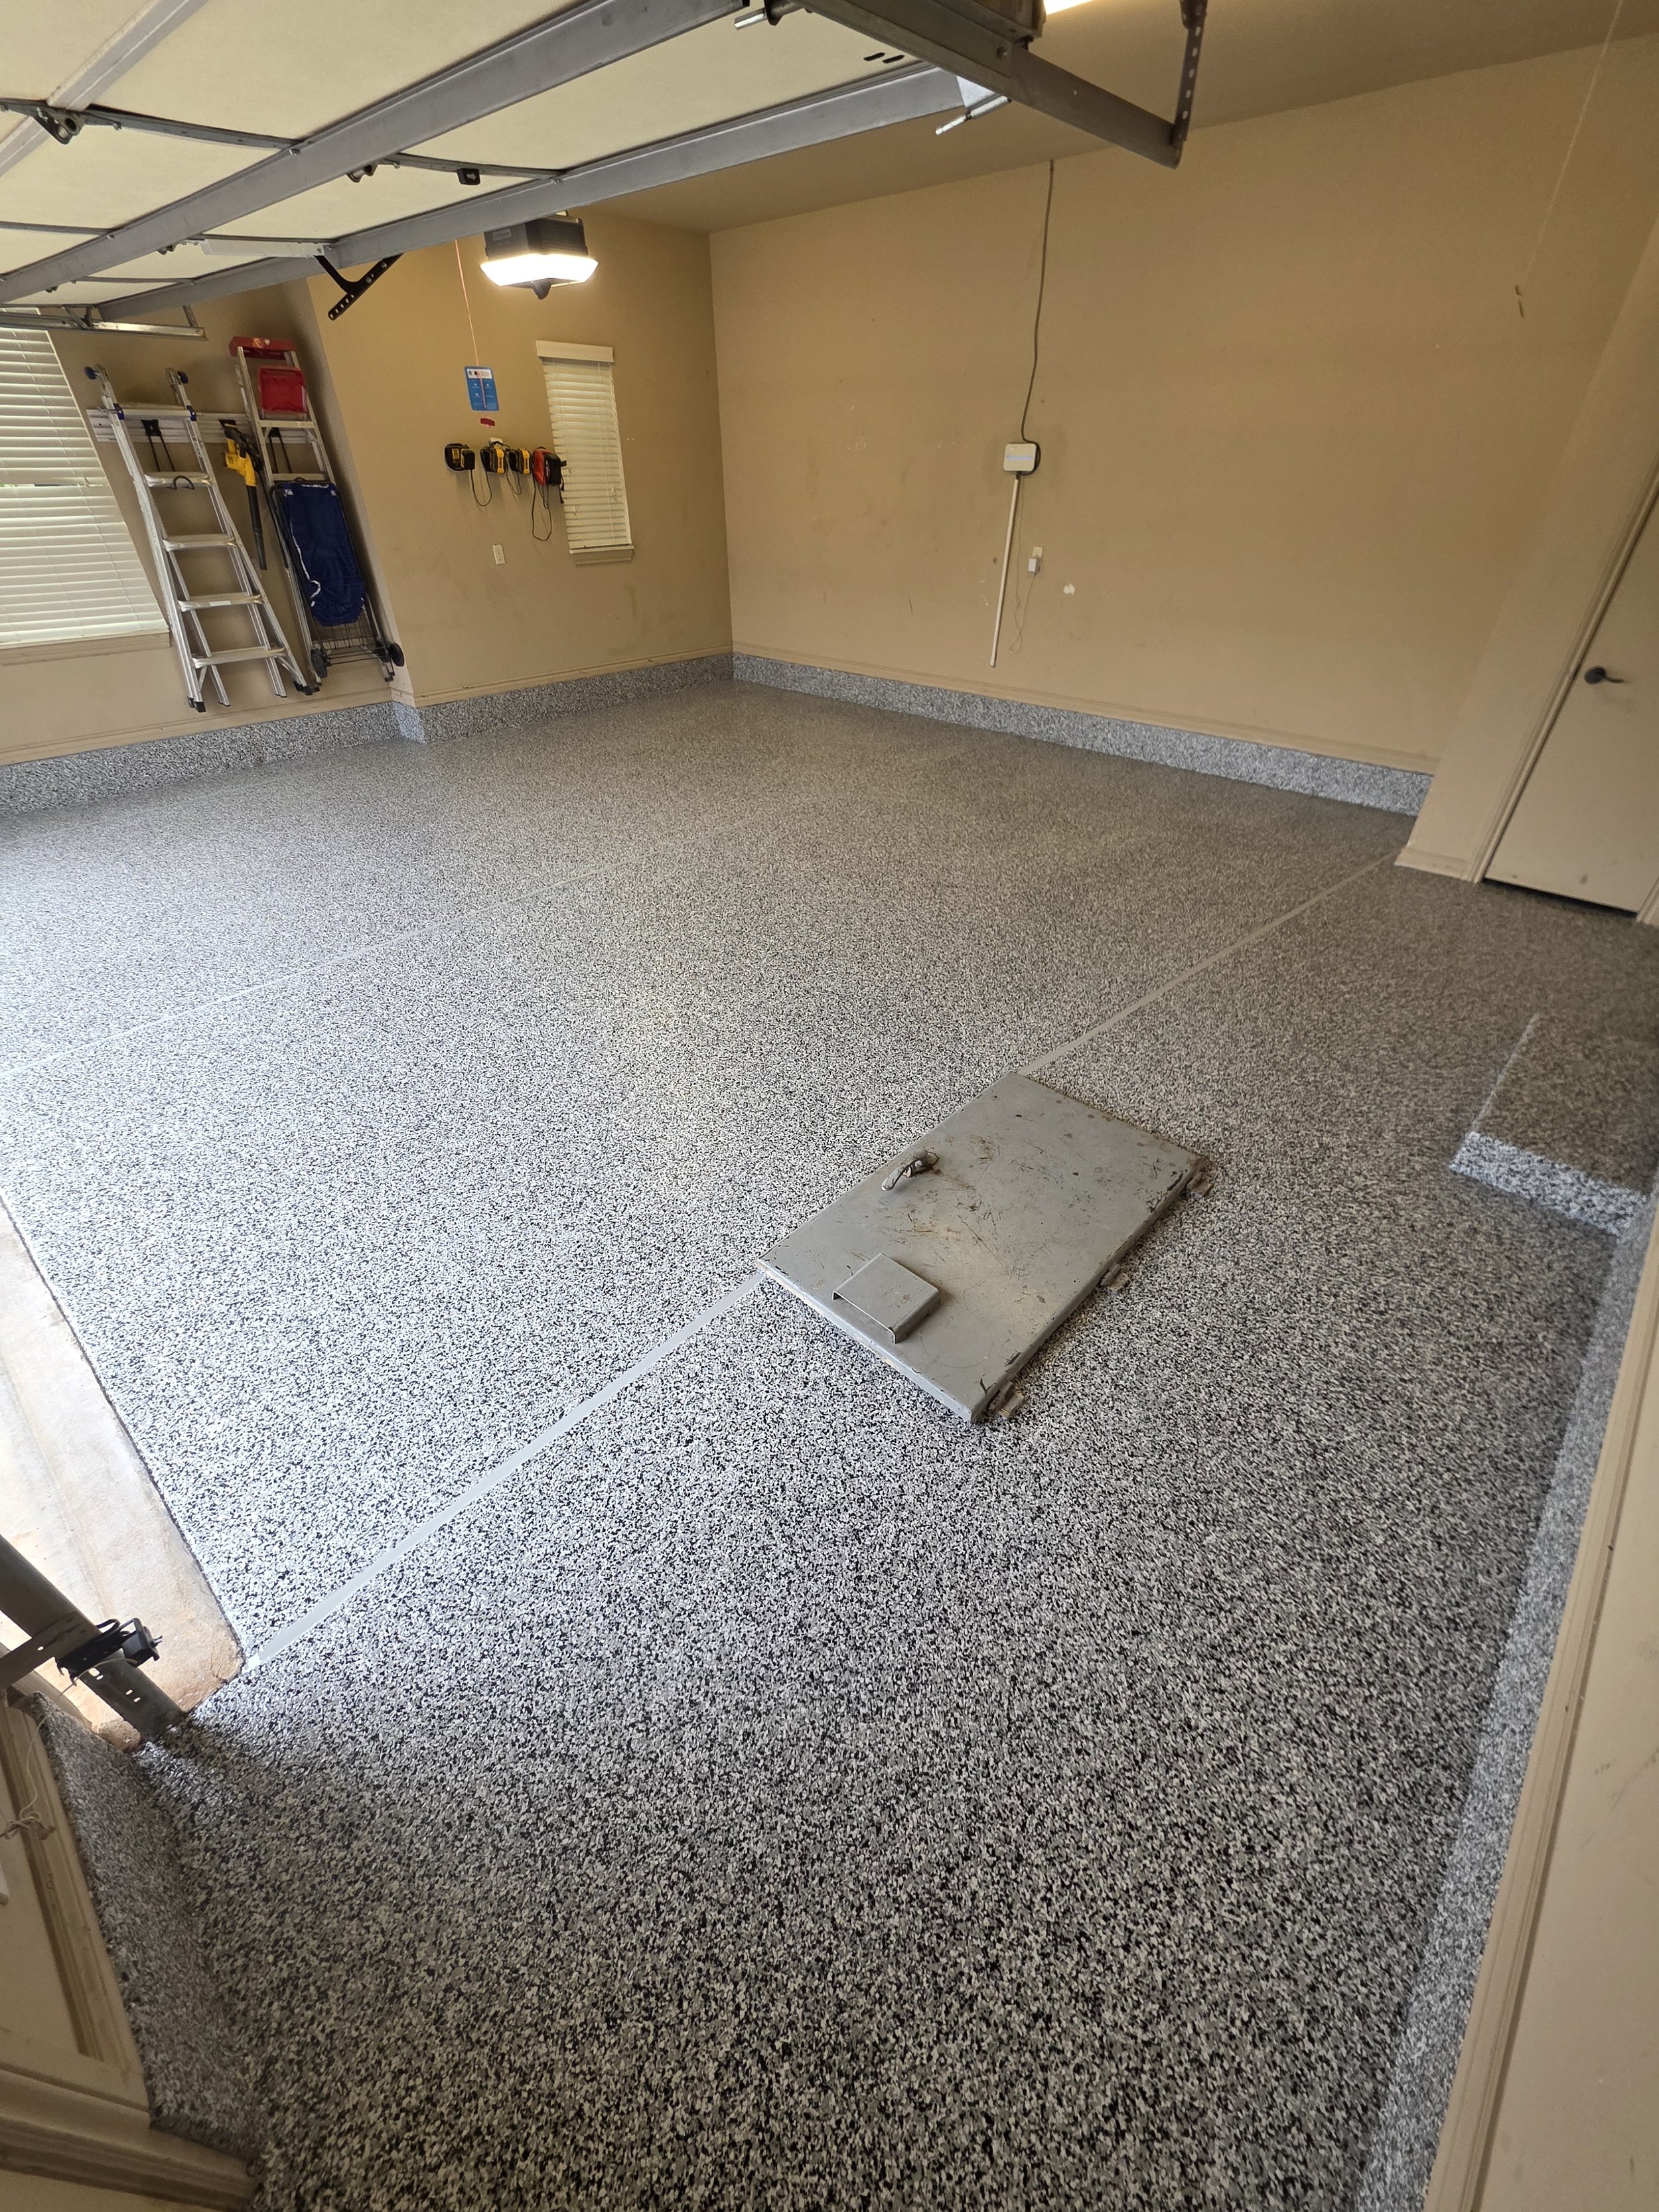
Phase 4 (Finished) - Other side of floor, Portrait
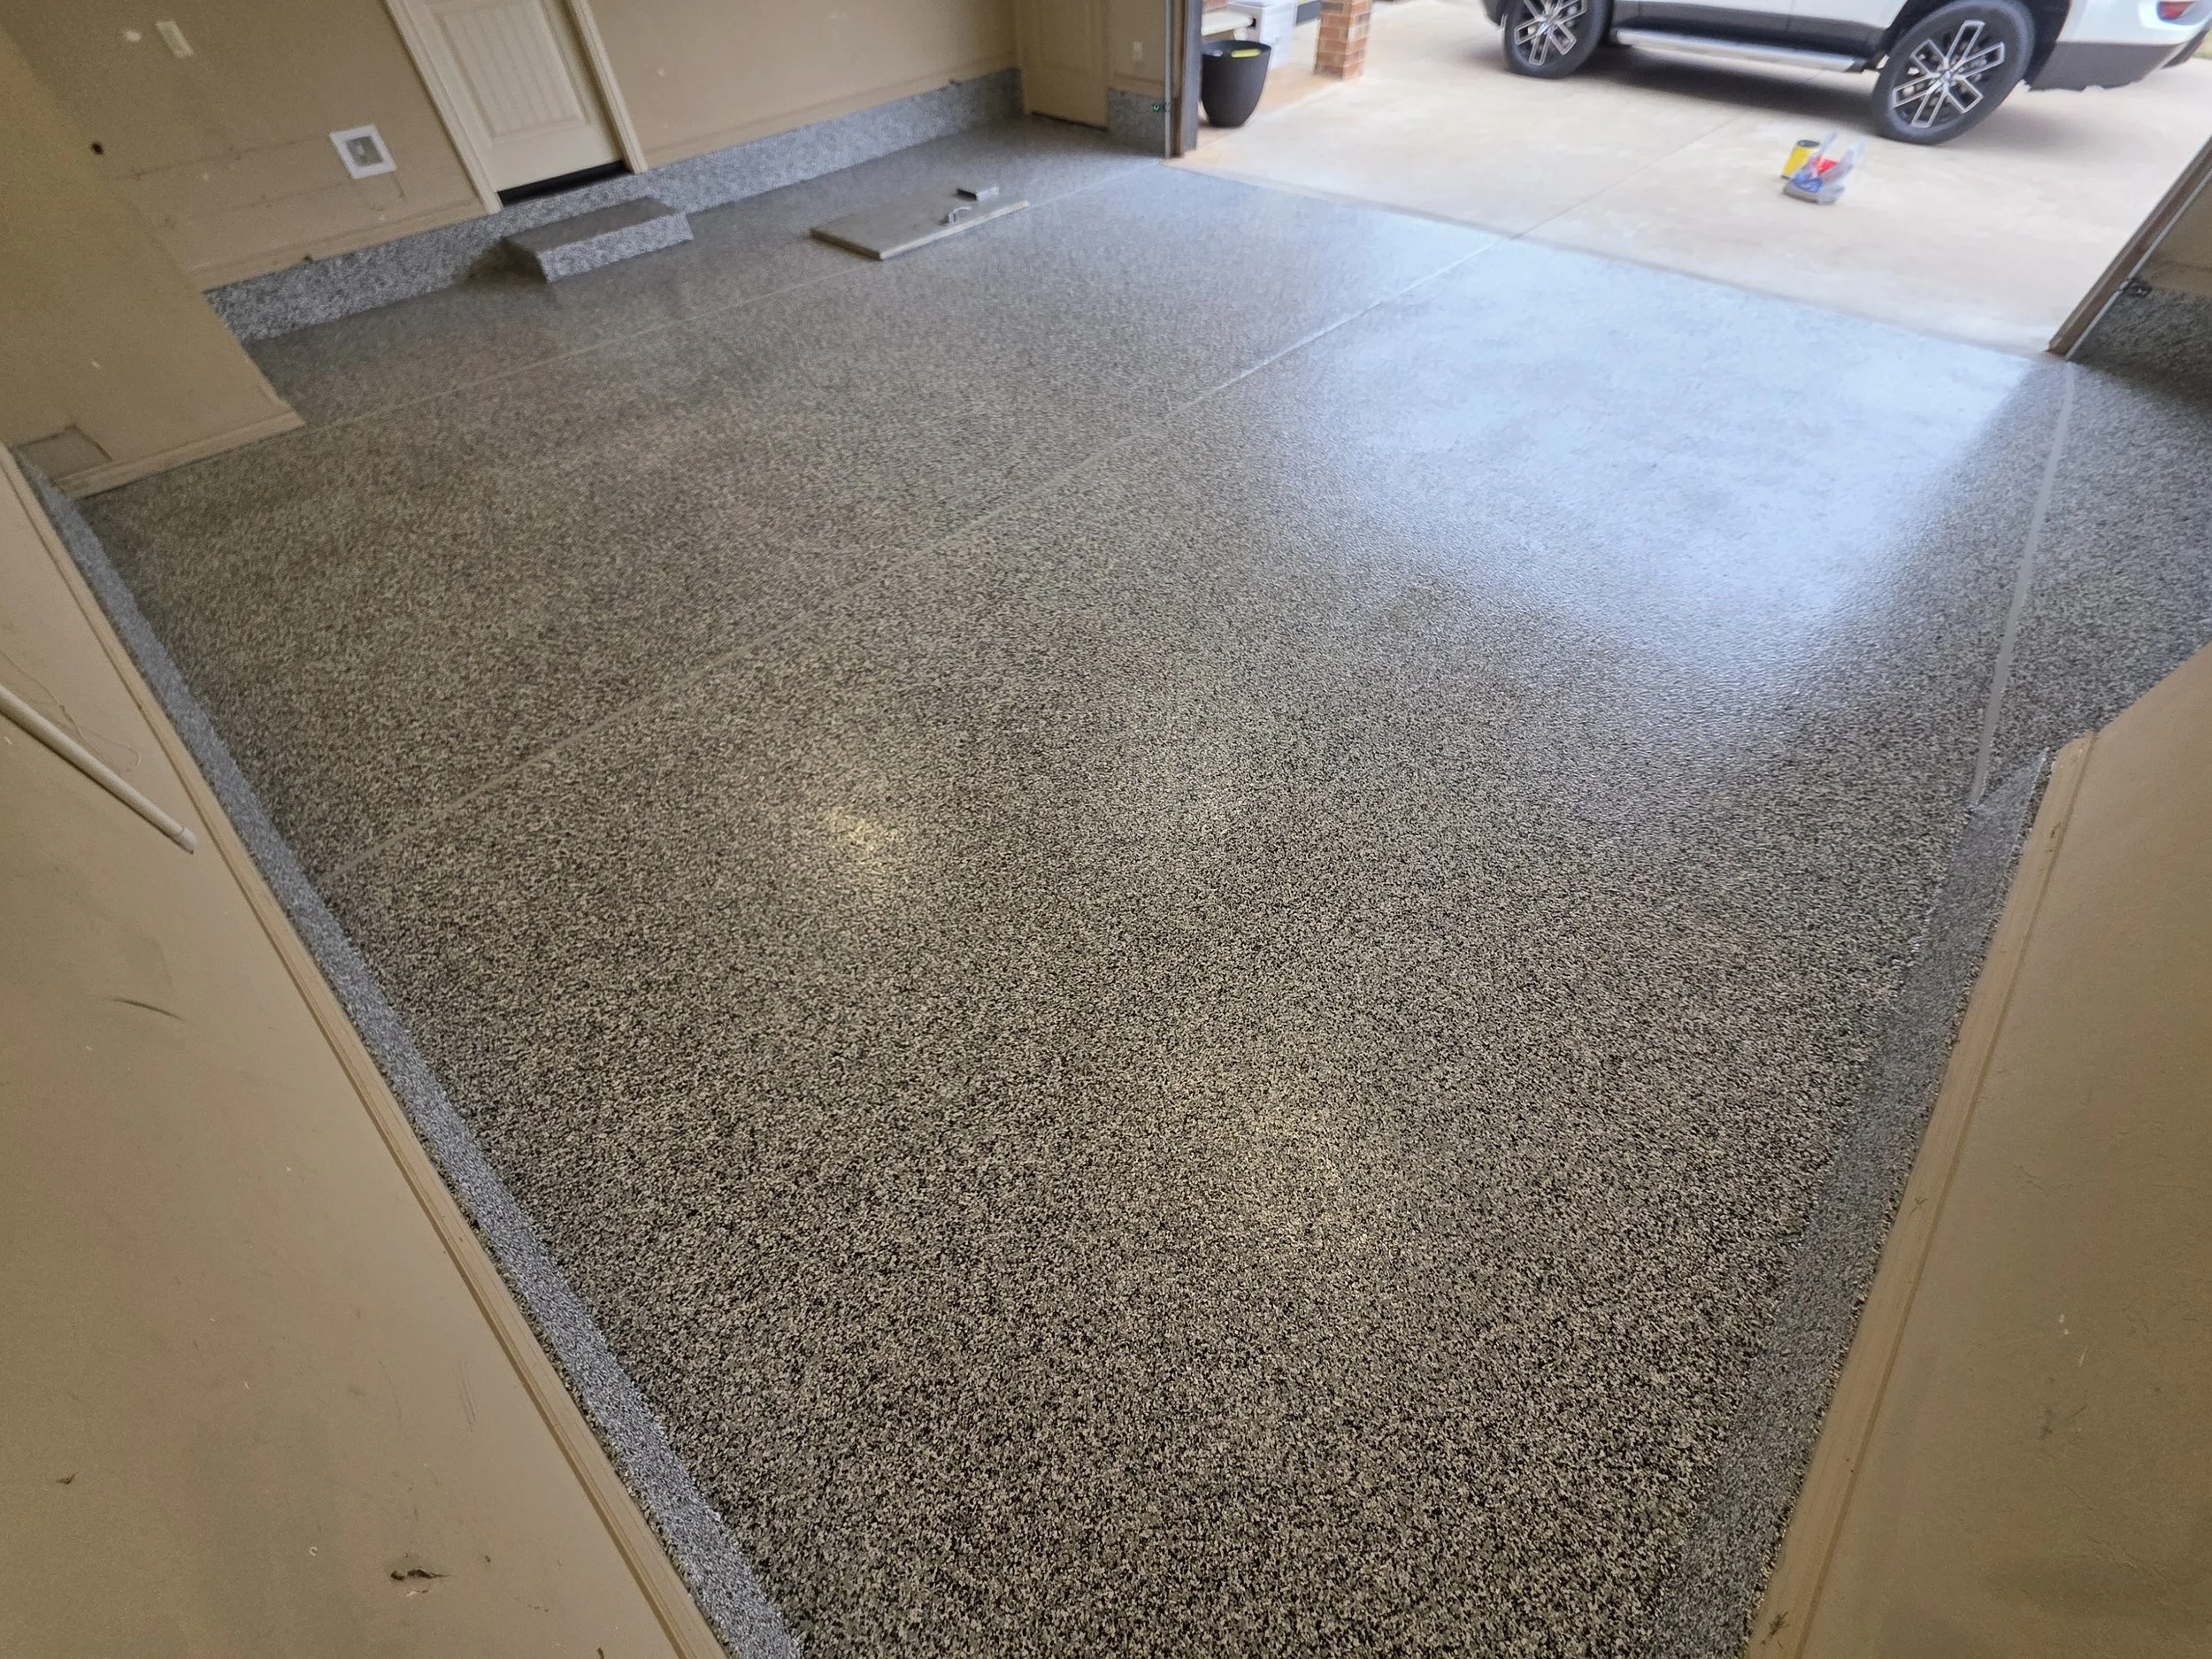
Phase 4 (Finished) - Back side of floor
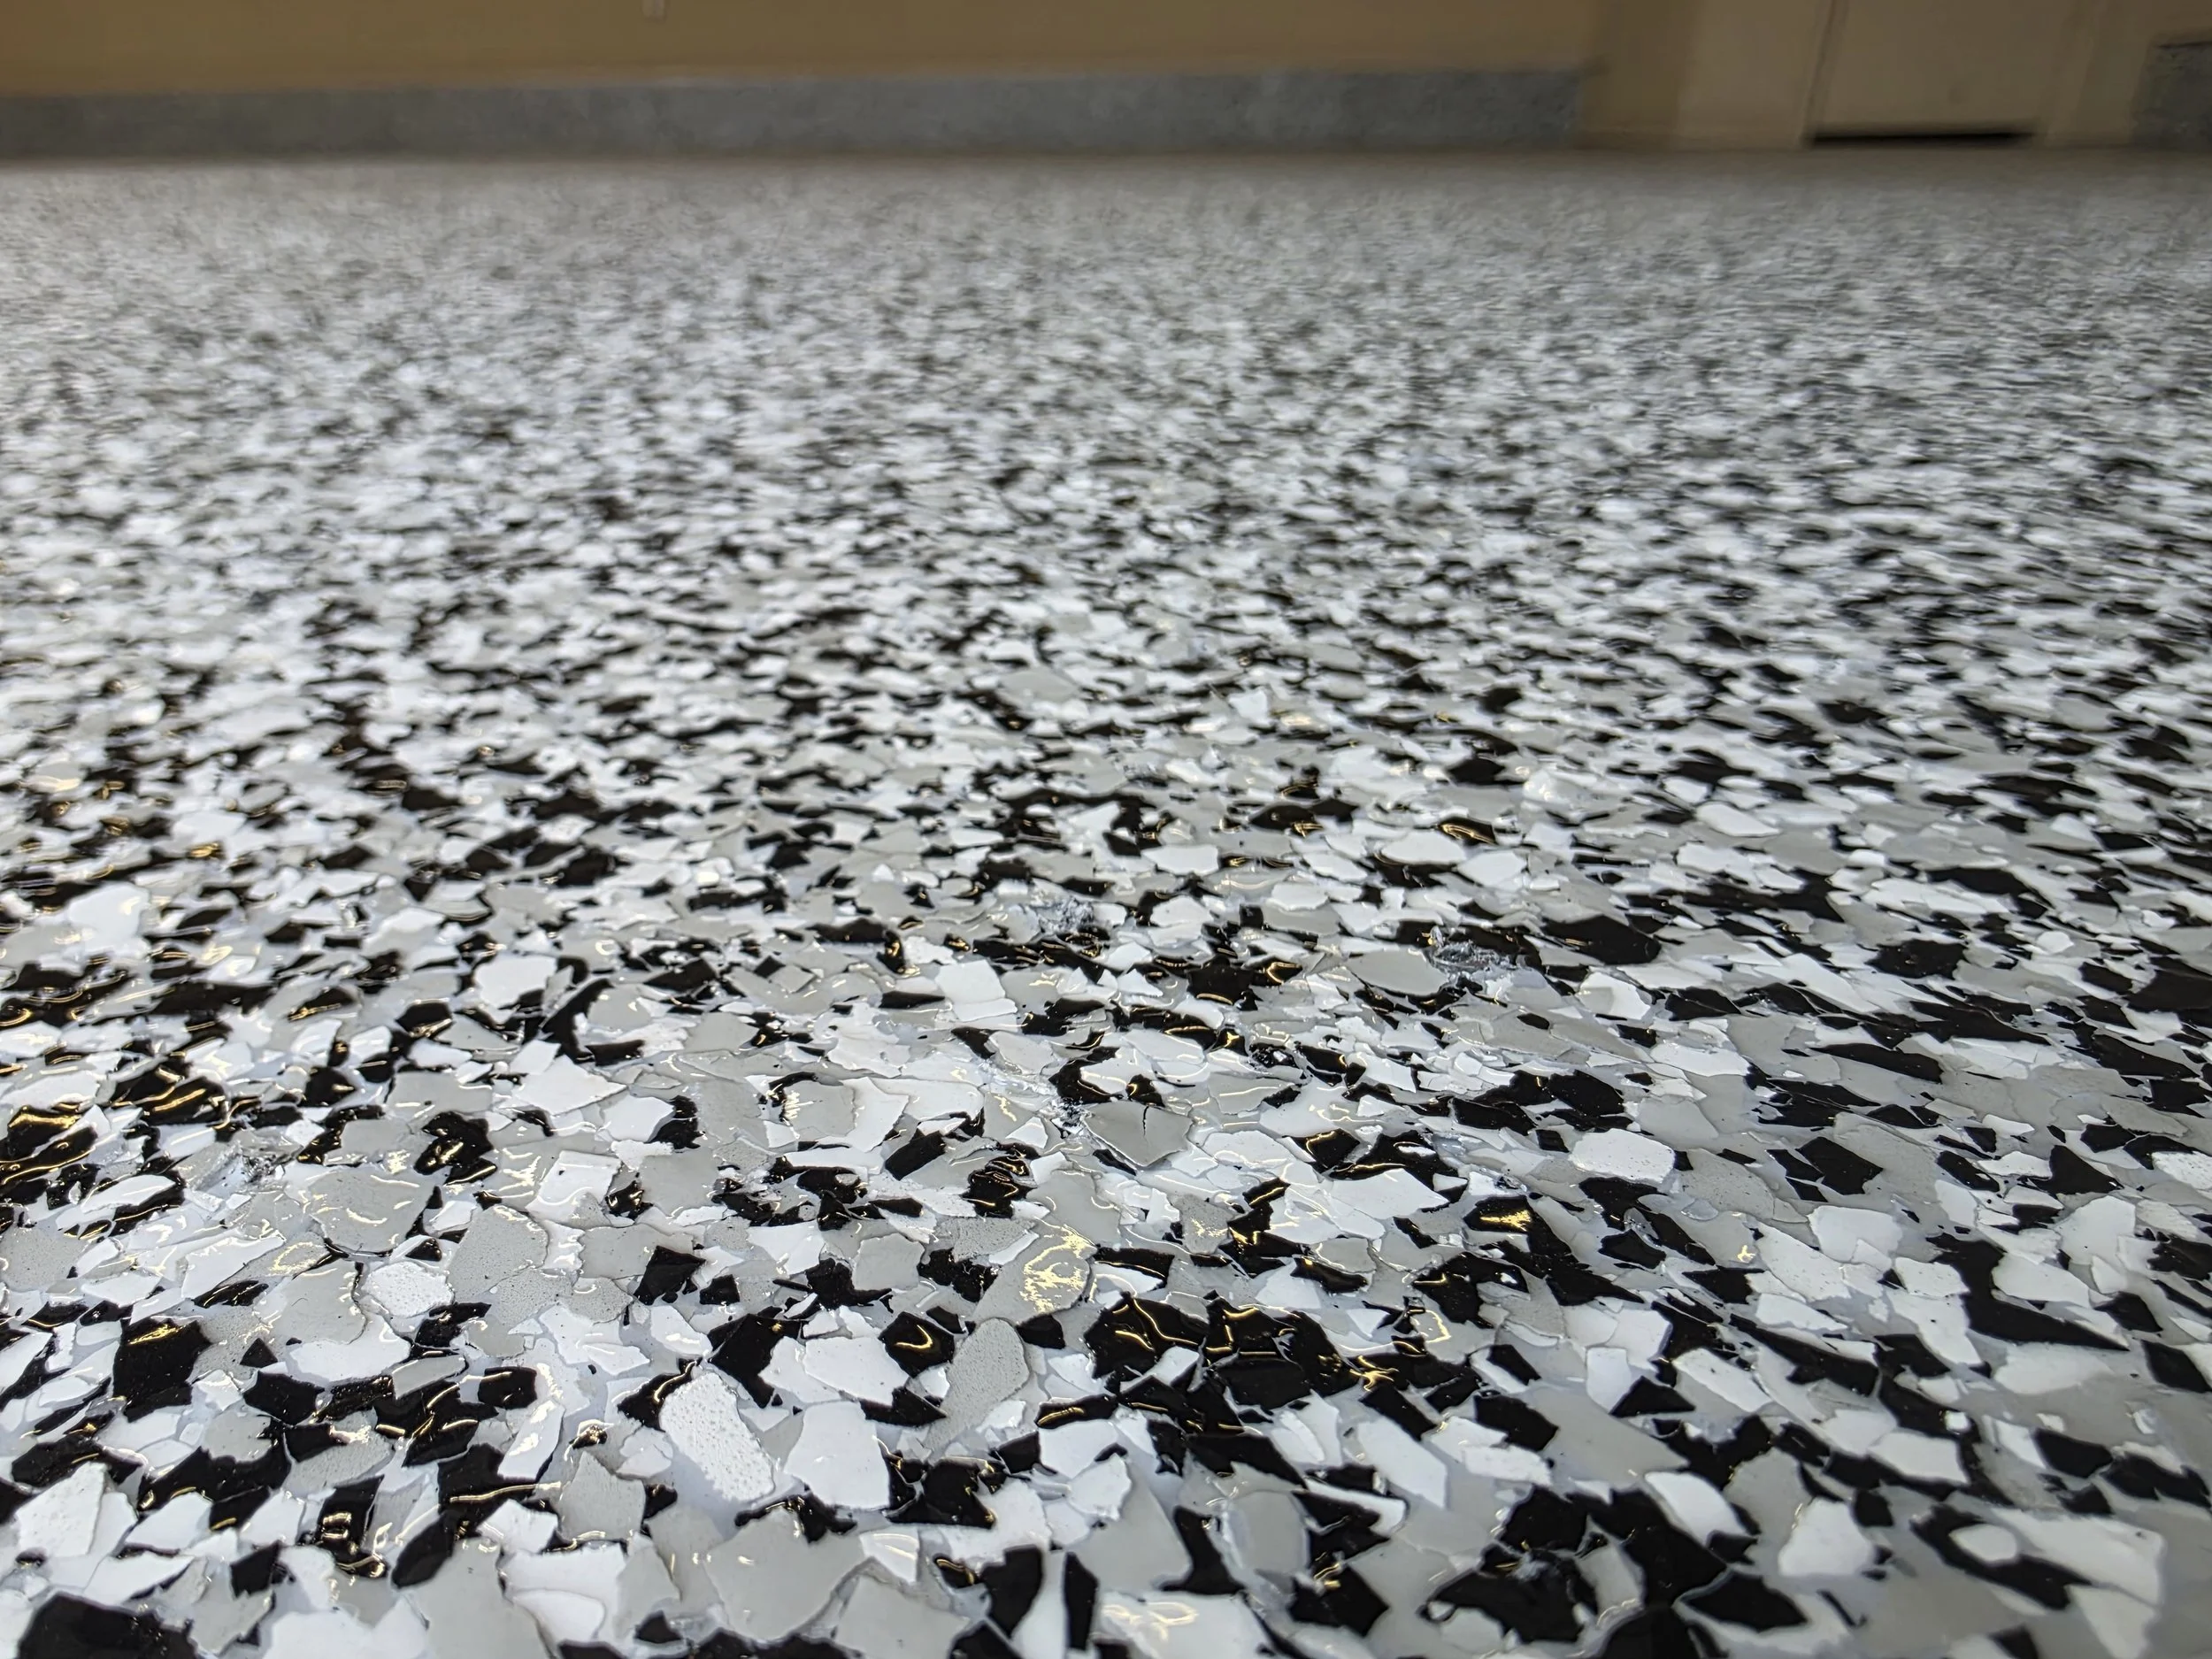
Phase 4 (Finished) - Close up of cured topcoat
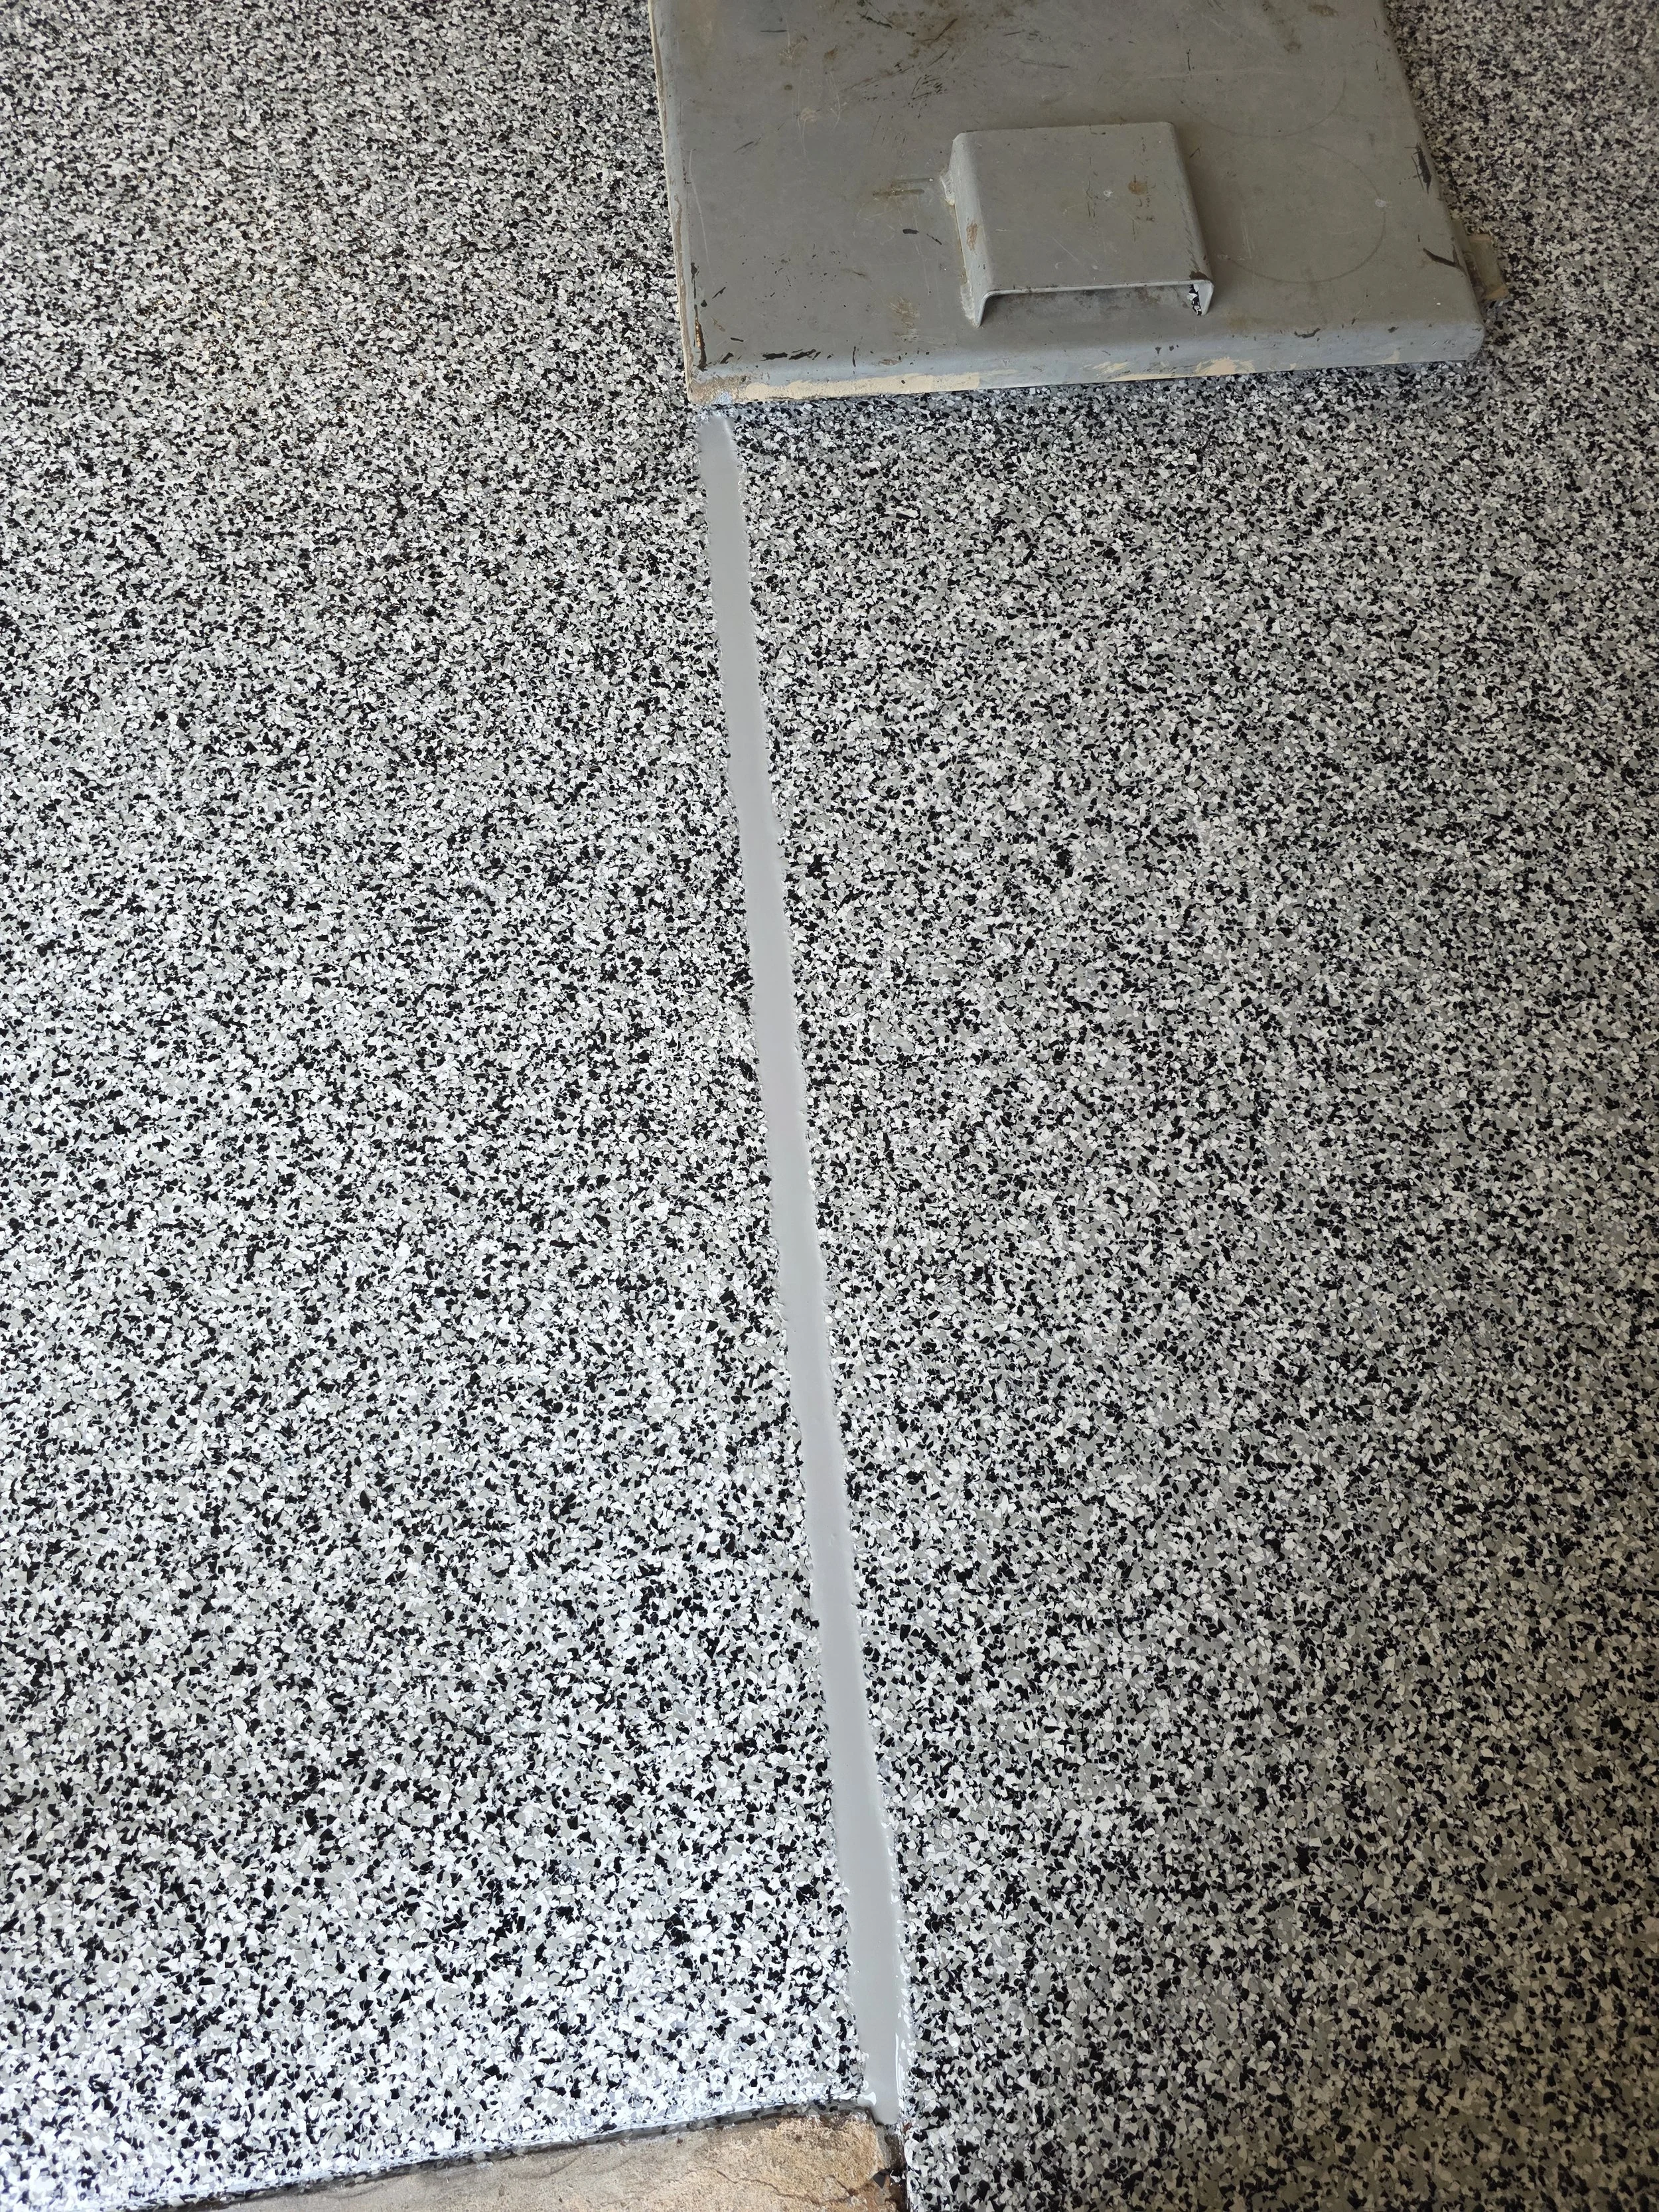
Phase 4 (Finished) - Expansion joints in floor caulked
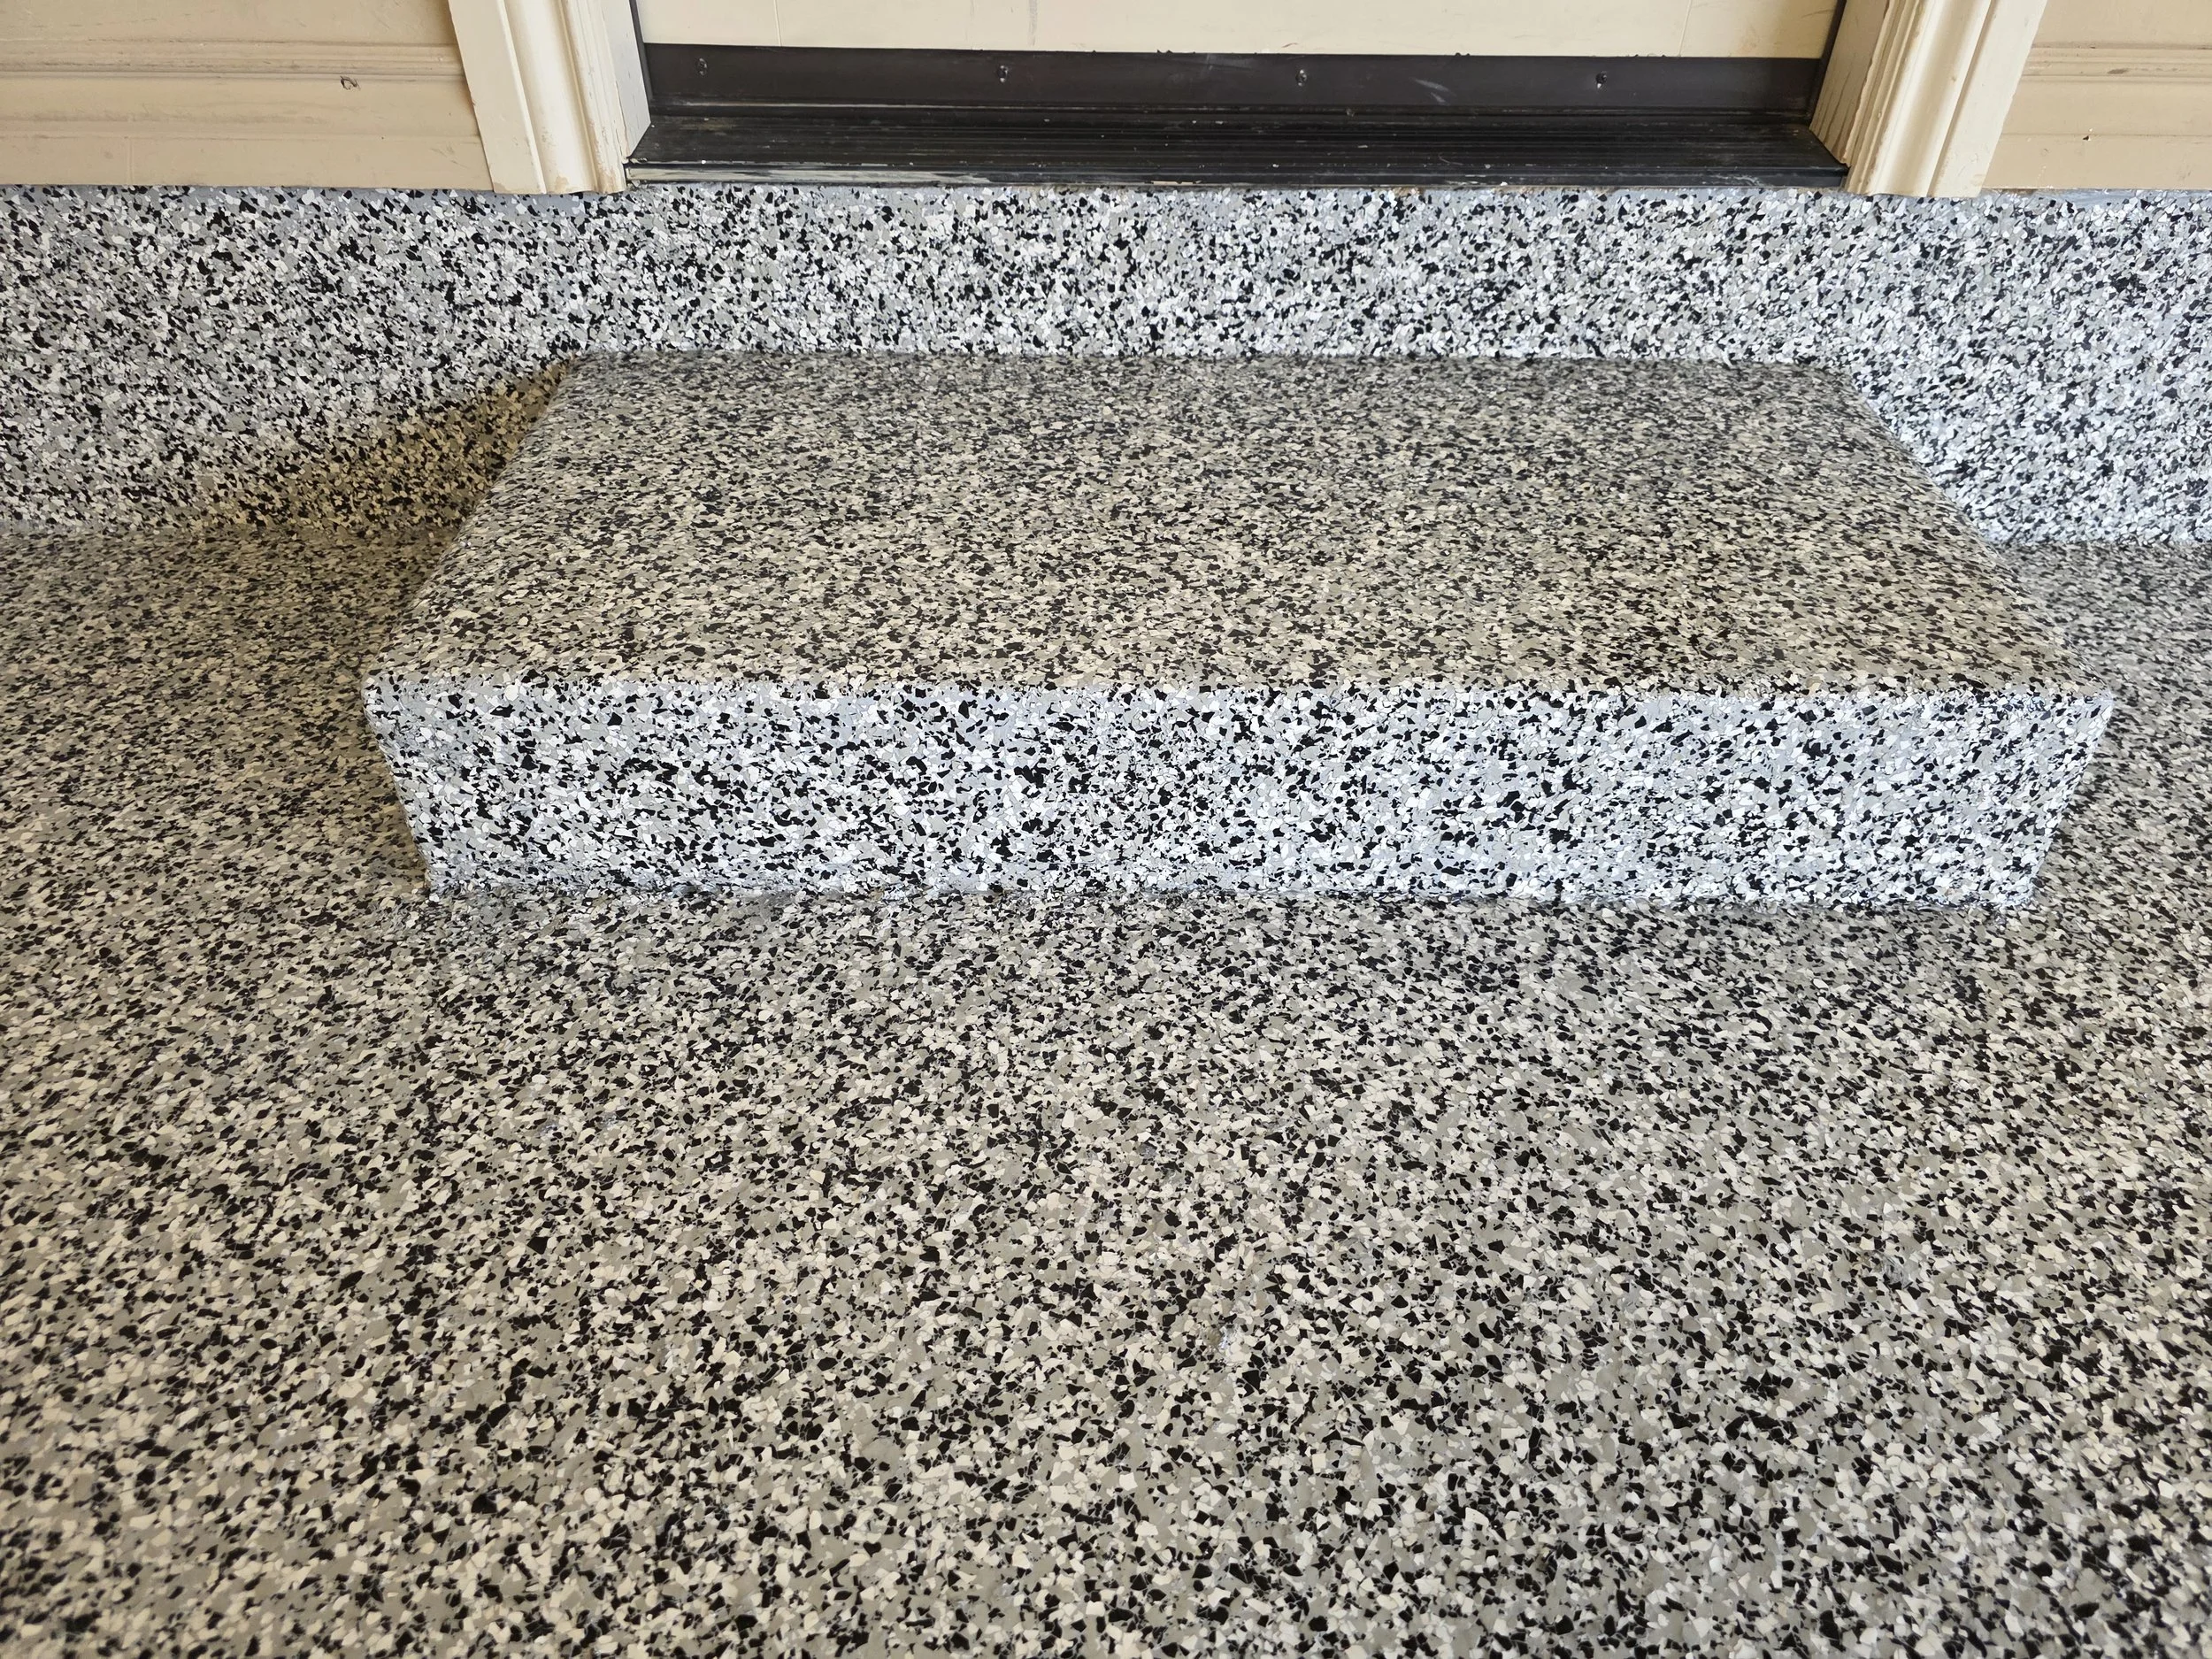
Phase 4 (Finished) - Stairs leading up to interior door
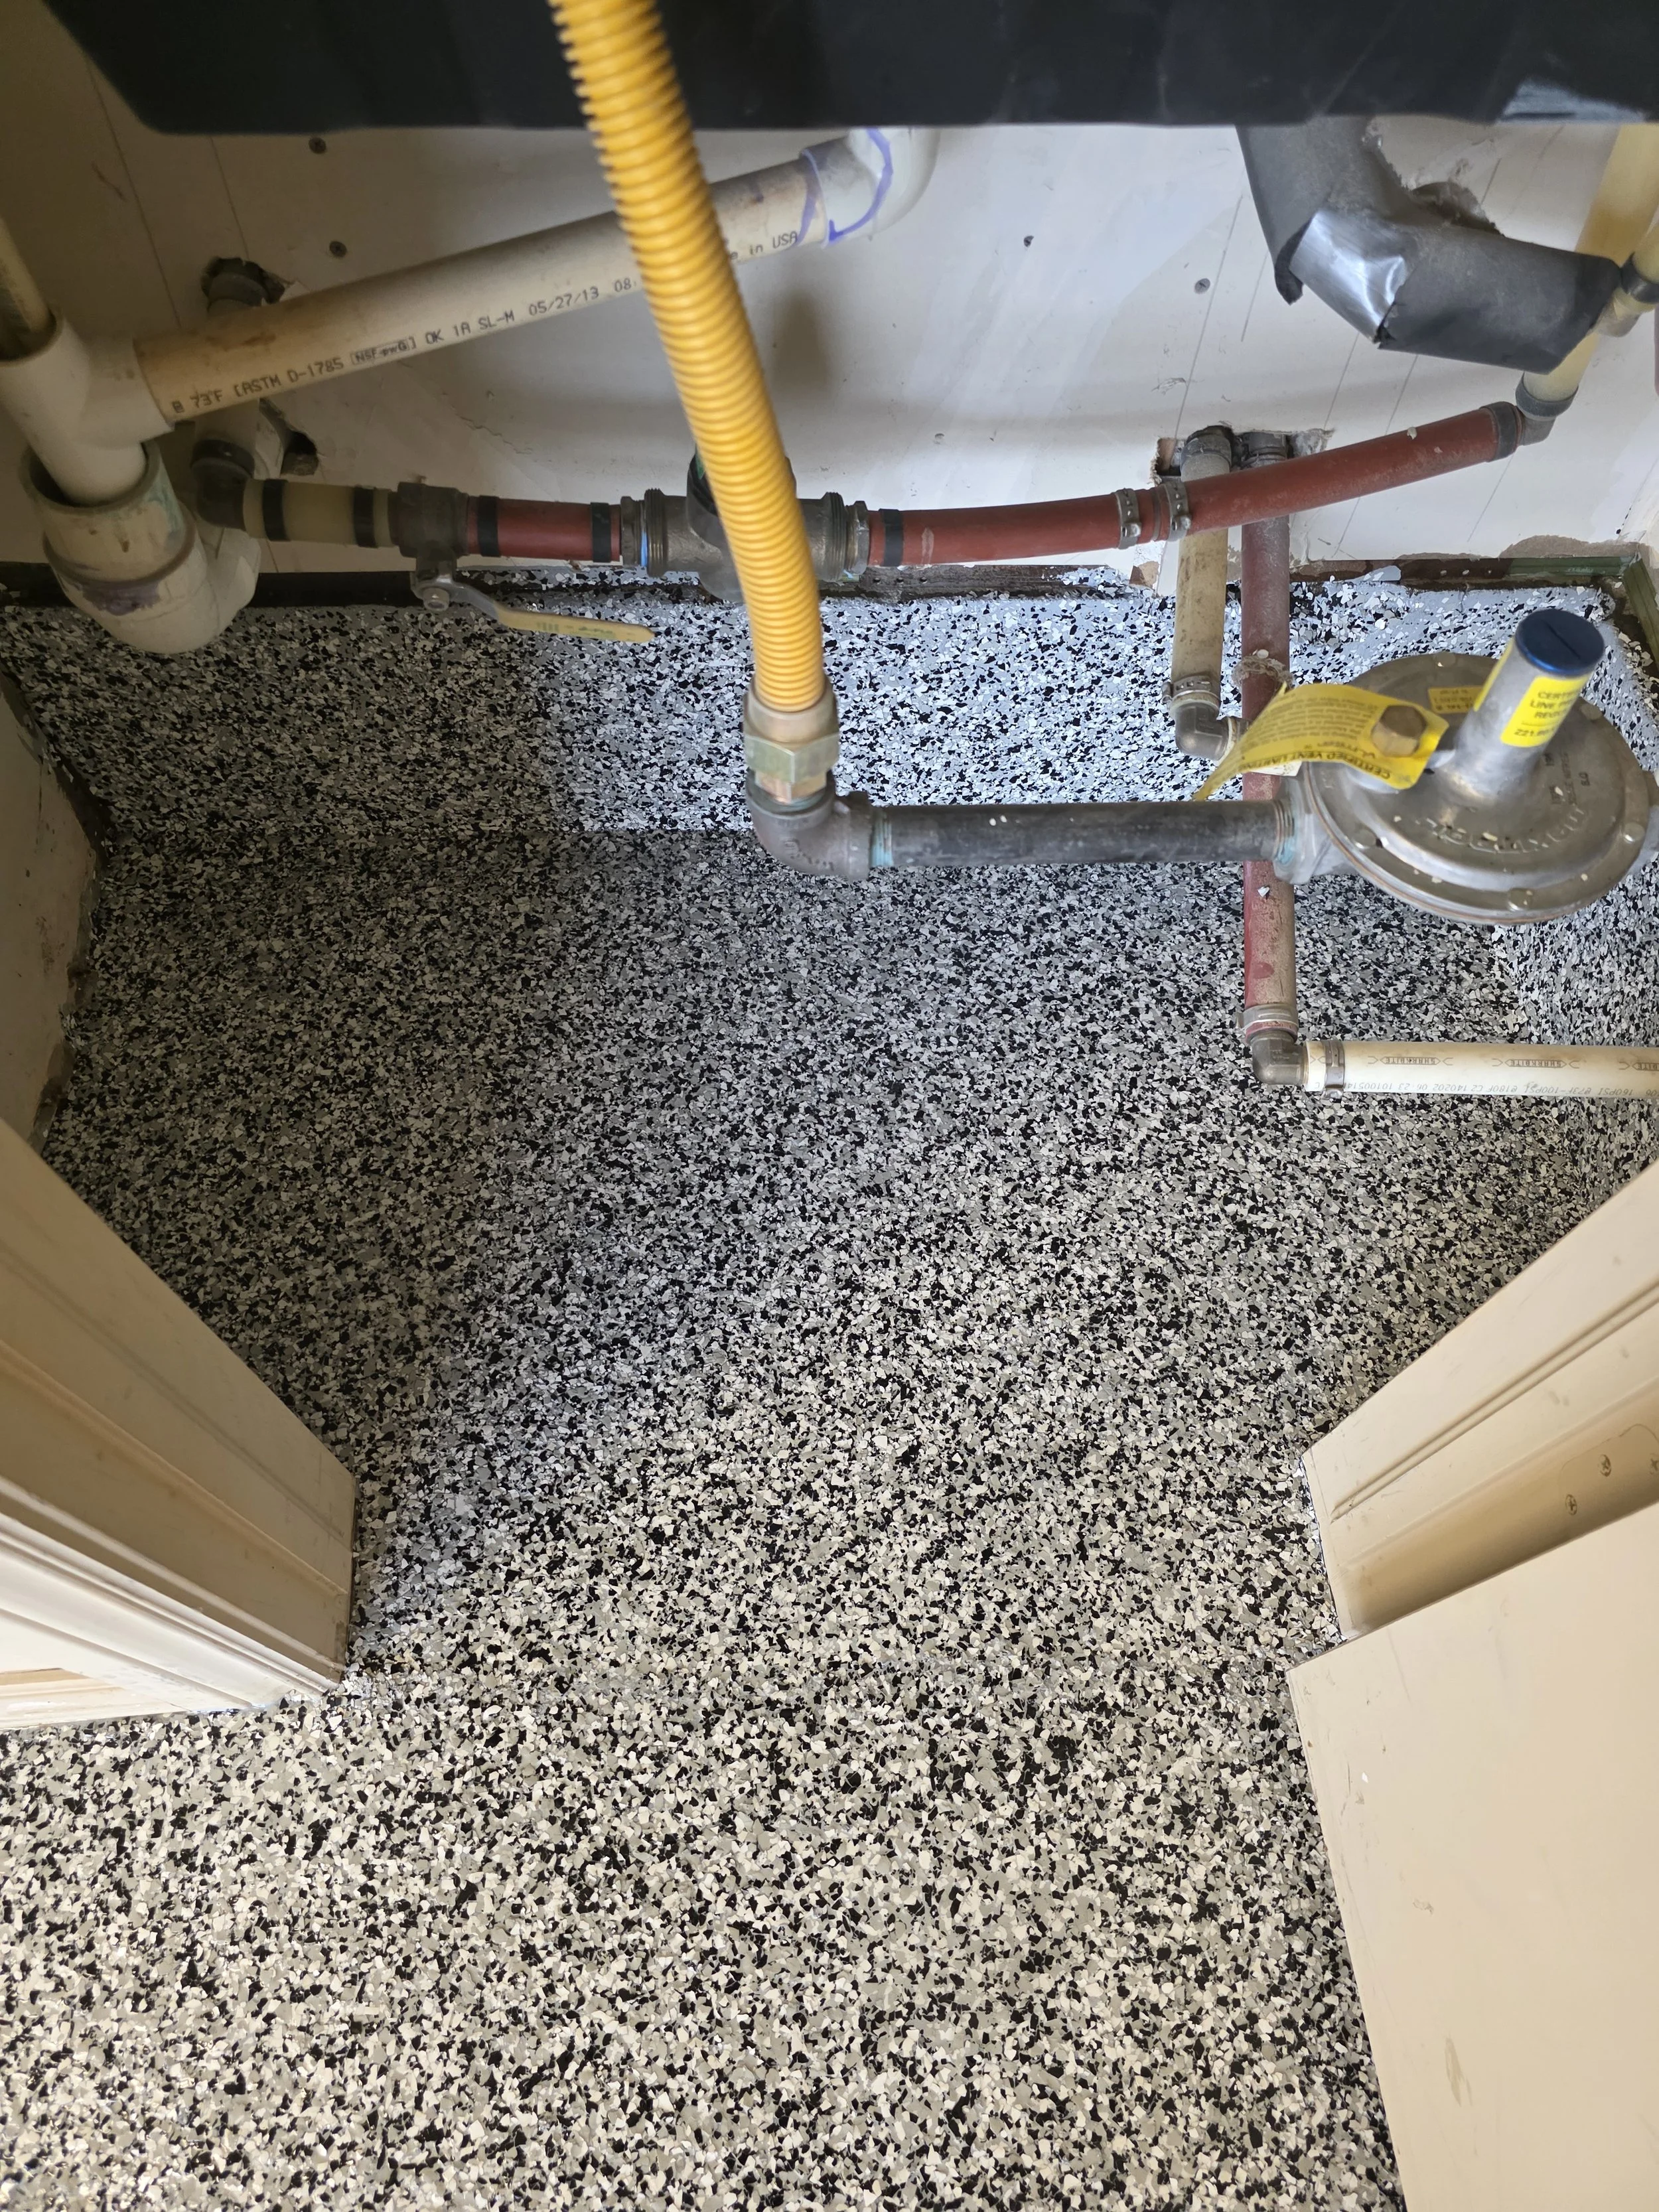
Phase 4 (Finished) - Utility closet
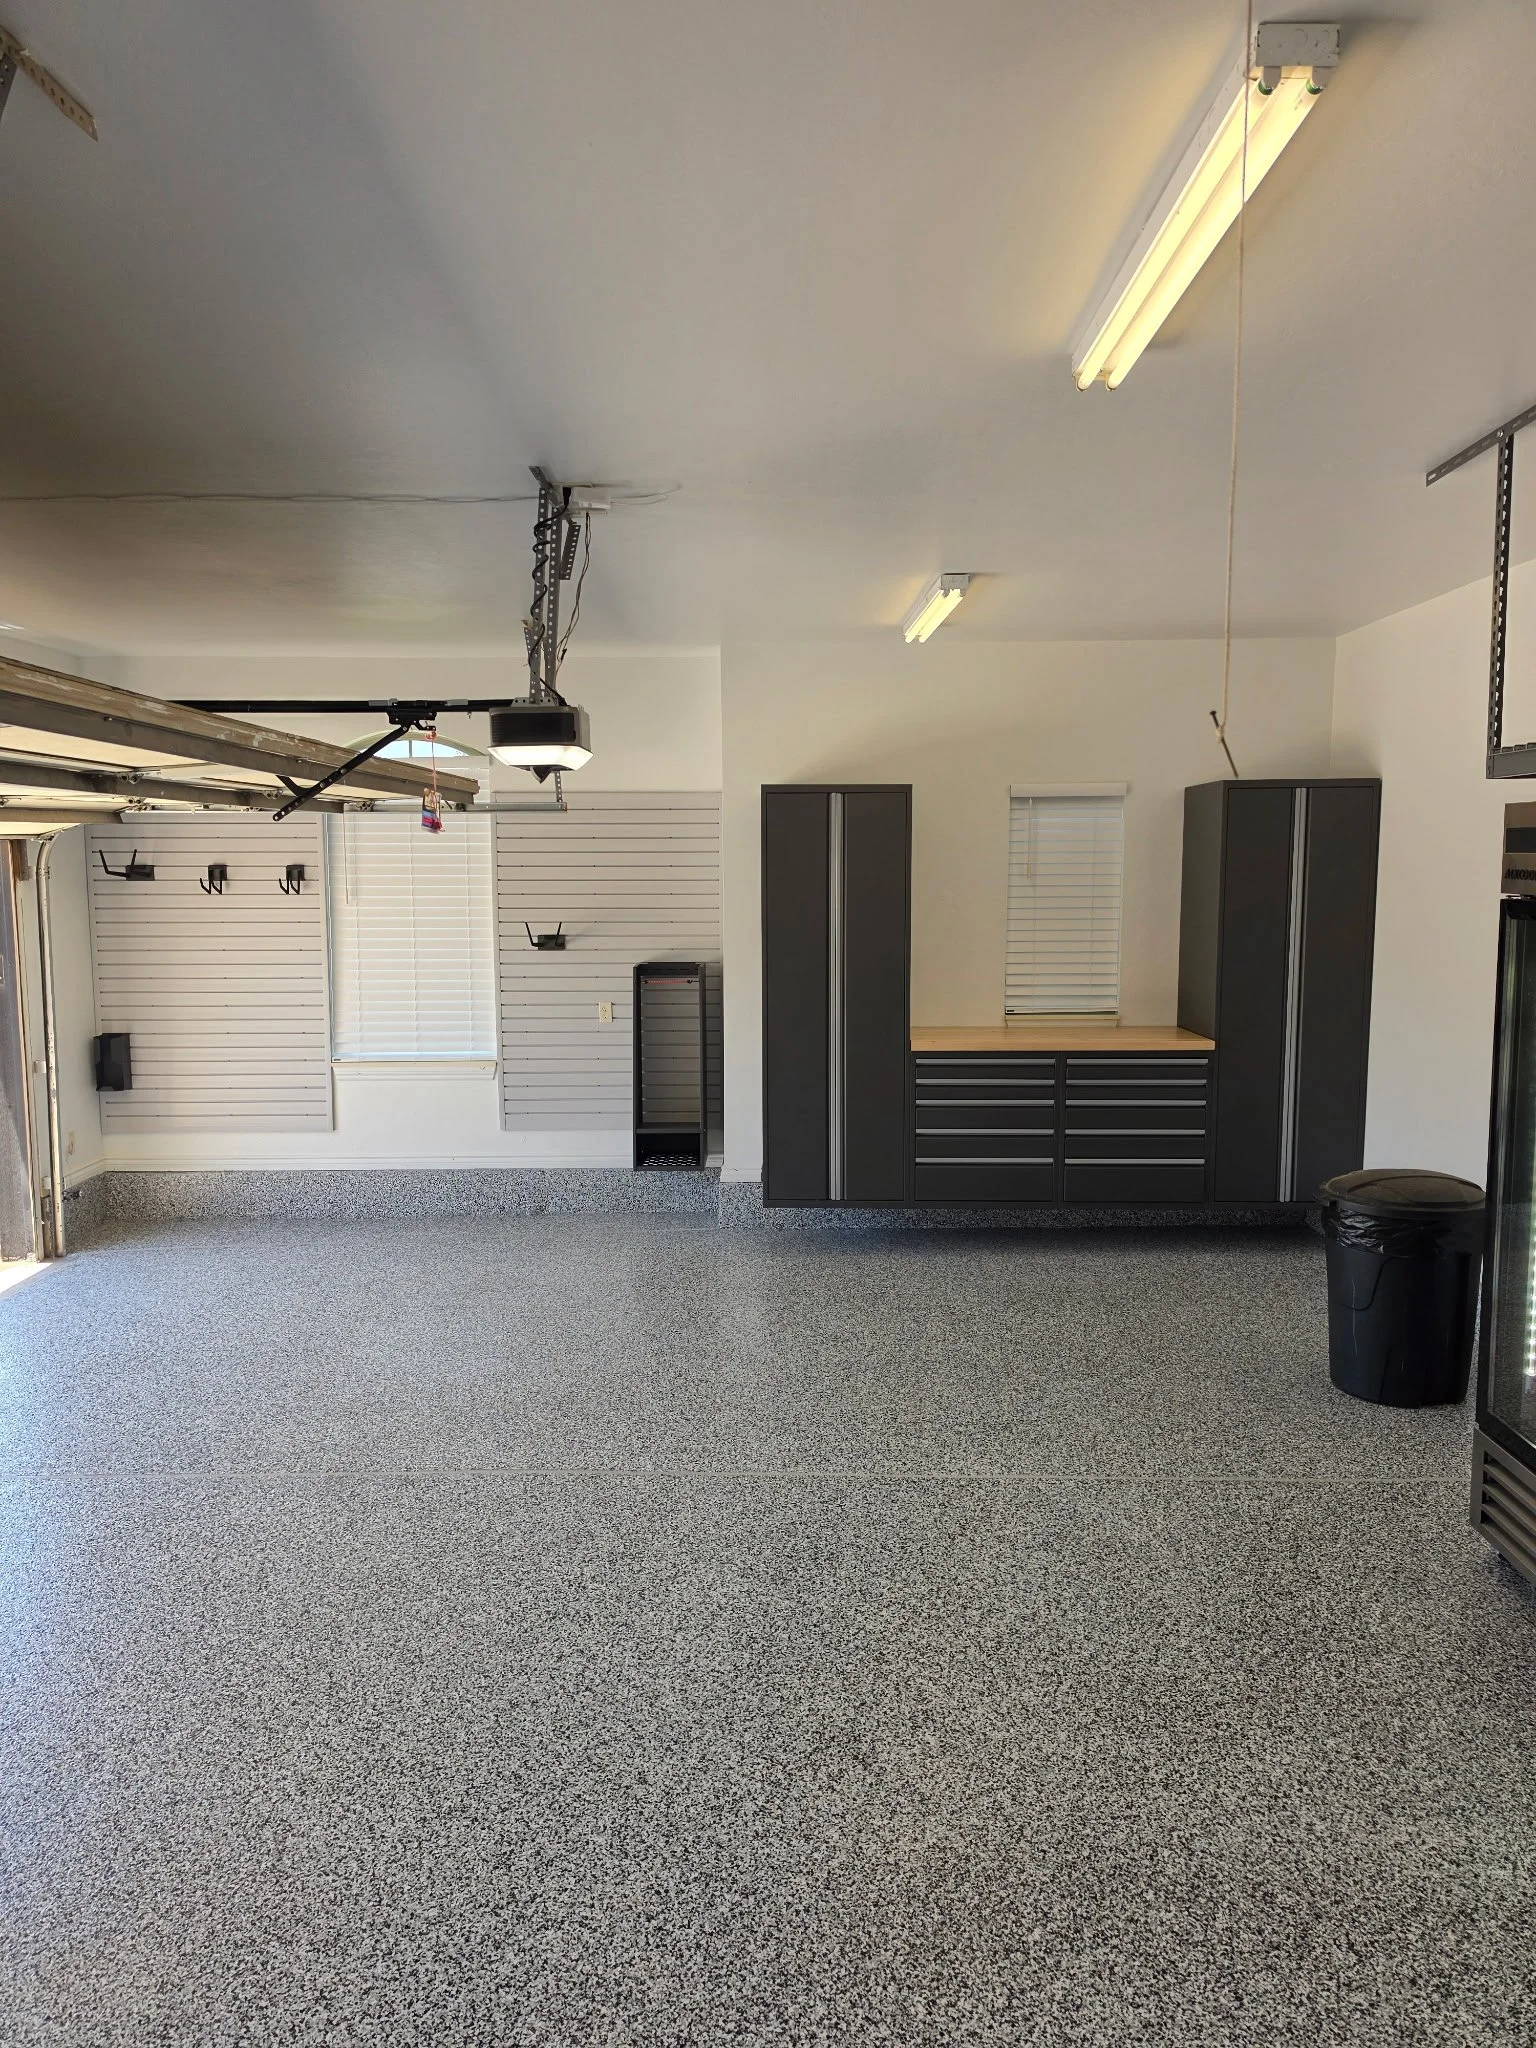
Fully Finished Garage Layout 1
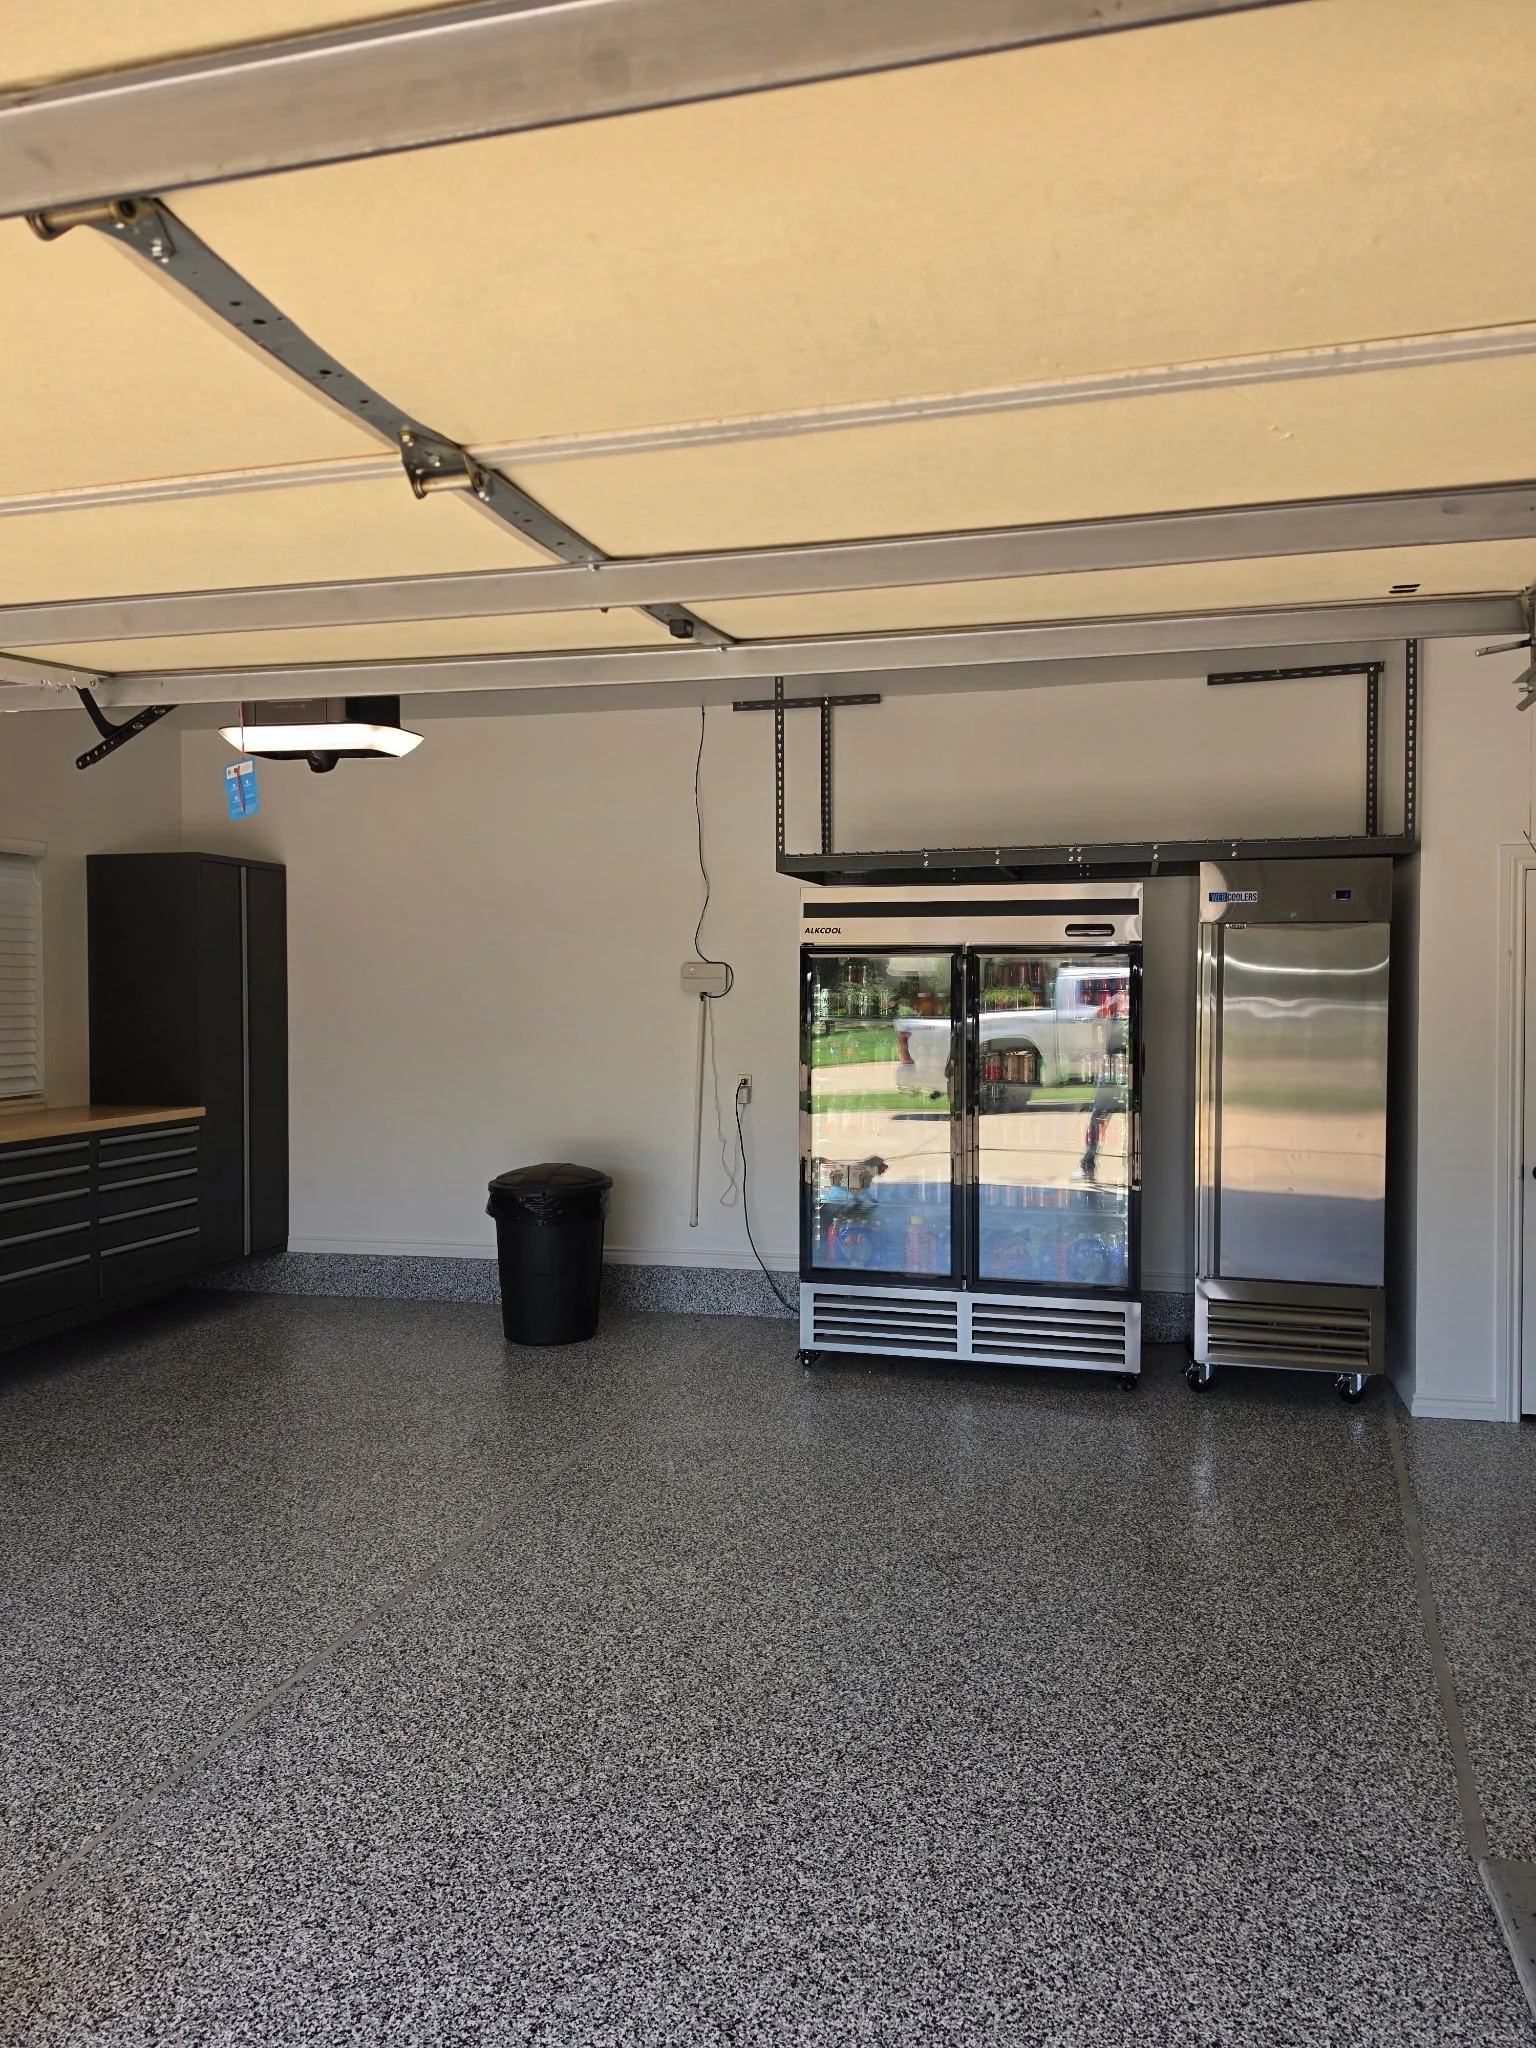
Fully Finished Garage Layout 2
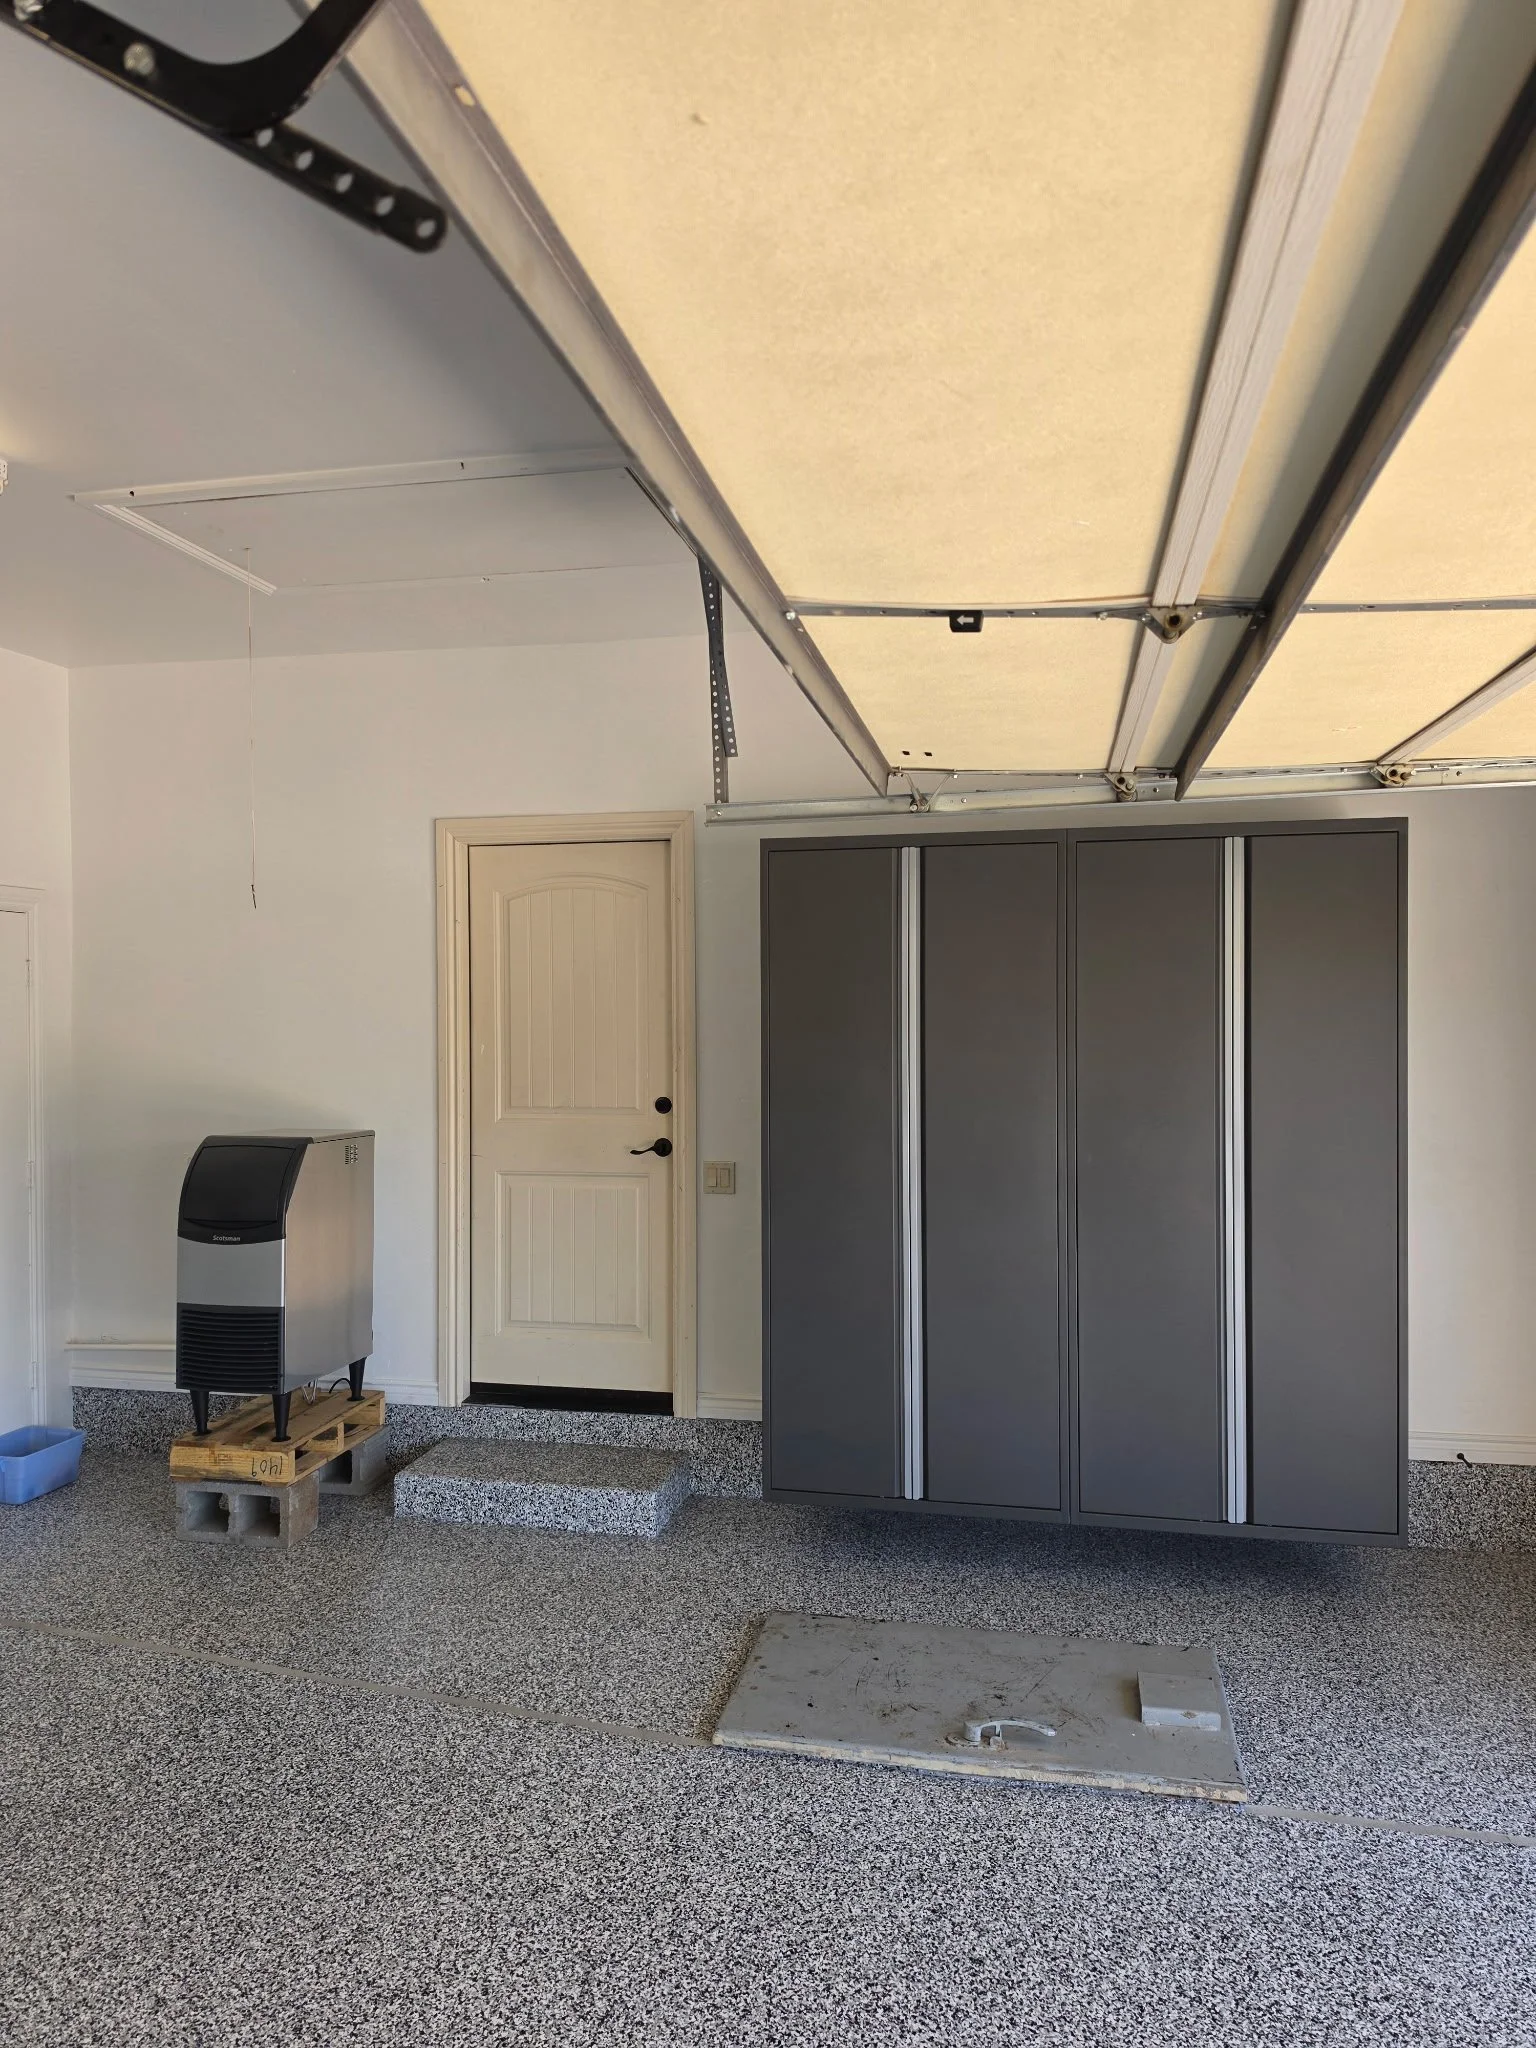
Fully Finished Garage Layout 3